Liquor cabinet

Liquor cabinet side view

Or rather a liquor table. It was built entirely using laminated baltic birch plywood with walnut, apple and padauk inserts. All the layers of plywood are grain-side up and held together using threaded rod. The table features its own lighting system for a spectacular effect at night.

Liquor cabinet

The projet was meant to match my computer desk and was put together using leftovers from its big brother.

The hook multiplier, another small project made from apple wood

For a while now, I’ve had a stockpile of apple tree wood from a tree we felled a couple of years ago. Normally, thinking of woodworking projects isn’t too difficult, but this particular essence of wood is unfit for most projects but the smaller ones (for example, wine bottle stands). However, what it lacks in workability it makes up in beauty. Some pieces are rather drab, but others, especially the ones that have been damaged by pest and water, can be spectacular.

Hook multiplier in use

A simple idea came to me upon seeing my girlfriend’s clotheshook overly crowed with scarves and coats. By expanding one hook into a column of smaller vertical hooks, we’d be able to free up some space.

Here’s what it turned into. The whole project took about an hour an half and I was able to put to use the most crooked but most visually appealing plank of apple tree wood (excuse the bad pictures, I could not get proper lighting).

Hook multiplier closeup

Parallam (PSL) side table

The mother beam
The mother beam

During a remodeling project in the fall of 2016, one of my family member decided to remove a load-bearing wall that divided a living room and kitchen. In order to maintain the structural integrity of the three story building, my brother, a civil engineer, worked his magic and came up with a solution that involved a 17ft x 19in x 7.5in parallel strand lumber (PSL) beam, commercially known as Parallam. Had it been covered in gypsum, the beam could have been slightly smaller in width and depth (to account for the fire retardant properties of gypsum), but PSL being a beautiful engineered wood product, leaving it exposed greatly enhanced the appeal of the room it was in.

Parallam (PSL) side table viewed from under

As delivered, the beam had an extra foot of length that was removed using a chain saw. My cousin wanted to toss away the left over part, but interested in the looks of the material, I picked it up with the intention of turning it into a piece of furniture. This summer, I finally garnered enough free time to get to it. PSL being very porous and brittle, it took severe belt sanding and 13 coats of polyurethane varnish to get a decent finish. Four legs later, I had myself a curious looking side table that since then has never failed to catch people’s curiosity (even more so than those other tables).Parallam (PSL) side table

Apple wood wine bottle stands

wine bottle stand

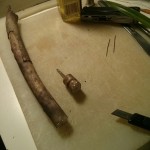
Two years ago, we had to fell an old apple tree from my parent’s garden. Wanting to experiment with this unusual variety of wood, I gathered the best logs and took them to a sawmill to have planks made and let them dry for a year in a shed.

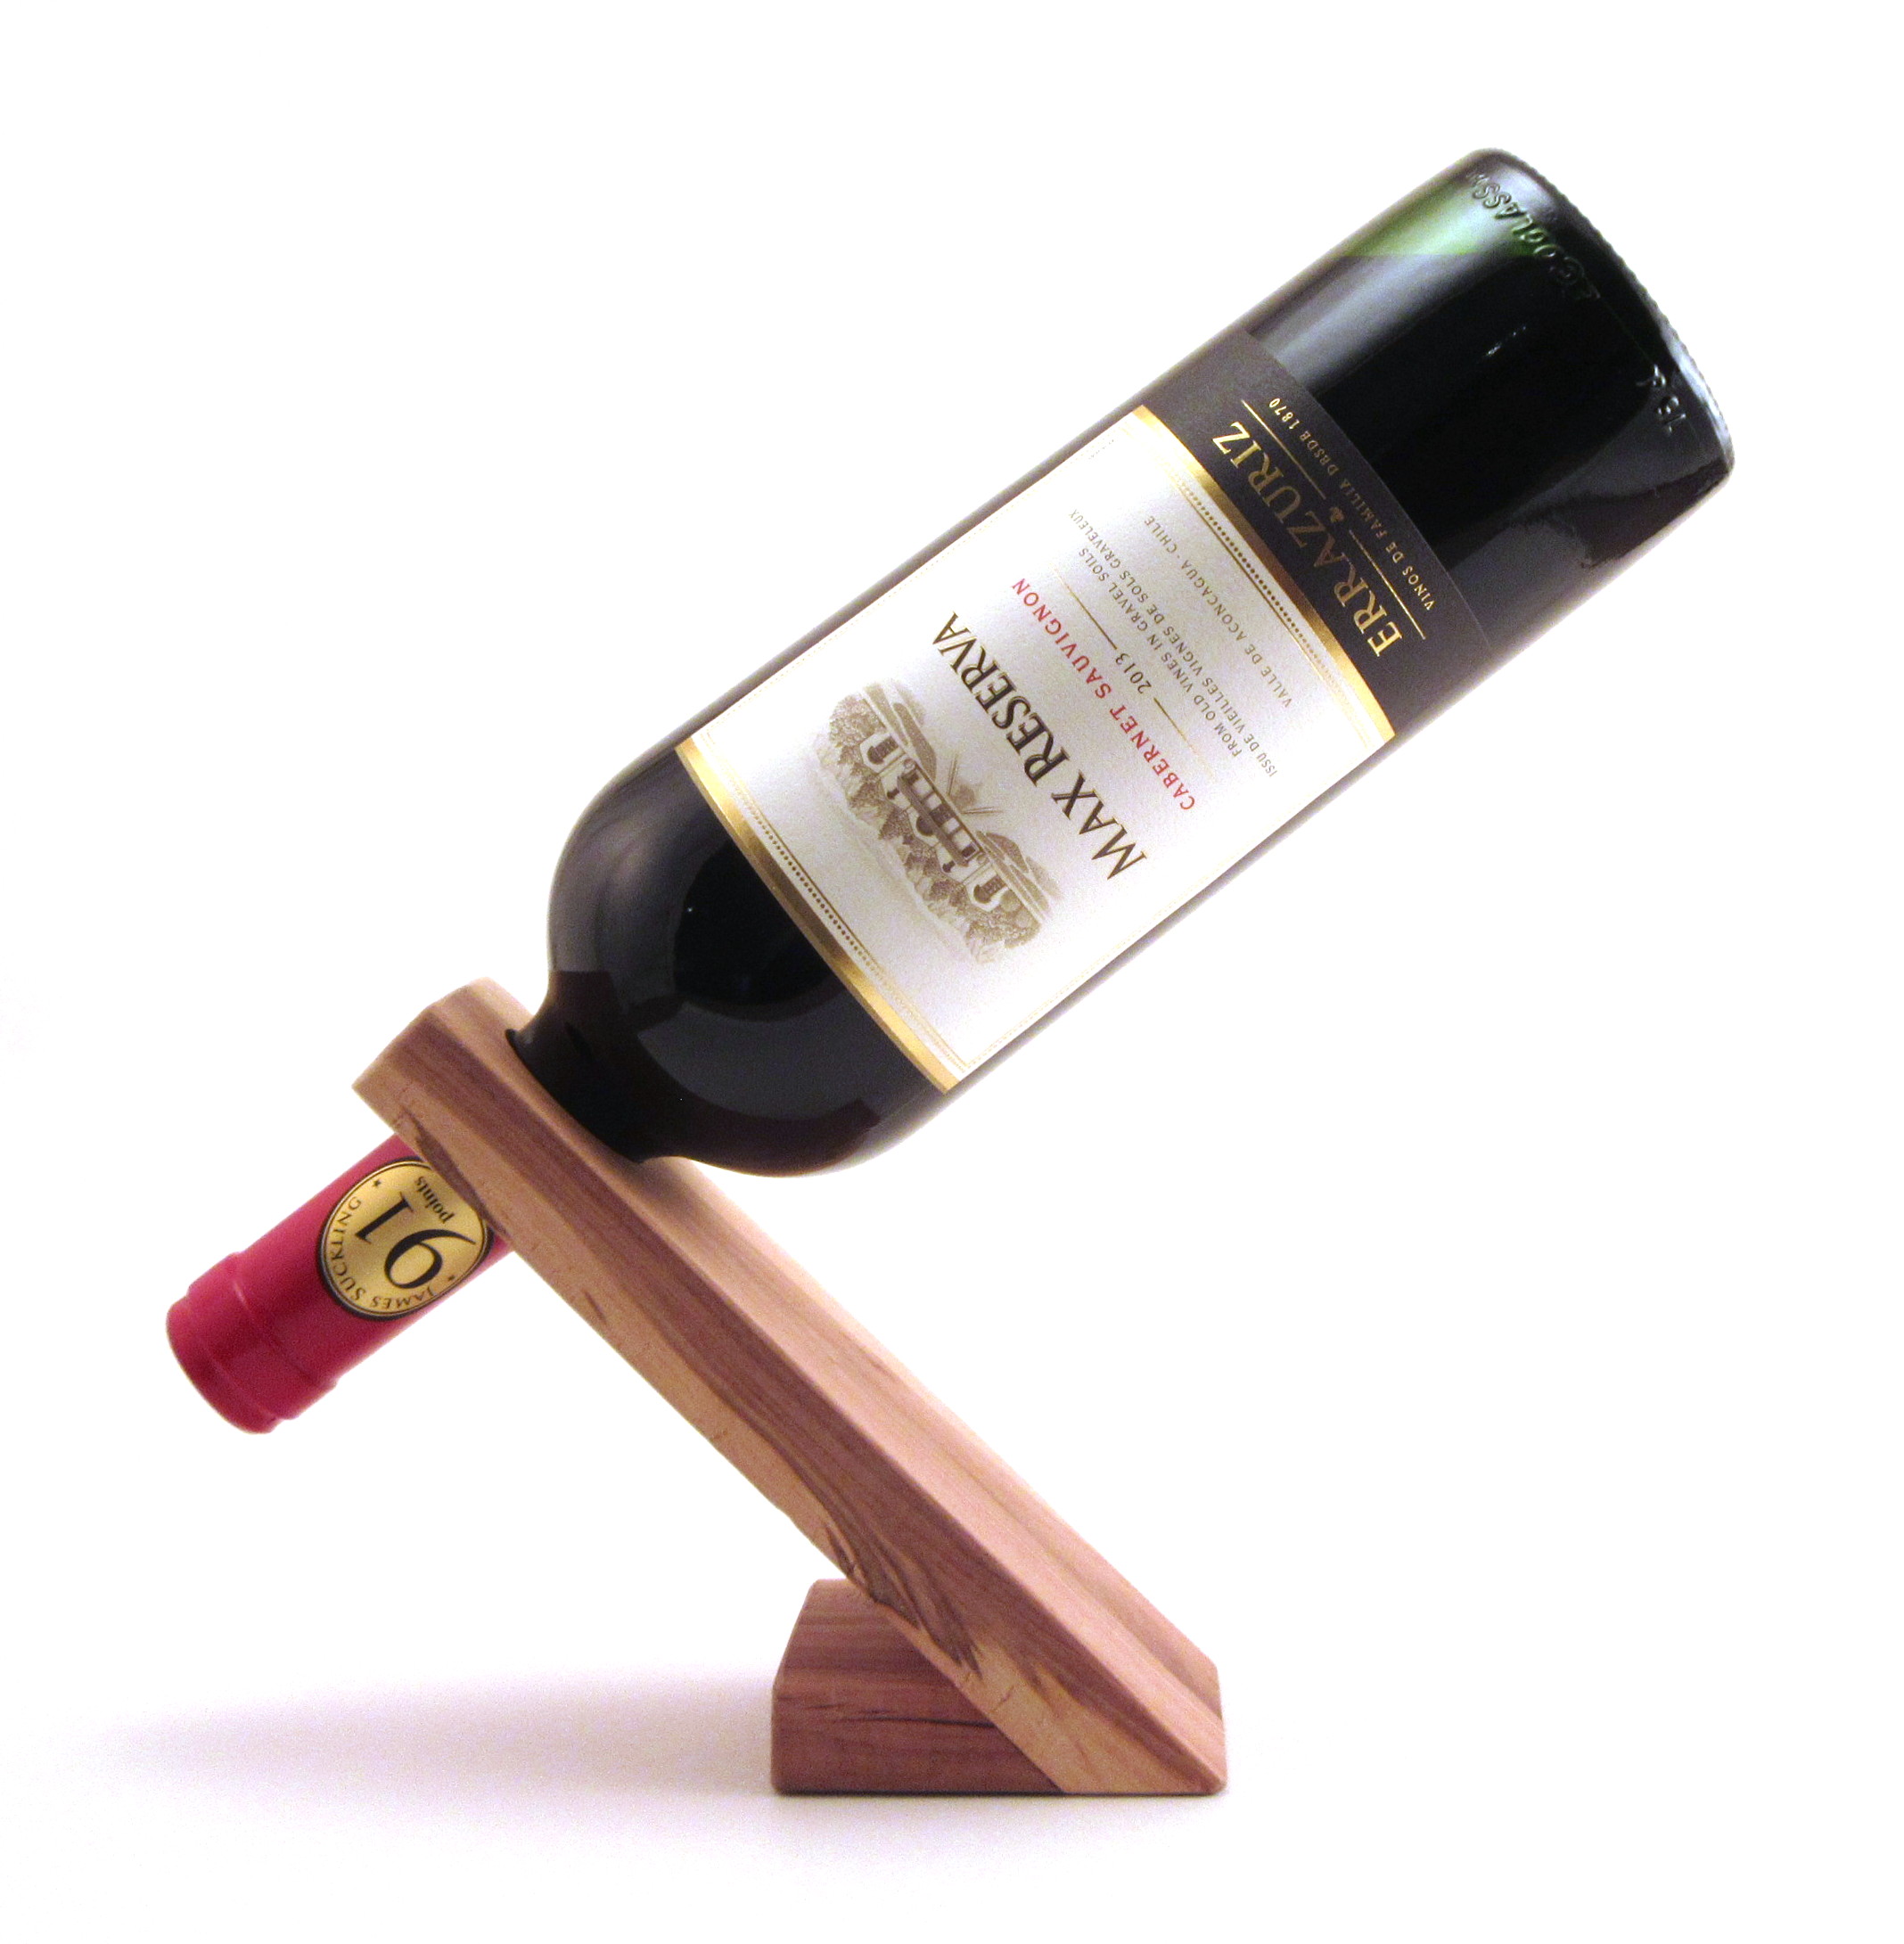
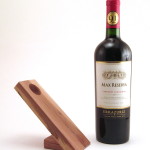
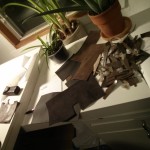
Fast forward to last Christmas, not wanting to buy gifts and being left with very little time to come up with something before the 24th, I had the idea of making balanced wine bottle stands for everyone out of that old apple tree. It’s a simple project, it’s can be made in batches, can be gifted along with an actual bottle and would make an awesome souvenir of that tree we had so much fun climbing onto and playing around during our childhood.

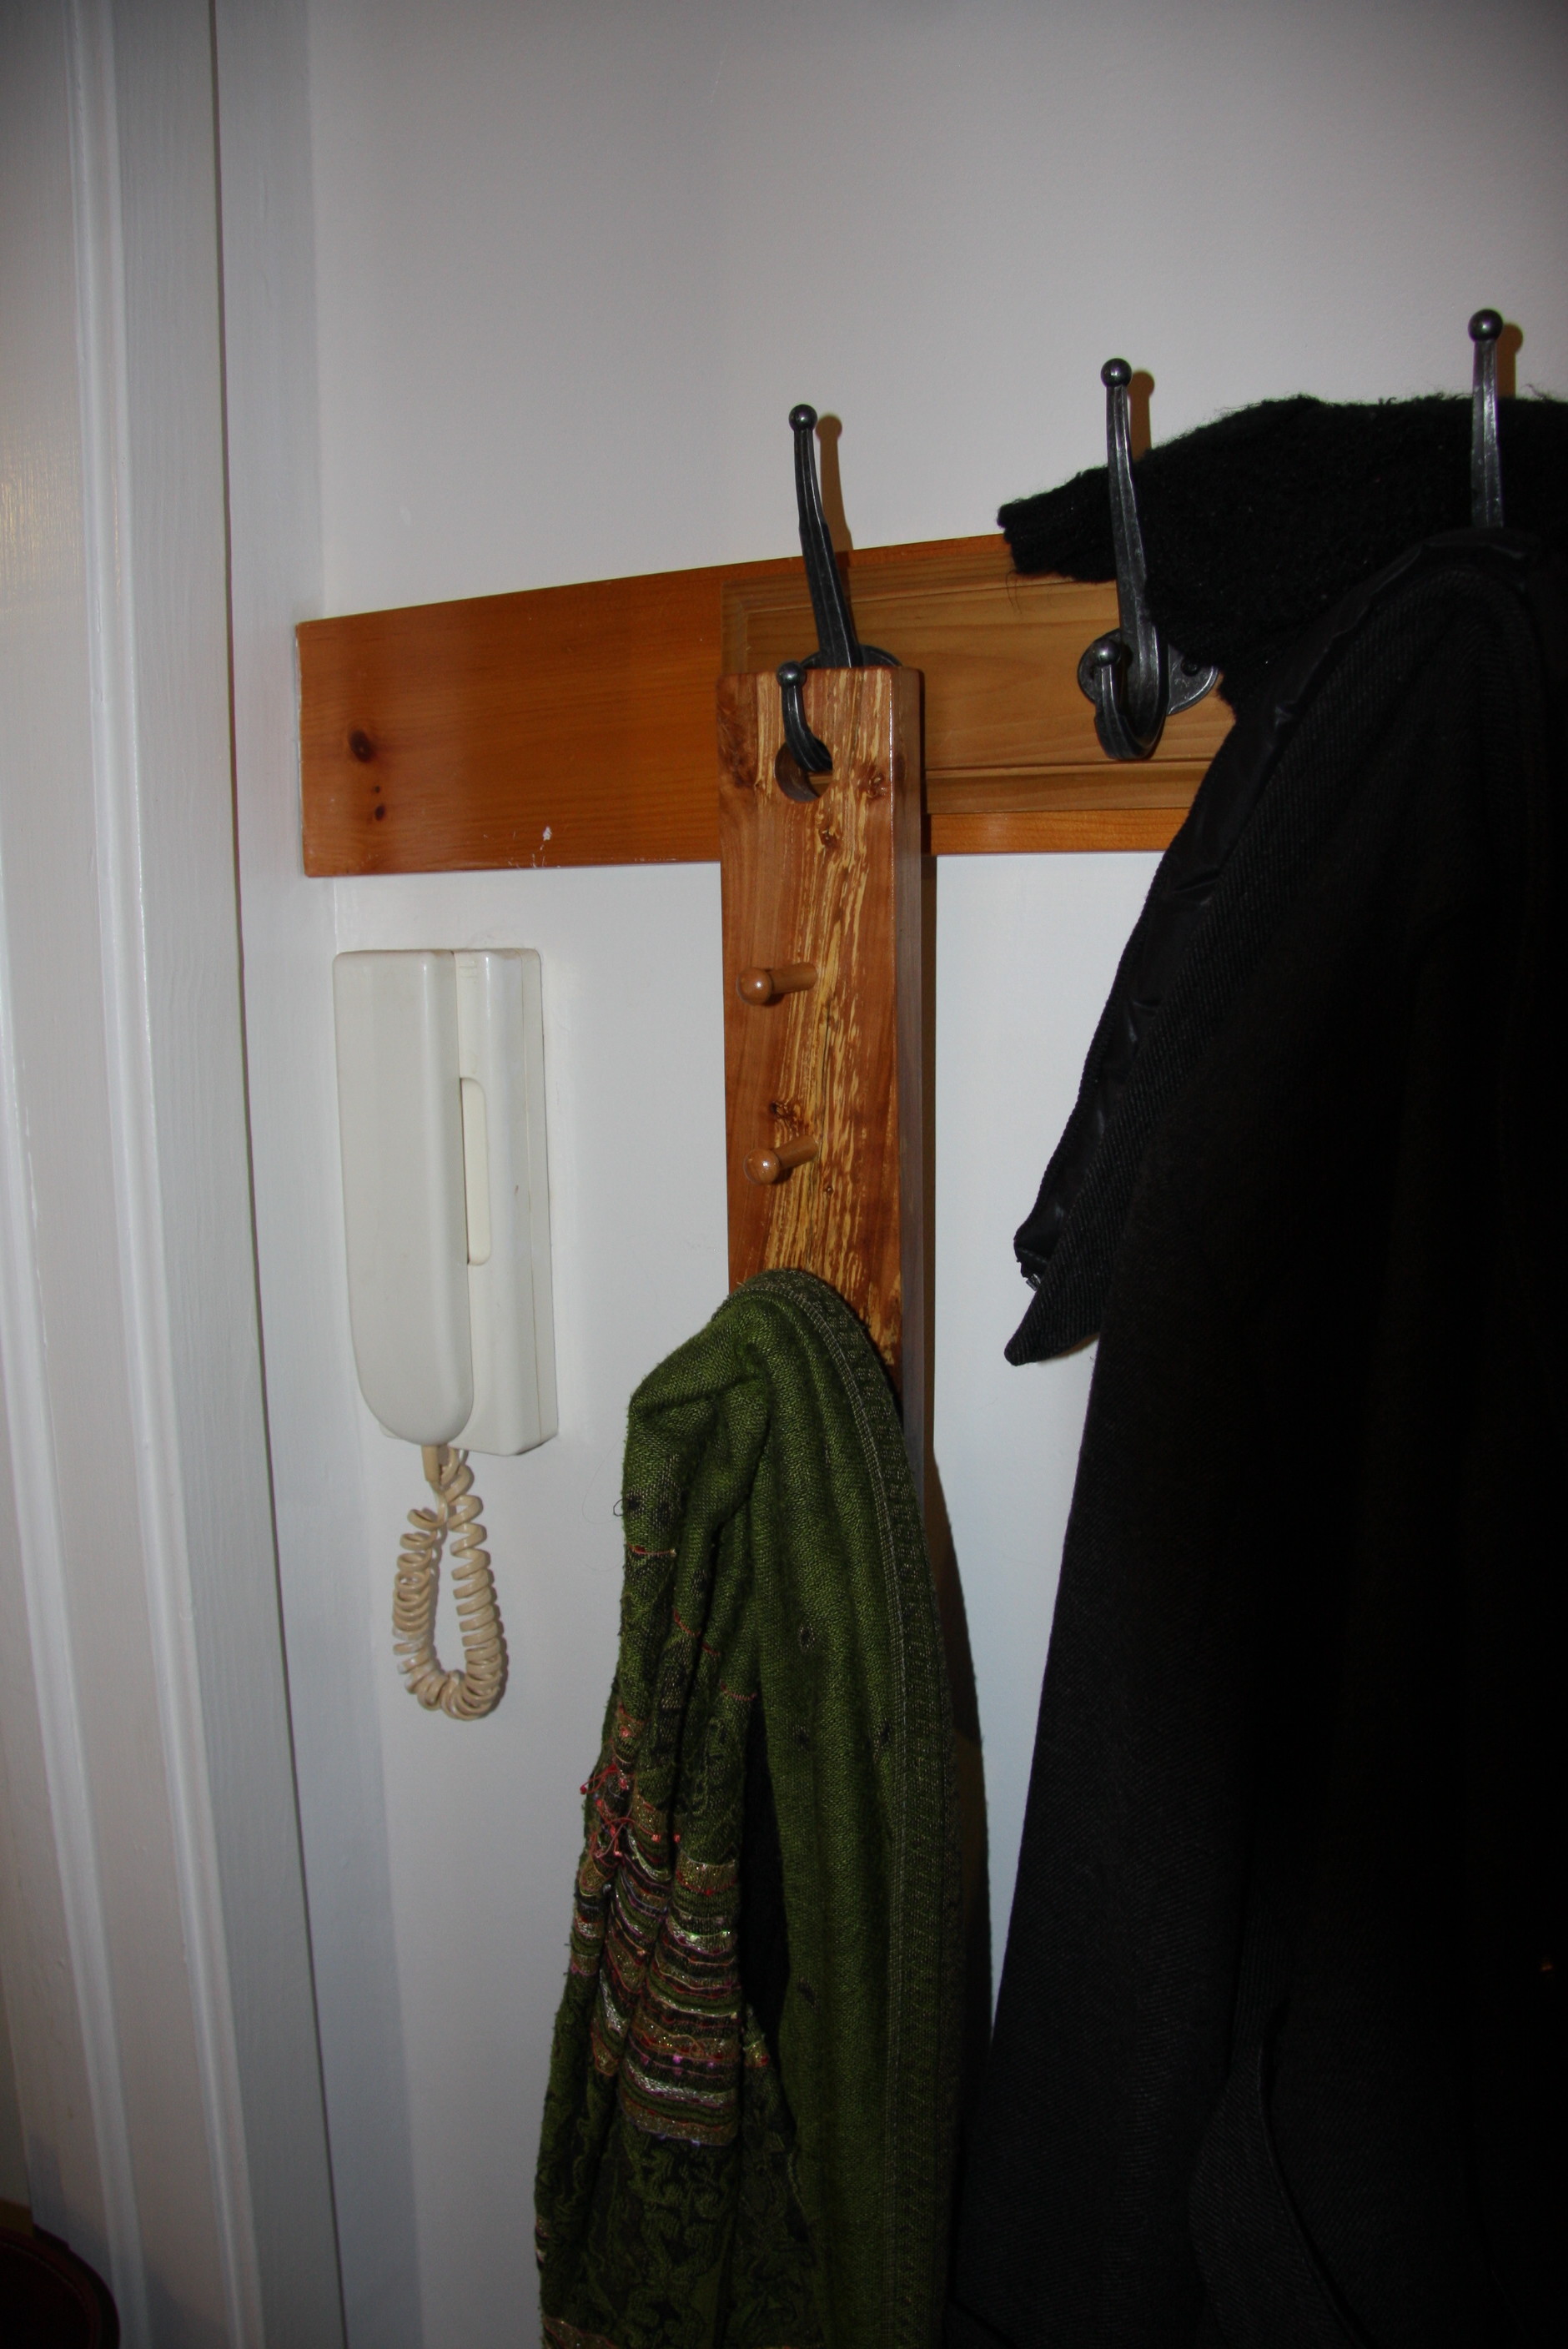
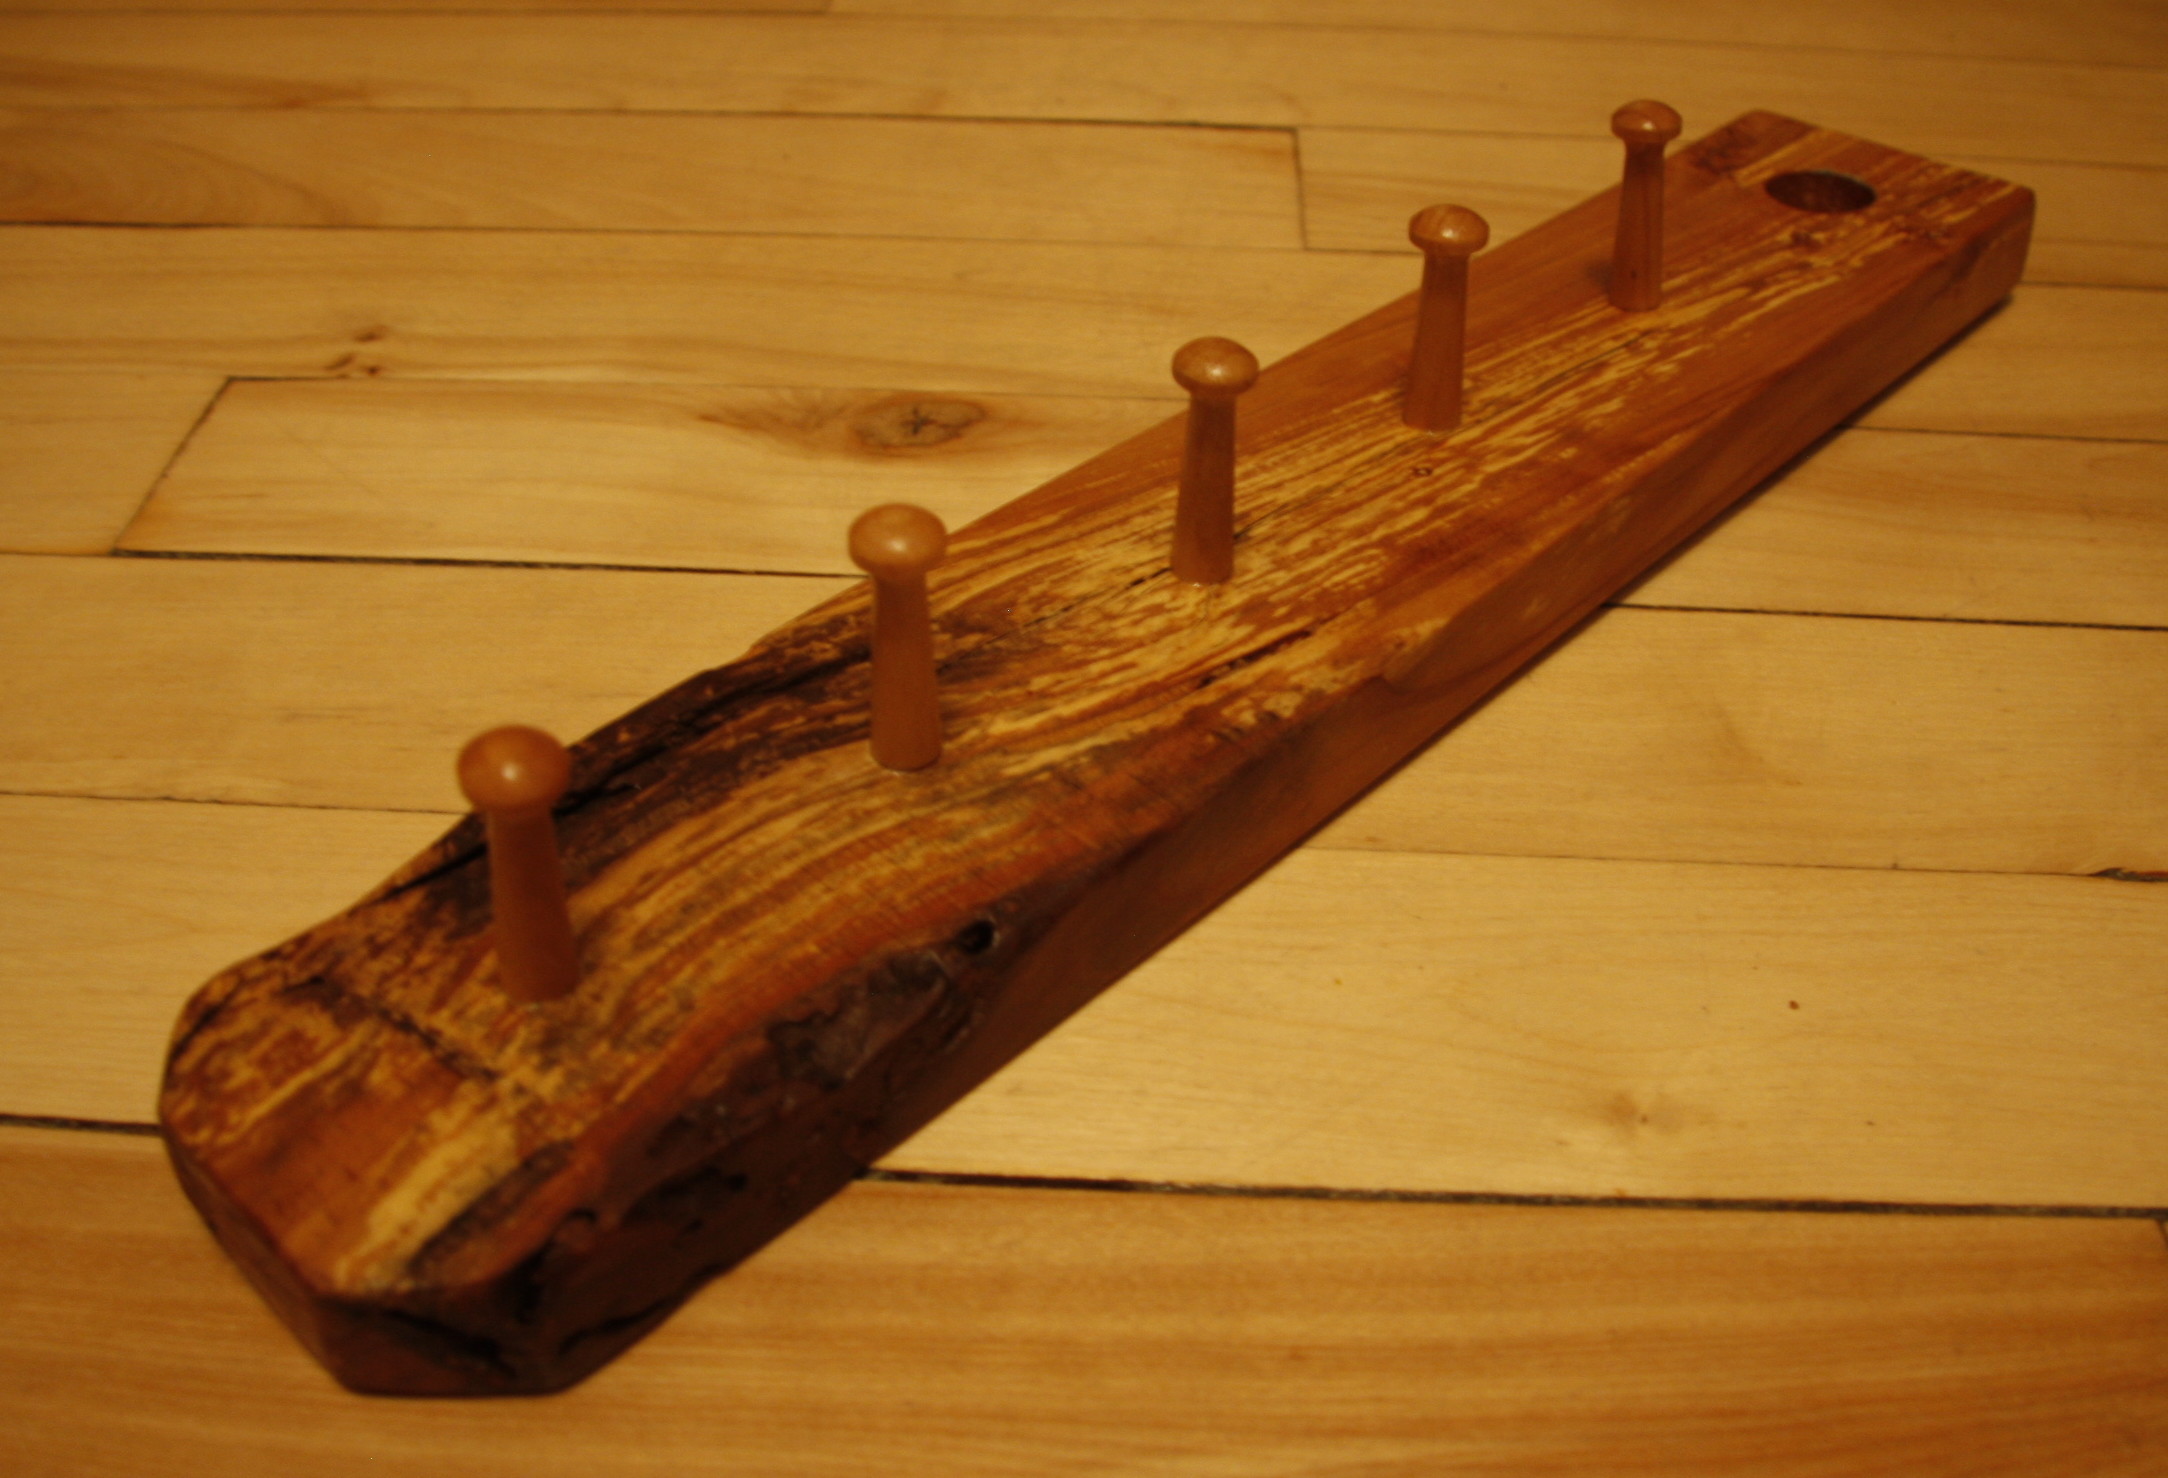
Apple tree is a pain to work with, the grain is highly irregular and convoluted and the density of the wood varies widely within the same piece. However, the end result is spectacular, especially on the more weathered down parts of the tree, which have turned multiple shades of pink, brown and black due to parasites and moisture. From log to plank, there was a huge amount of loss but through keeping the project small I managed to get something workable out of all that wood.


DIY leather wallet

After 15 years of use and abuse in my sweaty jeans, my wallet had finally reached the end of its run. Looking at a worthy replacement, I started shopping around the web and found several canditates. However, either slightly too bulky or just out of my means, I finally decided to build my own. A tedious search on the web turned up this one, a template for a simple bifold wallet with slots for two cards on each size. Careful analysis of the design indicated that there was much more to leather work than met the eye and instead of cooking up my own design only to risk the wallet not folding properly, I opted to simply follow the instructions (for once). It’s sturdy, maintainable and looks good; hopefully, it will outlast me.

Wanting to offer some as Christmas gifts as well, I ended up making three. Here is abbreviated list of the challenges I encountered during the building:

  • leather is difficult to find, be thorough in you search for sources, call every fabric shop and cobbler in your region and once you find some, get there and feel the material for yourself;
  • sewing leather is long and tedious if you want to do it properly (with saddle stitching in this case), get the right needles and be patient, I ended up going through David Attenborough’s entire series on plants and birds in the course of putting mines together;
  • burnishing the edges of the leather (ie: make them smooth and shiny) is hard and appears to not work on vegetables tanned types; you also need a burnisher, which I build by cutting a section of a branch, hooking it up to a Dremel and then sculpting it to make a groove.