Light years ahead of its northern brother, South Korea is a modern nation well advanced into modernity but that hasn’t forgotten its roots. In spite of a last century spent torn successively by Japanese occupation, a brutal war, a dictatorship and a fulgurant evolution towards first world nationhood, the Koreans have managed to remain proud, friendly and traditional people. Them too not being spared by chain stores, franchised cafés (Koreans love coffee) and restaurants we are all too familiar with – hallmarks of a now globalized culture – they nonetheless remain distinctively Asian. Things are handed out with two hands, shoes are removed upon entering a house, a good meal is eaten sitting on the floor and old ladies push you over in the metro without excusing themselves, because they the elderly are the ones who deserve respect.
Souh Korea, while essentially mono-cultural in its social fabric, is full of expatriates just working there (the US still has a lot of soldiers deployed there), taking a university semester abroad or teaching English. Out on the streets, they will not pay attention to you, not in the large cities anyway, but enter a barbecue joint in a back-alley or order a typical late-night snack at a food-truck, show up where they are not expecting white faces and they will be delighted to teach you their ways and share a drink or two with you. Even if their English is poor to non-existent.
Thankfully the Koreans are warm people, because climate wise though, it’s another story. I’ll blame it on my ignorance, but I never expected the country to be so cold during the winter. My couple first days were sort of comfortable, but it got below zero quite fast, which sadly, takes a lot away from the pleasure of walking around cities, which is my favorite way of sightseeing. South Korea is very mountainous and features numerous small islands around its coasts but sadly, these things can only be properly enjoyed in pleasurable temperature so I did not bother with them and stuck to touring cities.
Seoul
I was recommend a guesthouse by Jean-Michel but got no luck at getting a room. On weekends, the capital gets stormed by crowds of students and expats English teachers escaping from their smaller villages to get their share of Seoul’s crazy nightlife. The tenants were kind enough to direct me to a nearby establishment in which I spent a quiet night recovering from that illness I had been carrying over from my trip up North, but the following day I checked out in search for a more backpacker friendly hostel. Guesthouses are quiet, cozy and intimate. A perfect way to spend nights if you are travelling with your other half or simply in search of peace or wanting to take a break from the hectic pace of partying that generally goes in hostels, but was not the kind of stay I wanted for myself.
Some minutes on the web and I had soon found a nearby alternative: Basecamp. Normally, I do not bother writing about the places that I stay in on this blog because in true honesty, they generally end up being a twist on the same old recipe. Basecamp however, felt different. It was the low season, the levels of occupancy were way below what they normally are, but the crowd, decor and atmosphere I found there was out of the ordinary: it felt like a home away from home. A comfortable neatly decorated establishment with a very chilled-out core of people (staff and “permanent” guests) and plenty of space to get comfortable. After long days of sightseeing, coming back there felt just like returning to a pad you are renting with a bunch of good friends.
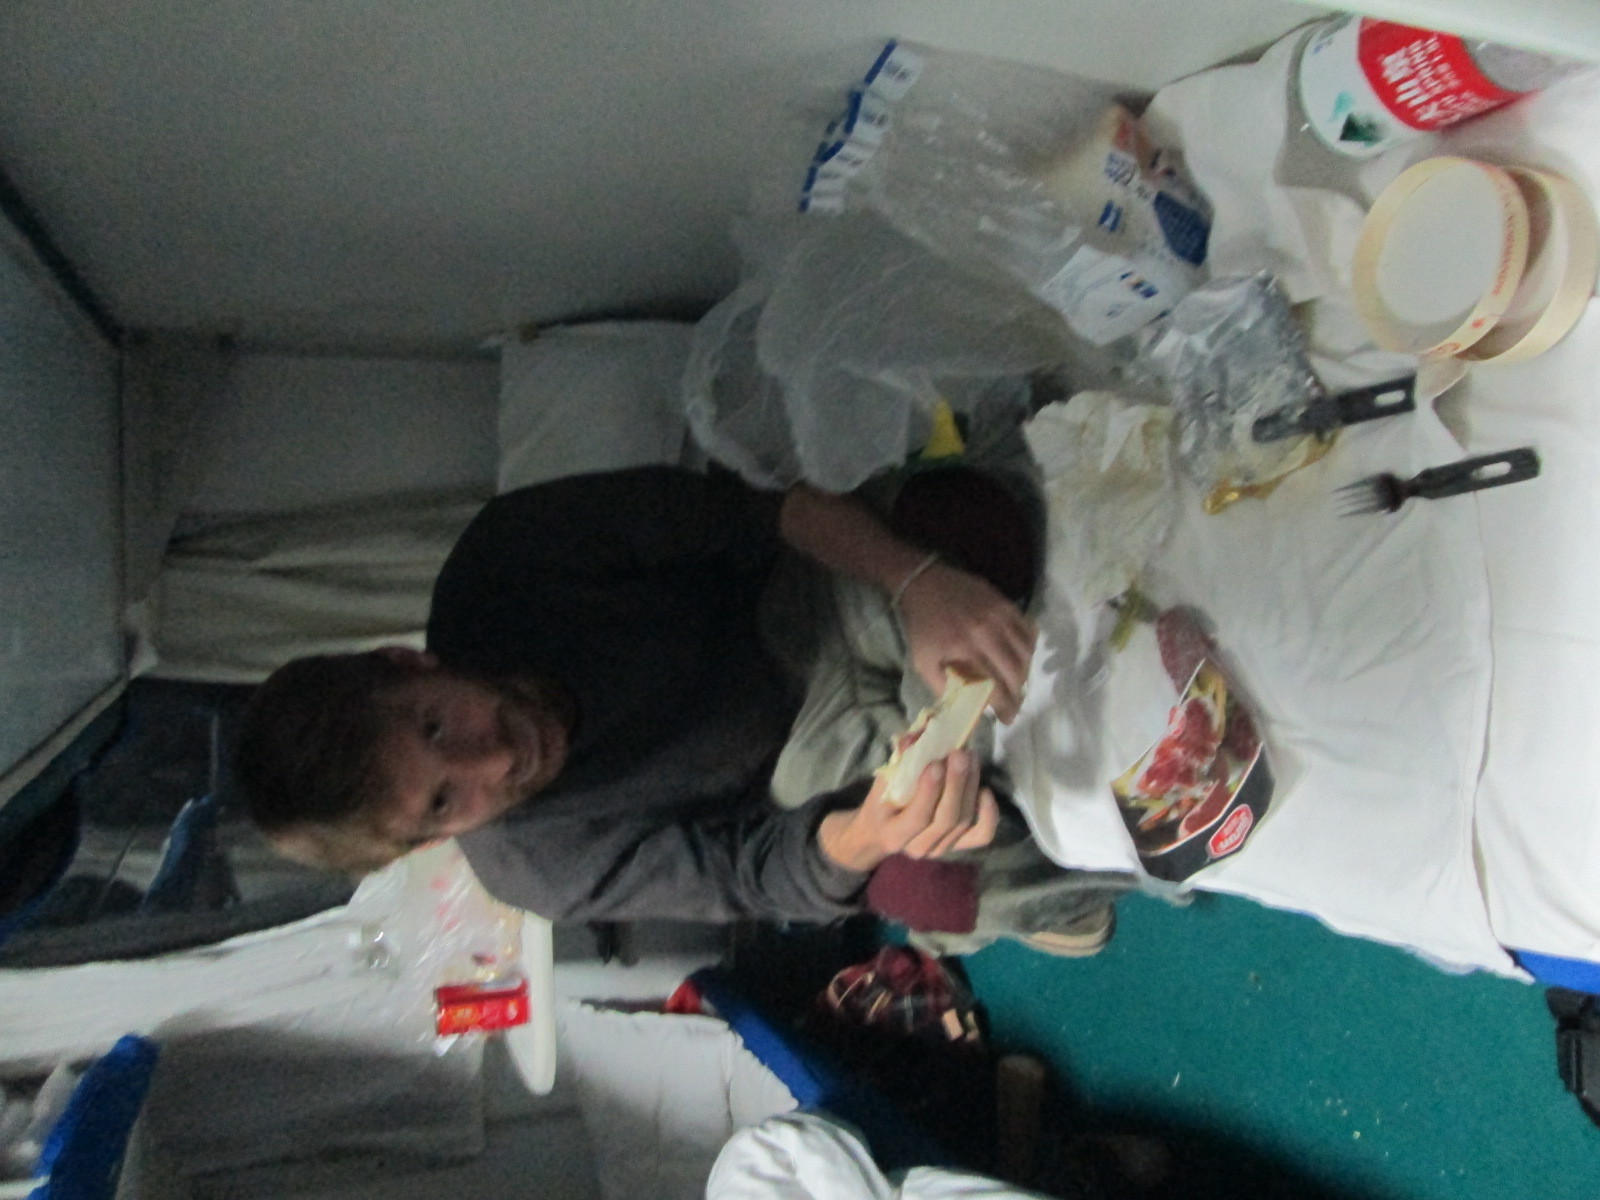
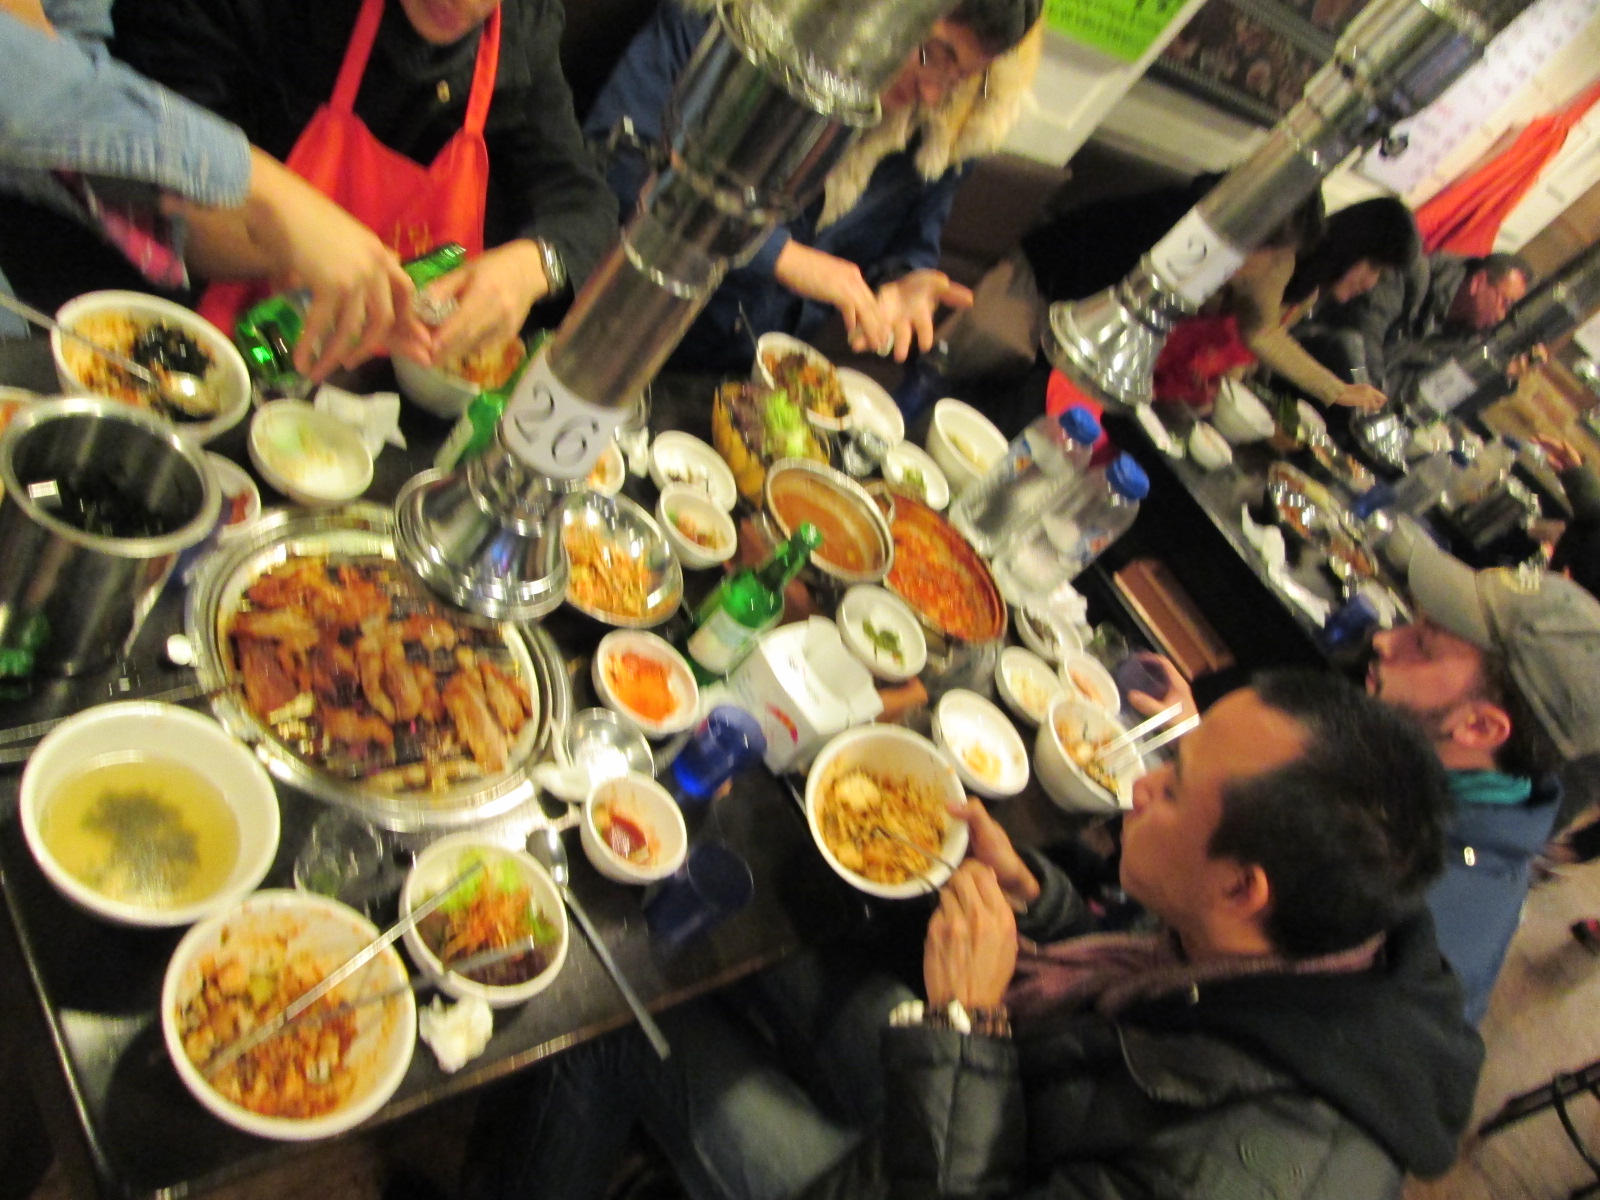
That very same day that I arrived, it was someone birthday so we did the obvious thing to do on that occasion while in Seoul: we went for some drinks in Hongdae. The bars themselves were nothing to write about, the interesting part came afterwards: the jjimjilbang. Koreans are fond of hot baths and time of manly (or womanly, they are segregated) relaxing with their buddies or on their own and the jimjilbangs provide just that opportunity to recuperate from a hard day’s work or hard night drinking. A 24/7 spa complex with sauna, cold and different levels of hot pools, restaurant, barbershop, books, and even a huge area to crash afterwards, it has everything one needs for a quick getaway from the stress or city life. So all inebriated that we were at 3 am, we all undressed, went through a couple of cycles of hot and cold and then collapsed into sleep on the heated floor in the lower levels, all that for less than 10$. It was great fun.
A couple hours later tough, I woke up to a classic case of “Where the f*ck am I?”. Dehydrated, could not find any of my friends (some where still there, it was just hard telling one Korean from another in that situation) an thoroughly confused, I dressed up, exited the jimjilbang and set off in a random direction; we had switched bars too many times the last night for me to remember where I was. Luckily, my guardian angel was watching over me that morning. I managed to stumble my way back to the hostel in optimal time and then went right back to bed.
– I’m currently writing those lines on a rough sea aboard a ferry towards Japan while sipping on some makgeolli (rice wine). A weird feeling I tell you! –
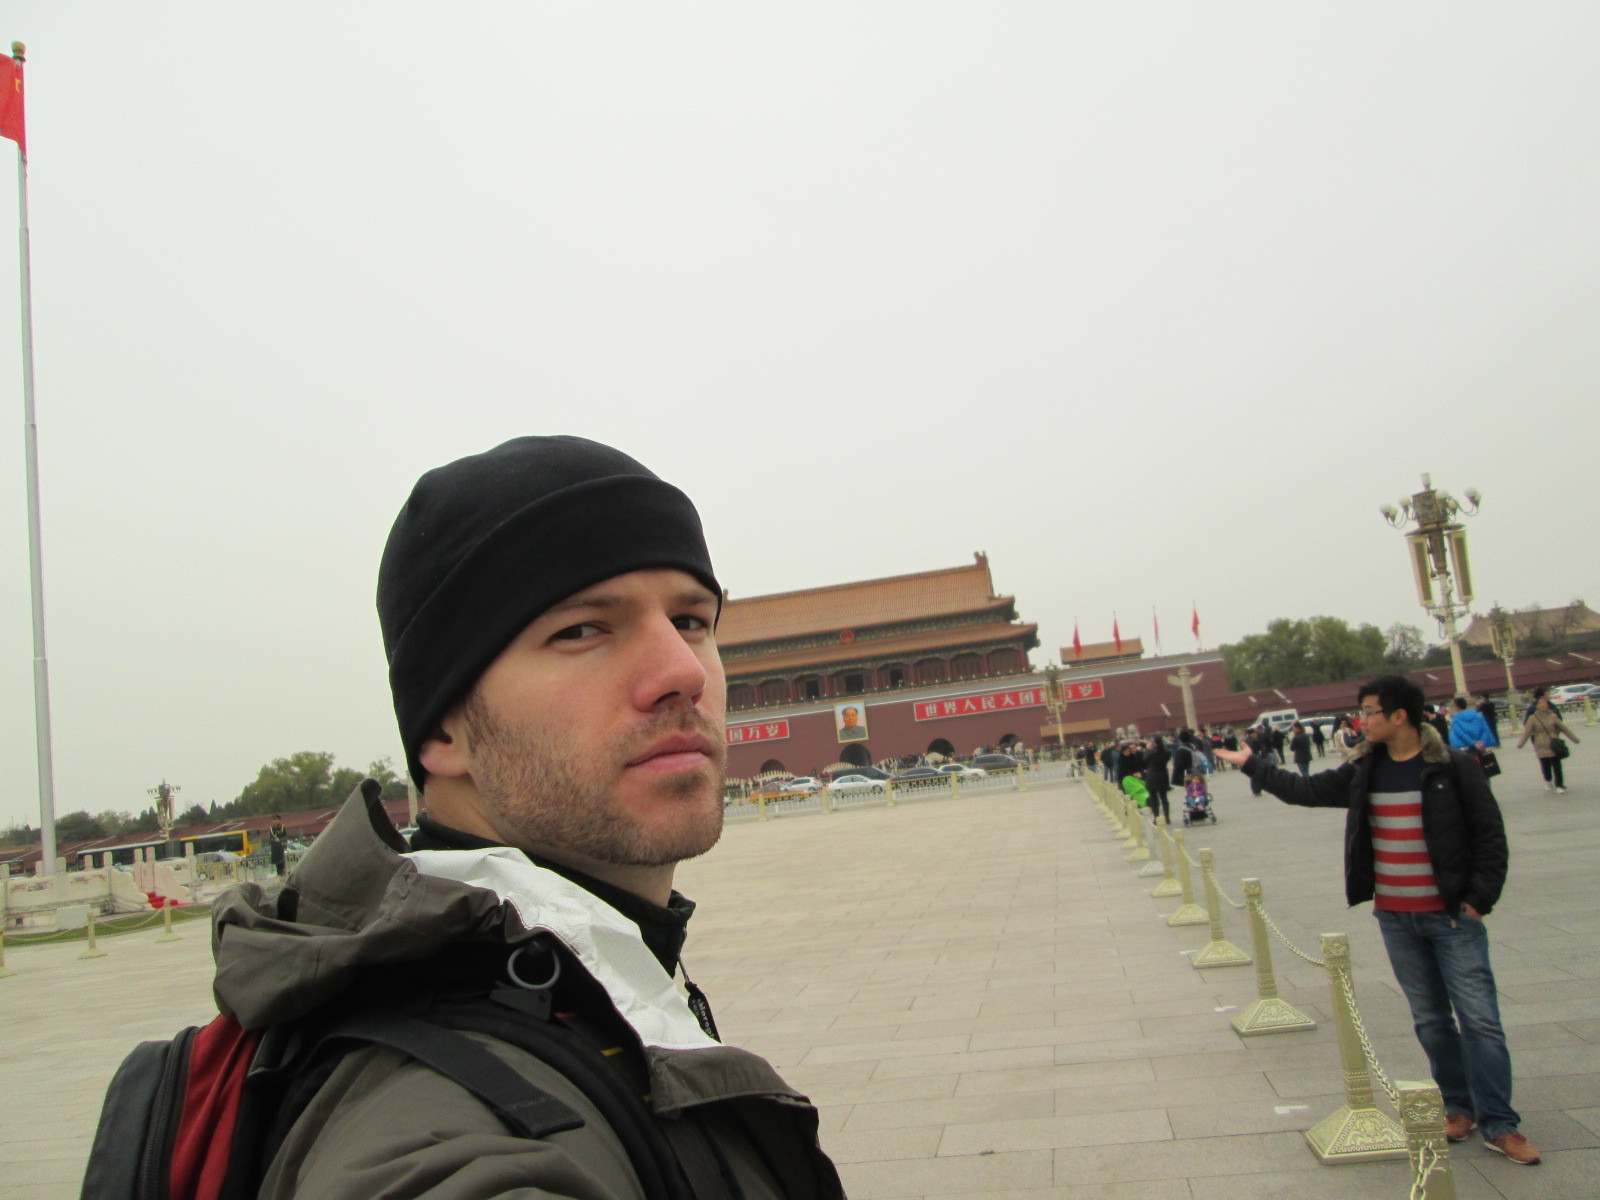
Anyway, the subsequent days would be filled with aimlessly walking around, checking cool architecture, going to museums and eating some weird things at street stalls or in restaurants. Seoul has a couple of historical landmarks, some palaces mainly, but frankly they look just like what can be found China and as a matter of fact, are self-admittedly inspired by that culture. Otherwise, no must-see sights like most European capitals usually have. In many regards, it compares itself to cities like those found in North-America which, due to their very recent history, have nothing especially picturesque or typical about them. Compound that with poor Seoul’s history of colonization, war and lightning-fast modernization and you’ve got an overall pretty disappointing touristic experience. That is if you tour it from inside a bus but there is something about Seoul that makes it enjoyable (even in subzero weather) just to be in. Is it the Koreans? Is it the food? Is it the parks? Is it the fact that it’s a city that goes at your own pace? That there is no pressure at all to see all the sights? That whatever the amount of time you can afford to spend visiting, there will be no fear of missing out on anything? Certainly a combination of all. In spite of being the mega-metropolis that it is, Seoul has enough in itself to please every kind of traveler. And it’s not that expensive too, at least not as expensive as I was expecting it to be. A bed in an hostel runs for less than 20$ a night and a good hearty meal of bi bim bap (rice and vegetables) goes for about 6$. Add to the mix plenty of servings of makgeolli, some soju (local vodka), good people, the occasional Korean barbecue and you just might get stuck there (like the guys at Basecamp). On visiting the very-large local seafood market, we discovered that we could get enough sashimi for two for a mere 10$. Made with fresh fish right in front of us, it was a bargain I could not pass on. The next day, I ordered some more from a German girl that was going there as well. I was starting to really like Seoul.
The DMZ
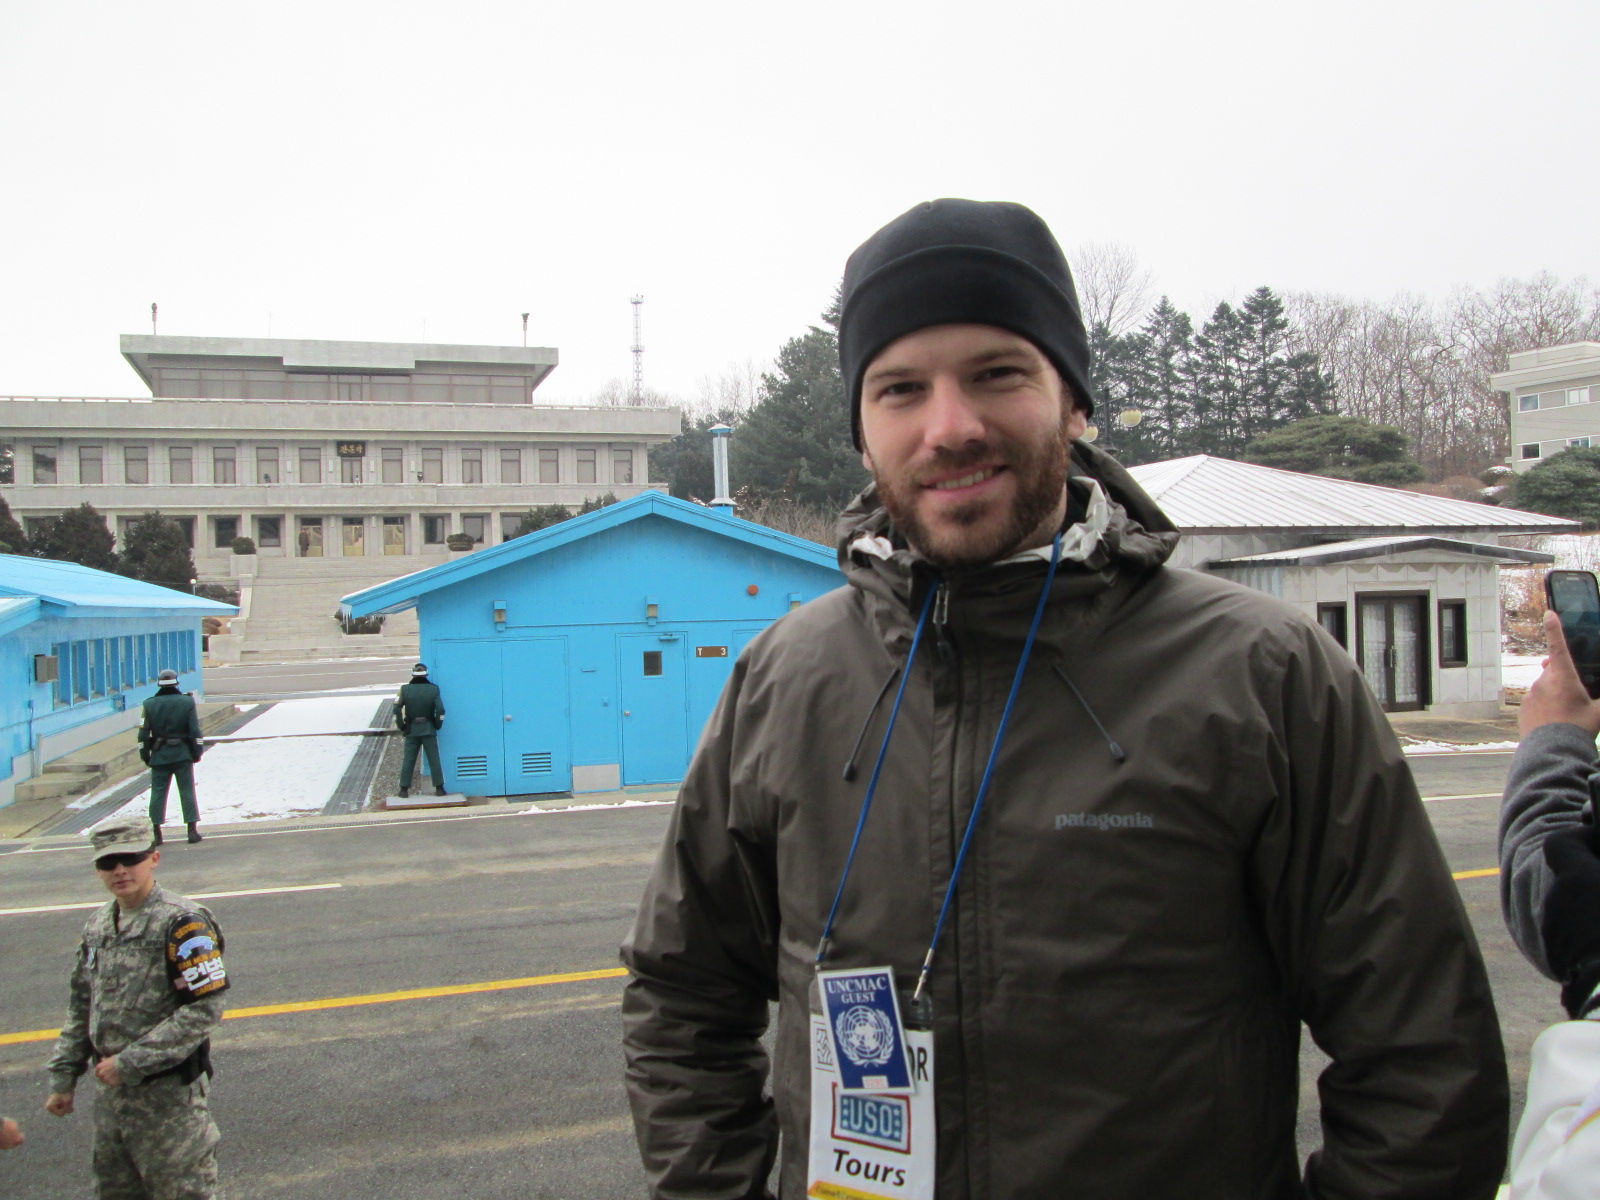
Seoul lies a frightening 40 kilometers from the North Korean border and having been to the other (dark?) side, I just had to get to the DMZ (De-Militarized Zone) to see friendly Kim Jong-Un’s land from the south, if not to have a picture of me standing on both sides of a border of which any attempt at crossing it would get you shot in no time. No tour of the DMZ is complete without a visit at the Joint Security Area (JSA), the divide that separates two nations narrows down to a point where both sides of the peninsula are within arm’s reach of one another. I had seen the DMZ during my trip in North Korea and now wanted to see it from the other side, but while we had a snowball fight up north, entering this area from the south was serious business. Single file, not allowed to point, to talk loudly, to take pictures of the South-Korean side and with soldiers in the modified taekwondo pose all around us, the tension was definitely palpable. Quite a paradox and a sad one at that, only furthering the whole absurdity of the situation these two countries are in.
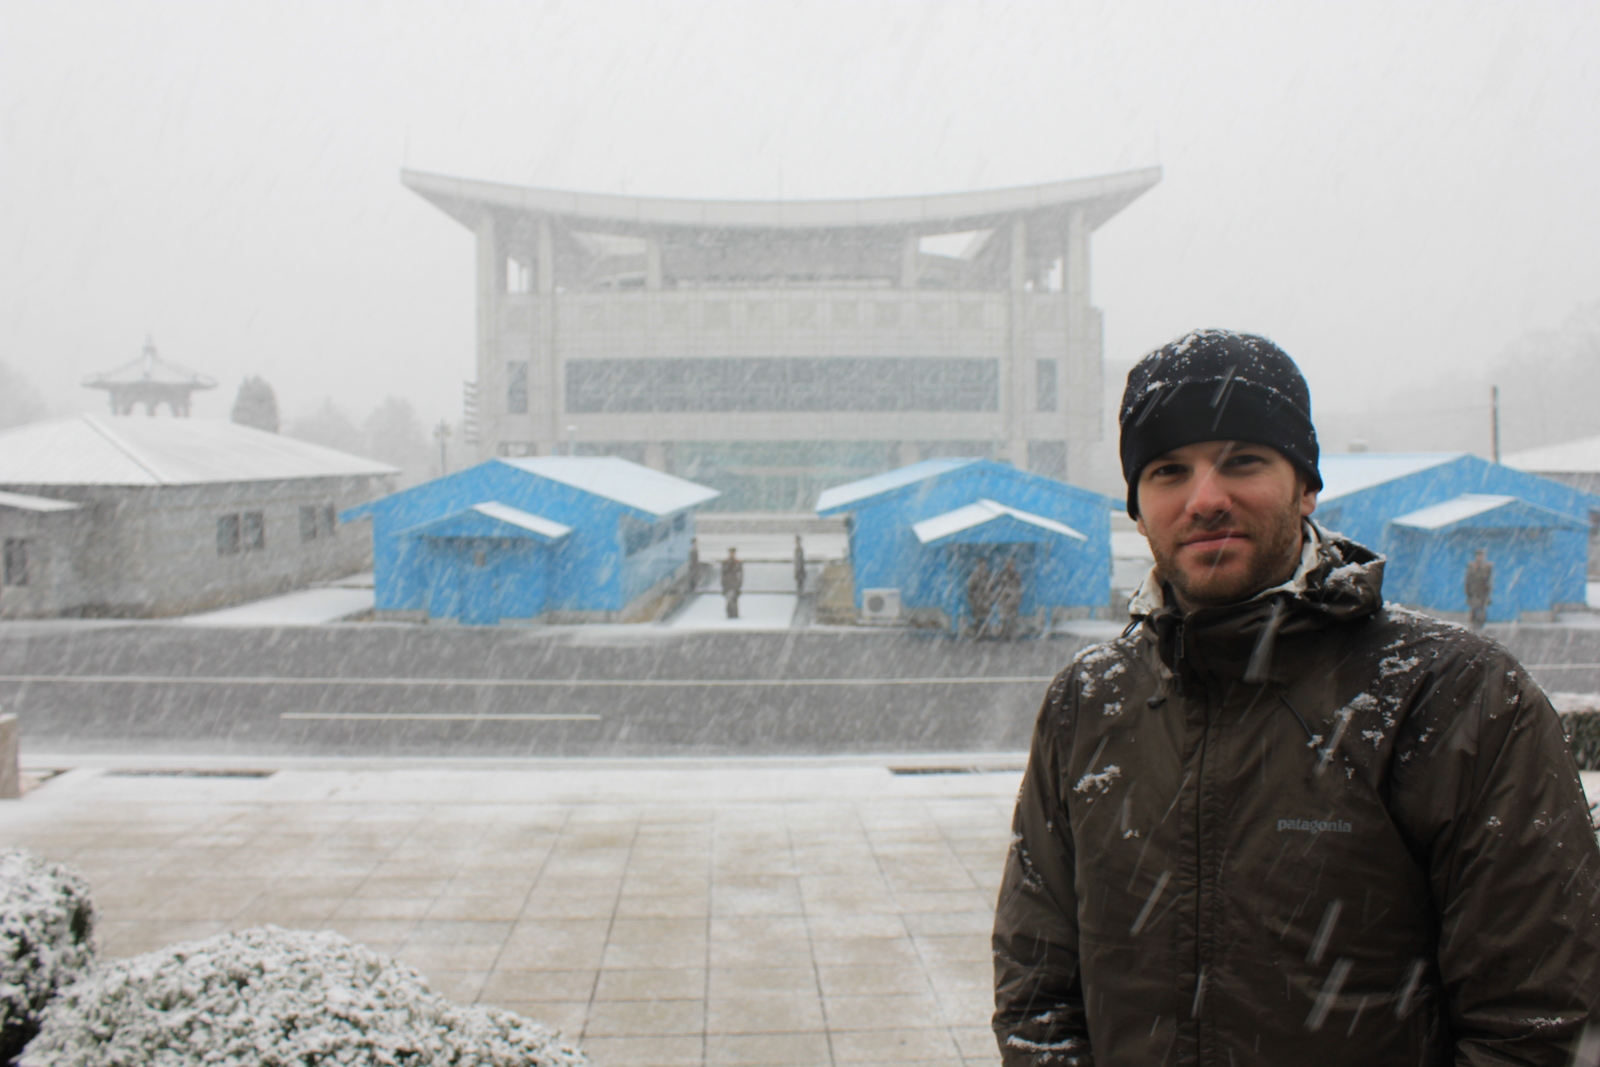
Since the whole area is still under military control, there is no going there on your own, you have to be part of a tour which will normally include other sights in the area to make a complete day but the highlight is always the JSA. We went to the train station on the way to Kaesong that was built ten years ago when both North and South were on a path to friendlier relations (no longer the case) and visited the third tunnel, one of many underground passages the North Koreans dug under the DMZ to invade the south. We were also supposed to visit an observatory where North Koreans casually going about their lives can be spotted with binoculars but it was snowing pretty heavily the whole day so visibility was almost nil; just as it did when I was on the North side. Coincidence? I think not, the North Koreans must have deployed a snow making device in the vicinity to prevent the south from peering into their activities at the border…
I the day ended by visiting the War memorial museum, just to keep on my Korean conflict related sightseeing spree. How did it fare out compared to its North Korean counterpart when it came to historical accuracy? Slightly better I would say, but even more so now I am convinced that the truth about this whole ordeal lies somewhere in between. A truth that will never be known. History follows the course of the winners.
Busan
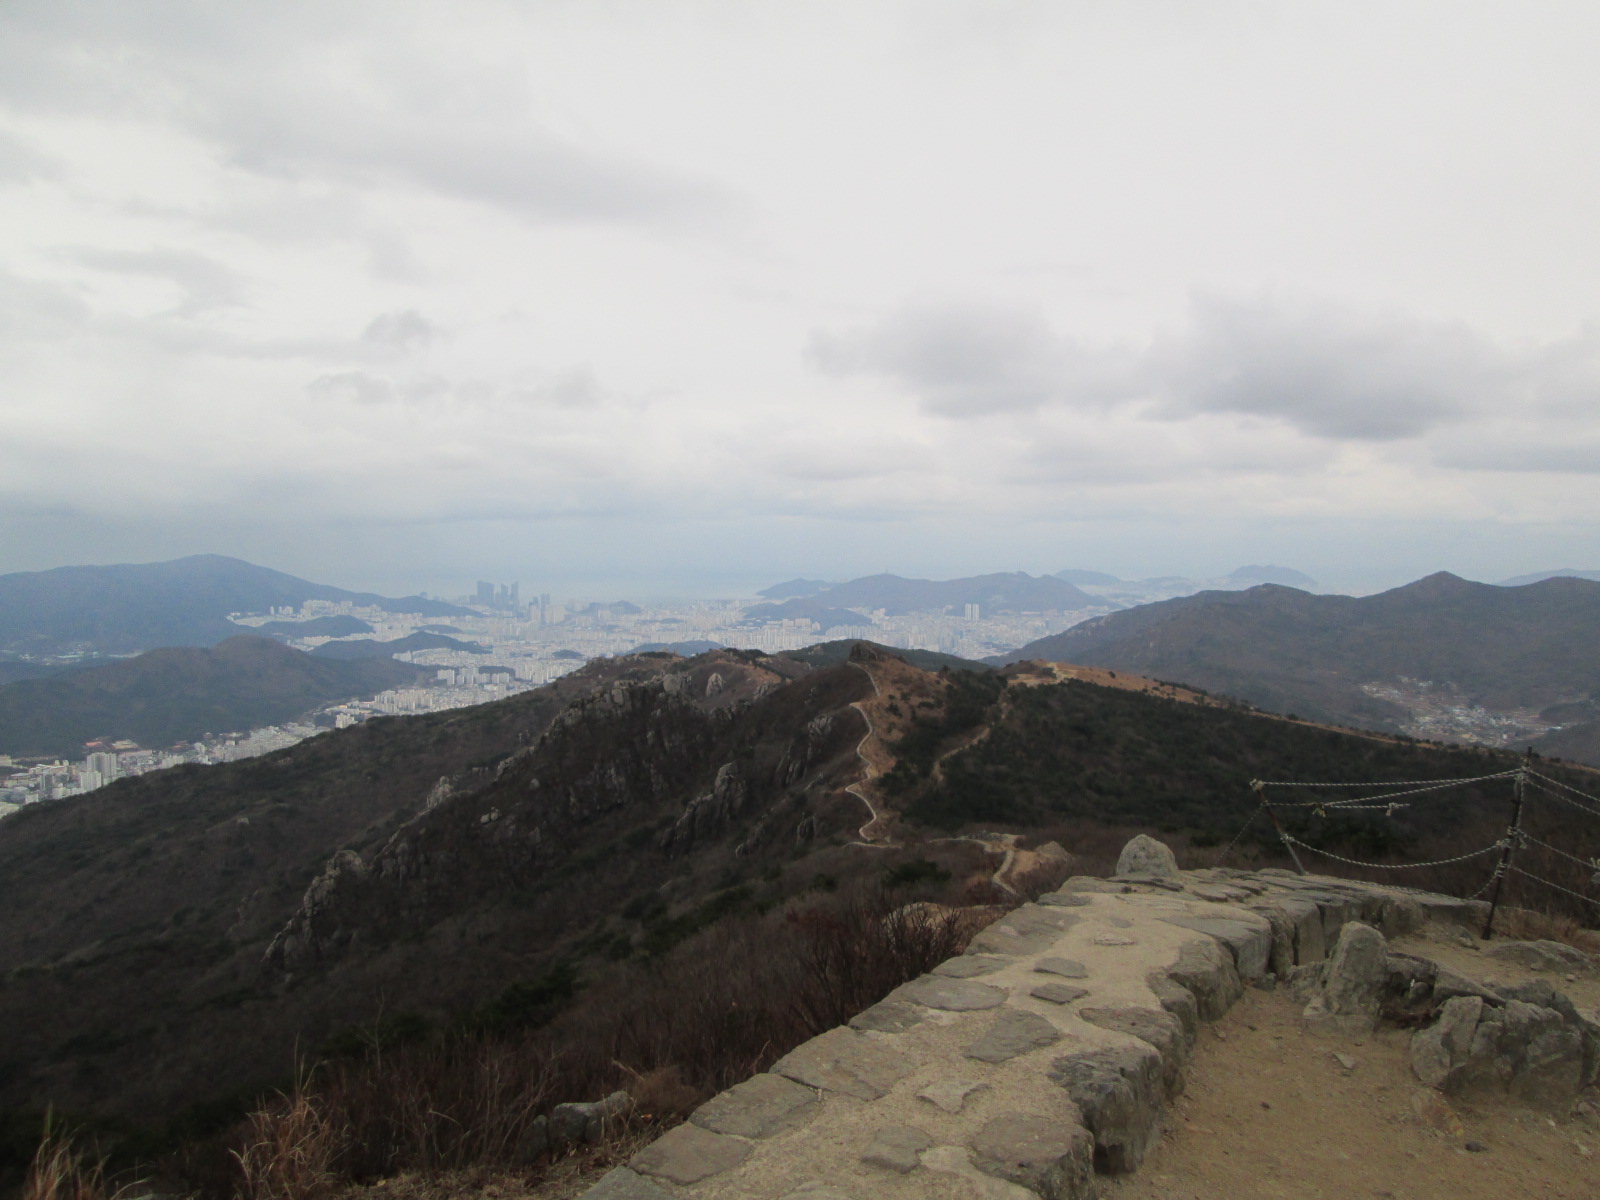
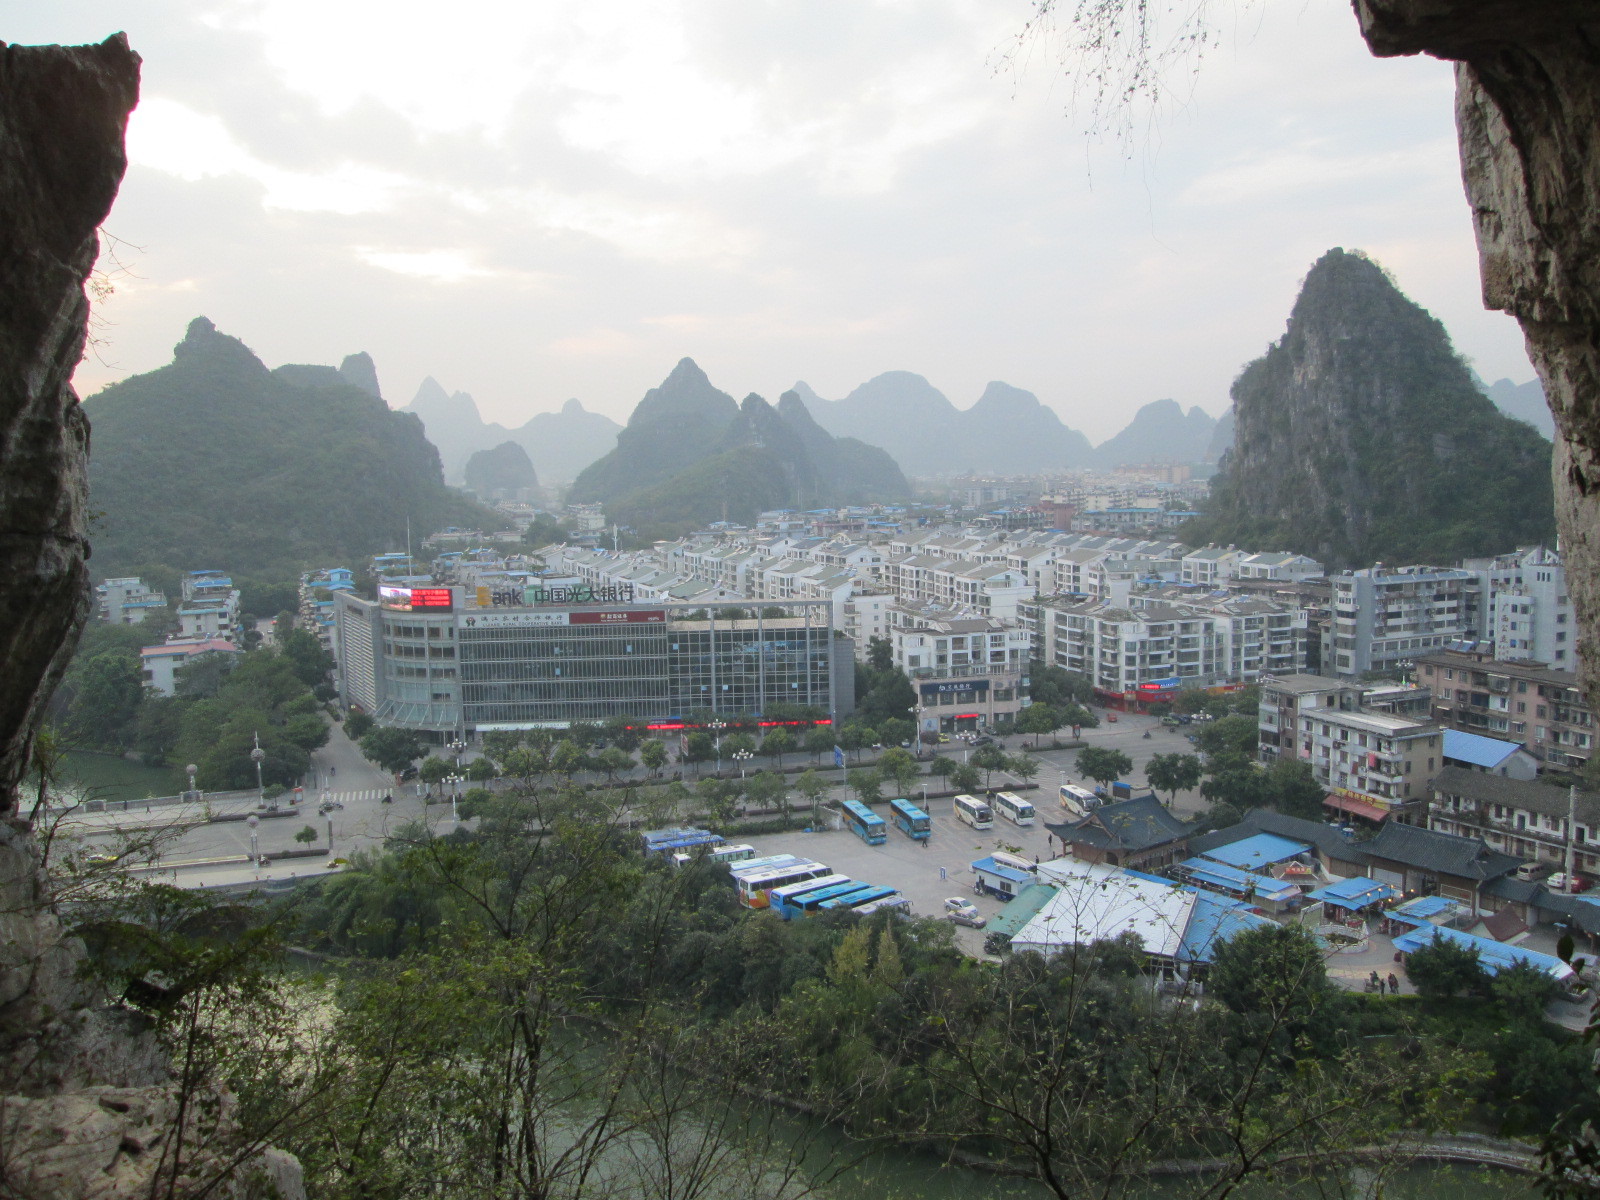
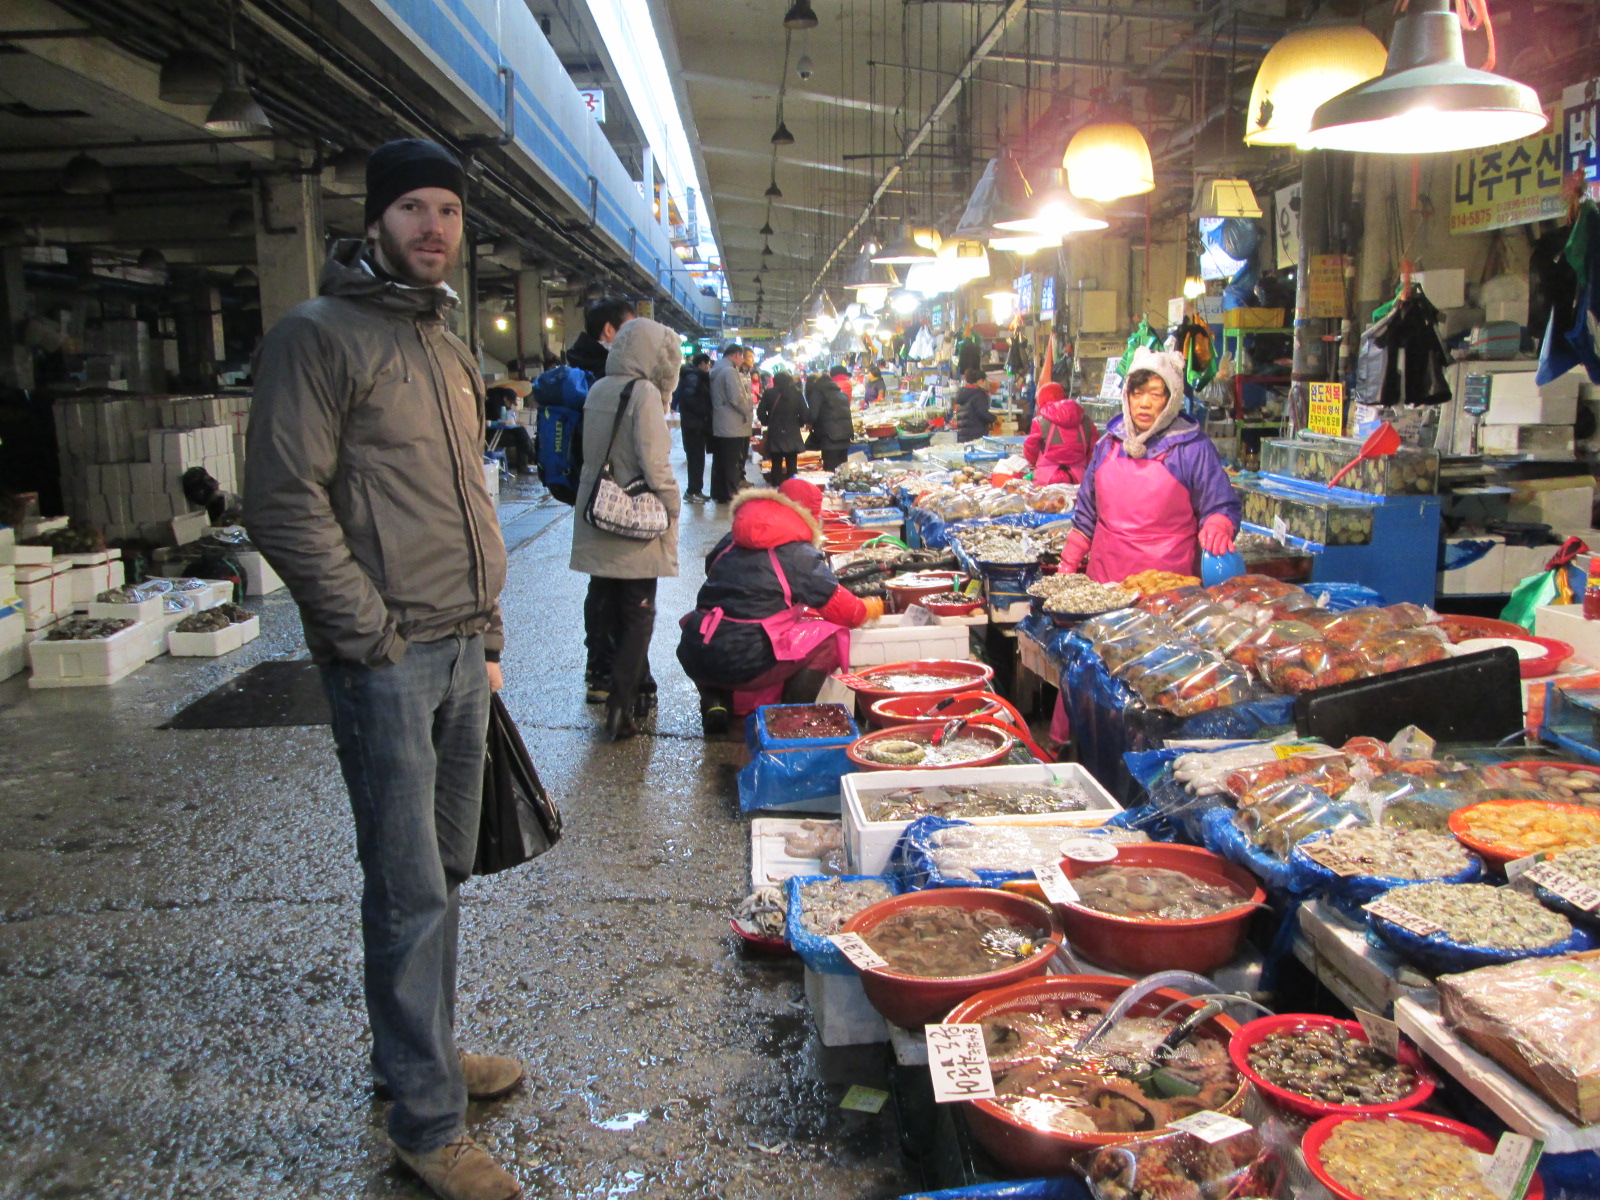
Not wanting to get stuck I had to leave Seoul and carry on with my travels by heading to Busan, Korea’s second largest metropolis and a port city at the peninsula’s southernmost end. My plan being taking the ferry to Japan, a more ecological, cheaper and potentially more enjoyable option, I had to go there anyway so I figured it would make a nice second stop. The couple days that I stayed in this city were relatively uneventful. I did some hiking in a very large park that apparently used to be a walled-up fortress and at close to 20 kilometers of circumference, the walk took pretty much all the afternoon and actually ended in the dark. The wall having been build on a mountain ridge just like its Chinese counterpart, it provided great views of Busan, built on a rugged coastline among large hills. The following day, I did some more walking around, this time checking out the UN Korean War memorial cemetery and the fish market, which apparently is the largest in Asia. If you have a taste for seafood and are not too sensitive to the strong stench found there, it’s an amazing experience, with tanks full of octopuses, giant spider crabs and other bivalves, you can order your purchase to be prepared and sent to restaurants on the top floor for you to consume it right away, at its freshest. Sadly, I could not find sashimi.
The hostel I was staying at doubled itself as a language school and the gimmick was that travelers were given a bed and food provided they were willing to partake in some cleaning-up duties and chat with the Korean clients that came in to practice some English. A good way to slow travel, working at hostels is and excellent way to deepen your knowledge about an area, meet other people and save some money. About 20 foreigners or so were being employed there, all living in close-quarters in an apartment dedicated to the staff and certainly appearing to be having a blast in Busan. Not that I was really considering stopping there, the urge to get to South-East Asia is too strong for me to take an extended break in cold South-Korea, but the age difference really struck me when in place of a good discussion around some makgeolli, a casual evening out ended up in uncontrollable giggling and selfie taking.
In search of a better crowd to spend my time with, I hopped on the ferry the next day and left the Korean peninsula for Shimonoseki, Japan.