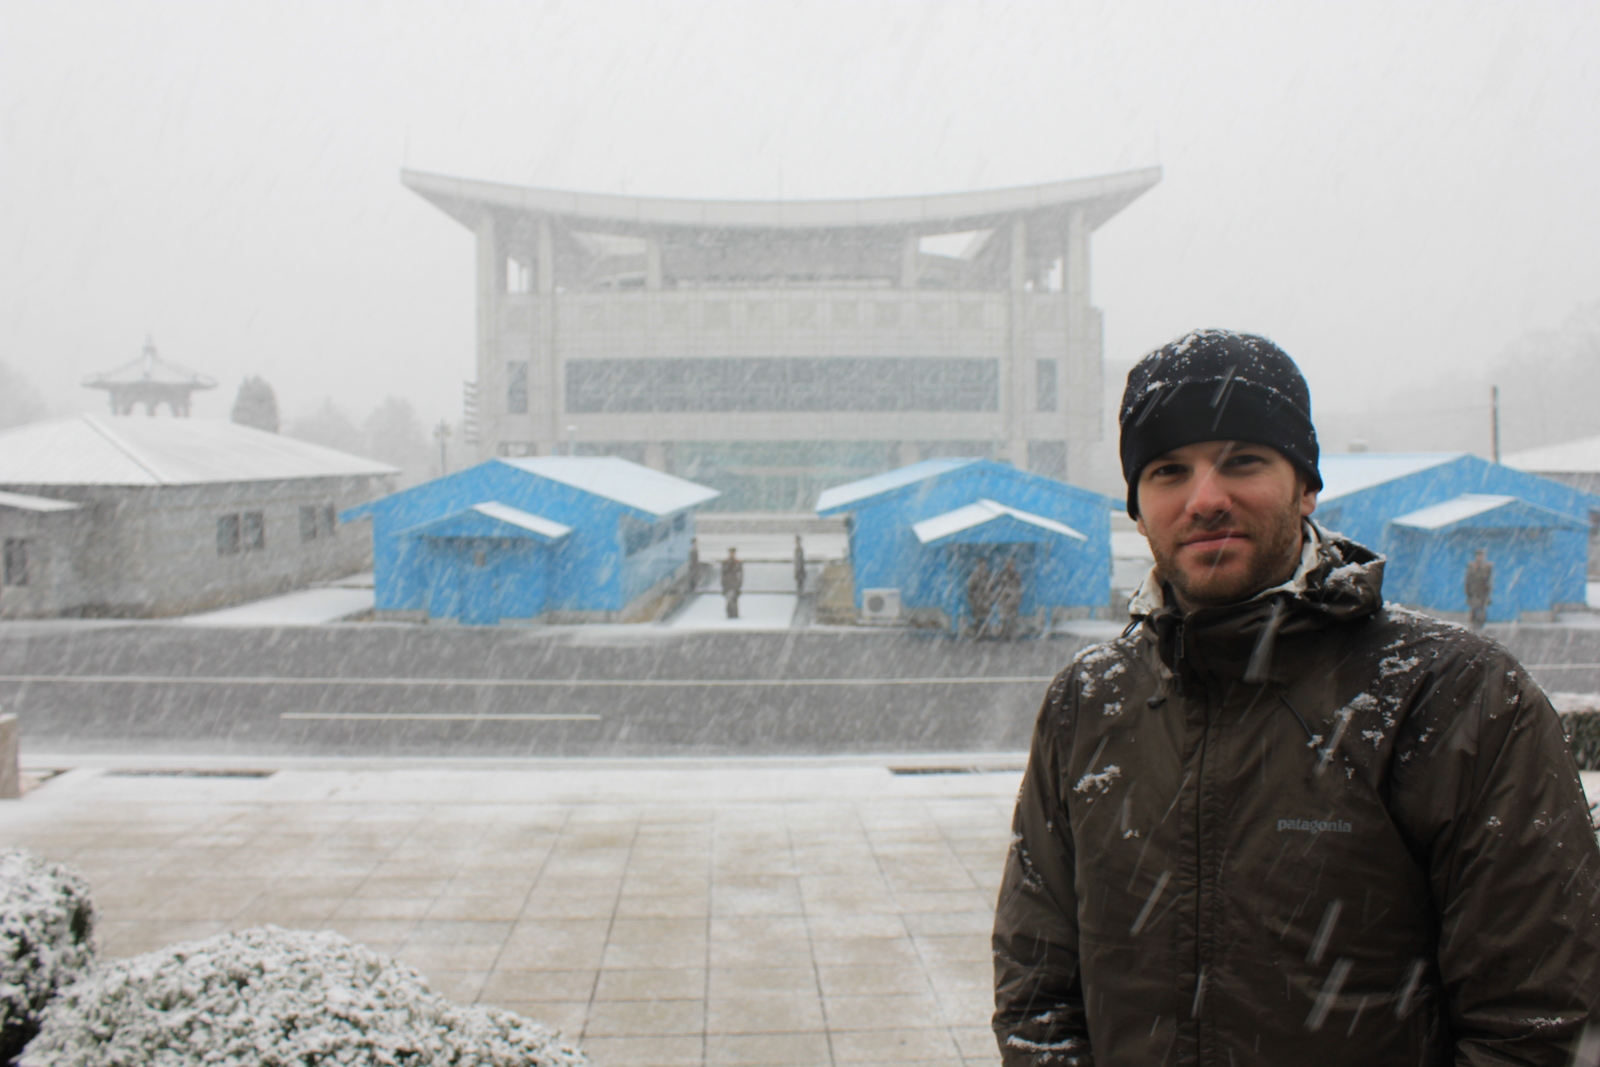
Tel que promis à certain d’entre vous, les paragraphes qui suivront seront entièrement rédigés en Français.

Shimonoseki, la ville dans laquelle je suis débarqué depuis la Corée du Sud, n’avait pas grand intérêt alors de suite, je me suis dirigé vers la gare pour prendre un train vers la fameuse Hiroshima. Seulement après trois heures et de multiples transferts ais-je finalement réussi à prendre place dans le Shinkanzen (le TGV japonais). Le pays étant desservi dans son ensemble par un très fiable réseau ferroviaire, il est possible de se rendre presque n’importe où sans jamais avoir à emprunter d’autobus. Par contre, ceci a comme conséquence que s’orienter dans le dit réseau est loin d’être facile et comme pauvre petit gaijin fraichement arrivé au pays, j’en ai fait les frais. À chaque reprise, les employés de la gare ont été immensément serviable et se pliaient en deux (littéralement) pour m’aider mais toujours, la barrière de langue m’empêchait de correctement les comprendre ou de leur expliquer que le Shinkanzen étant hors de prix, je tentais de faire le plus de chemin possible à bord du train conventionnel. Bref, après 1h de train à 75$, je suis débarqué dans la ville de la bombe atomique.
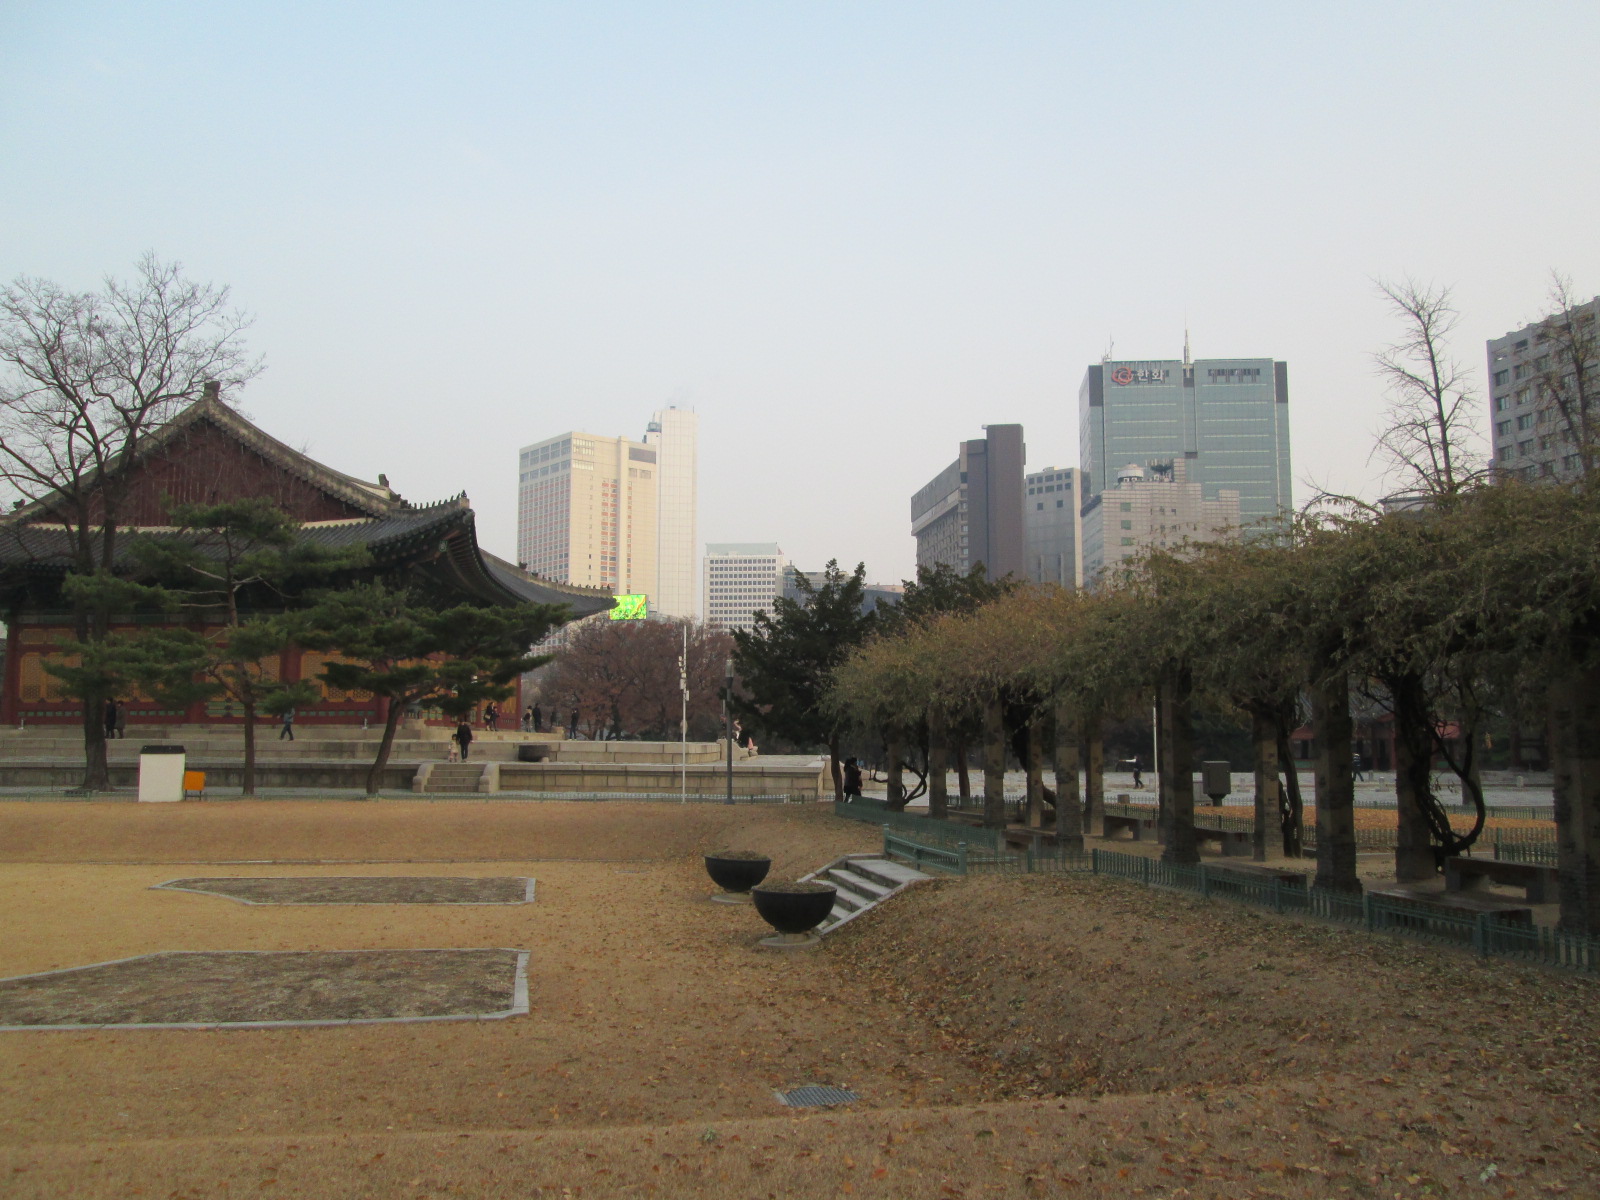
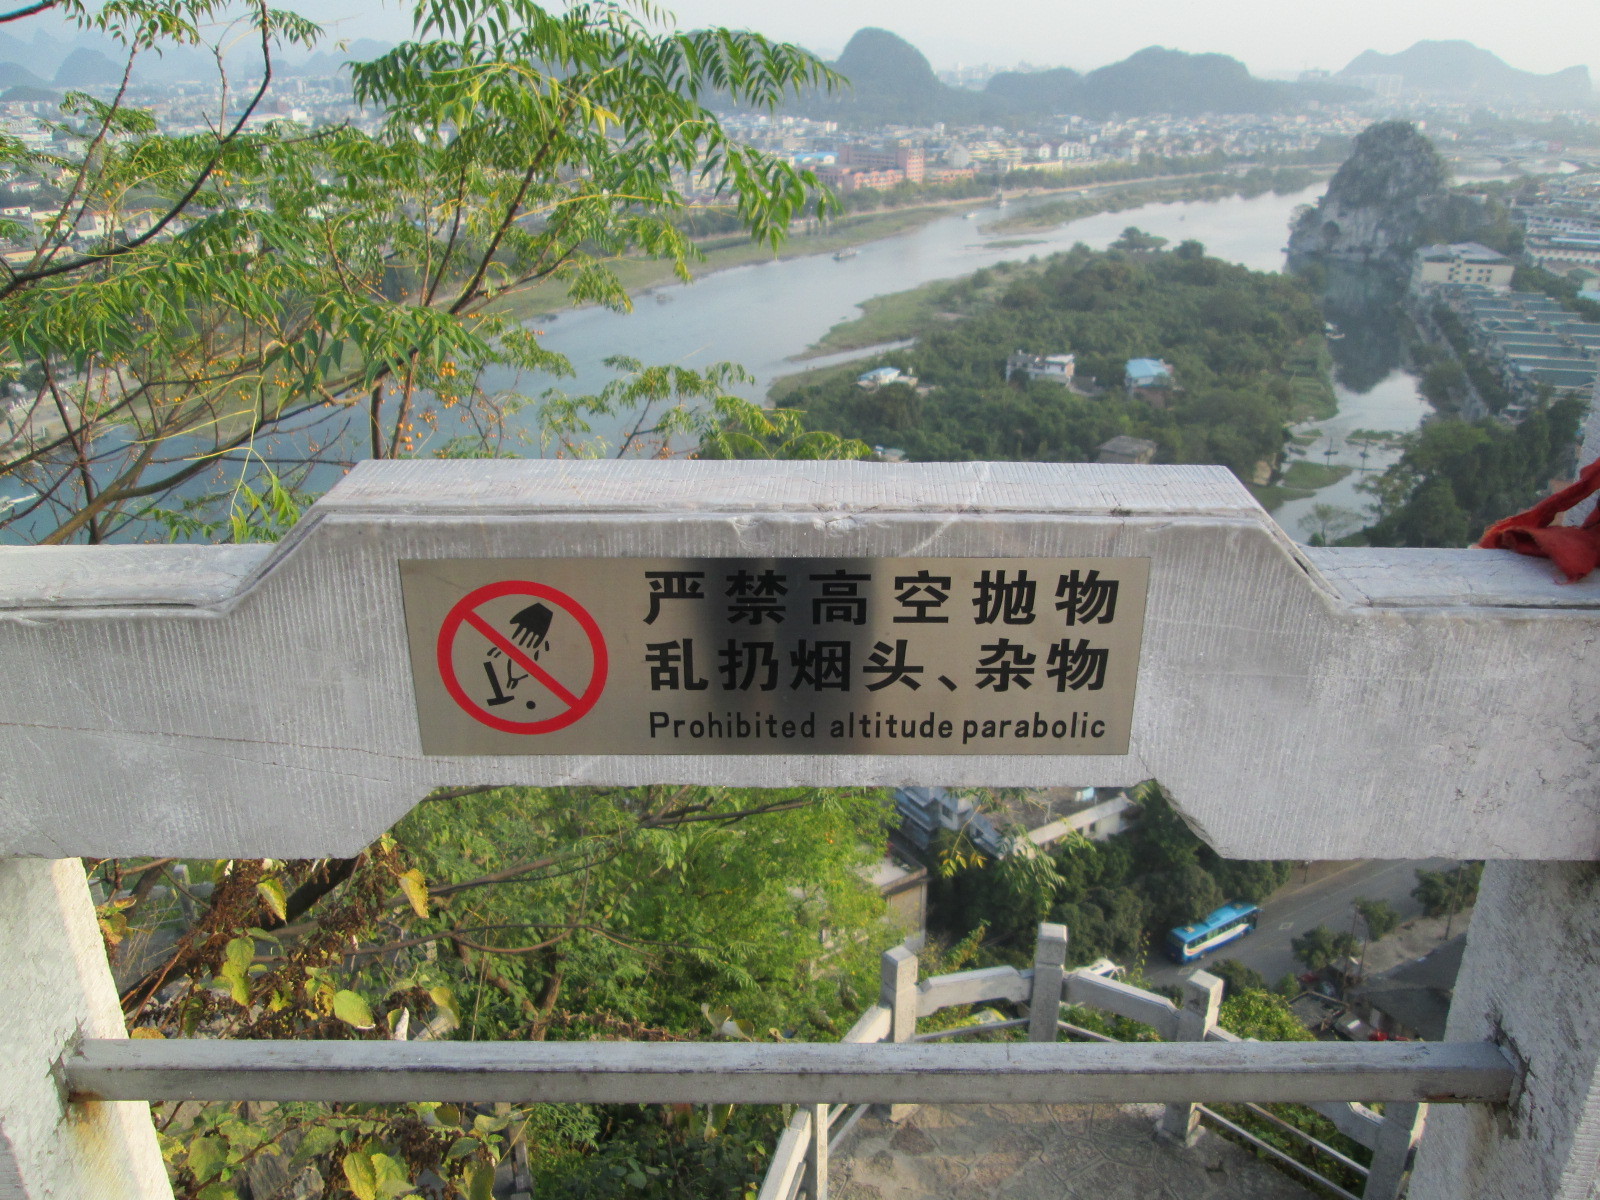
Comme expliqué dans mes précédents article, peu de villes Asiatique qu’il m’ait été donné de visiter à ce jour ont présenté le charme ancestral que l’on associe généralement aux cultures de ce coin du monde. Ravagées par la guerre ou par de l’urbanisme irresponsable, toutes sont très modernes dans leur apparence et Hiroshima n’y fait pas exception. Ce qui la différencie de ses congénères, c’est qu’elle fut celle sur laquelle la première bombe nucléaire fut jetée. Mis à part un musée, un bâtiment en ruines et un parc rempli de monuments commémorant ce triste jour du 6 août 1945, la ville ne porte aucune trace visible de cet évènement. Hiroshima est une capitale régionale de plus d’un million d’habitants où il fait bon vivre et dont l’économie est en pleine croissance.
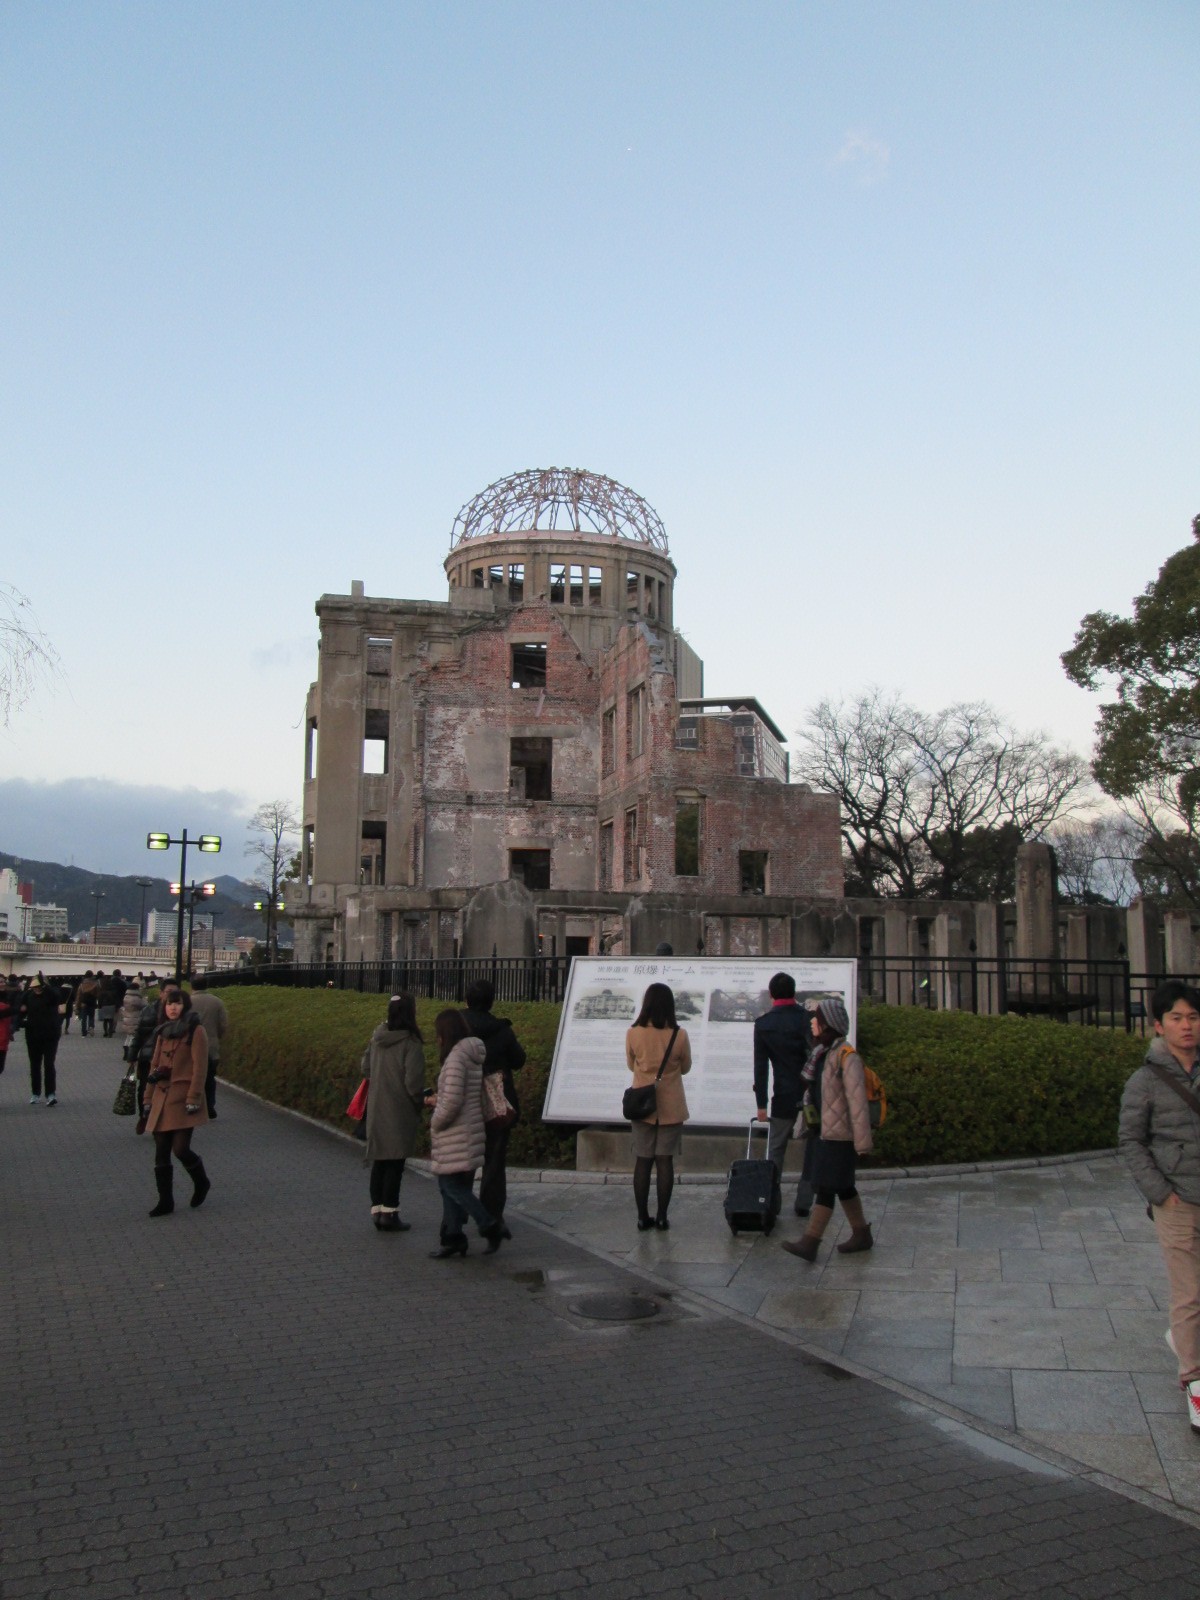
Les résidents de longue date cependant, n’ont pas oublié l’enfer dans lequel ils se sont retrouvés en ce beau jour d’été; la bombe et les effets insidieux de ses radiations se faisant encore sentir aujourd’hui, des débats entourant les soins et compensations à prodiguer aux hibakuzas viellissants – les survivants des deux bombes nucléaires ayant touché le Japon – font régulièrement les manchettes. Pour avoir un aperçu de l’ampleur de l’horreur et de la dévastation s’étant abattus sur la ville lorsque la bombe a explosé, il faut se rendre au musée qui, par la qualité exceptionnelle de ses exposés, mit les larmes aux yeux de certains. Objets fusionnés ensembles par la seule intensité de la chaleur, photos d’enfants brûlés à un point rendant toutes chances de survie impossible et morceaux de chair humaine (vraiment), le musée ne manque pas en artefacts plus troublants les uns que les autres, mais la section qui a tout particulièrement piquée mon attention, c’est celle sur les différents échanges entre le gouvernement Américain du temps, sont état-major et les scientifiques travaillant sur le projet. Dans une lettre officielle particulièrement lucide, ces derniers avertissent les autorités qu’une utilisation insouciante de ce nouveau type bombe plongera le monde dans une course à l’armement nucléaire incontrôlable, entraînera la production d’un grand nombre de ces bombes avec son lot d’accidents industriels et militaires, que la confiance du monde envers les États-Unis s’en verra minée et que finalement, il serait plus sage d’informer les Japonais sur la nature de cette bombe et la faire détoner au dessus d’une région inhabitée en guise d’avertissement.
Spéculations
En dépit de ces conseils, le gouvernement Américain a tout de même décidé de se prévaloir de cette arme de destruction massive pour deux raisons:
- le projet entier ayant coûté deux milliards de dollars du temps et souffert de multiples dépassements de budget, il aurait été mal vu de ne pas le mettre totalement à exécution.
- l’Union Soviétique ayant tout récemment déclaré la guerre au Japon en avance des délais prescrits par la conférence de Yalte, il fallait empêcher une occupation du Japon par les communistes.
Aucun de ces arguments n’est moralement justifiable; le Japon avait déjà perdu la guerre. Toutefois, le deuxième énoncé amène des spéculations intéressantes, surtout en l’analysant à la lumière de ce qui se passera en Corée quelques années plus tard. La doctrine et la diplomatie du temps en ce qui concernait la réhabilitation de pays défaits semblait être qu’une fois la guerre terminée, les vainqueurs se partageaient la responsabilité du territoire selon la ligne de démarcation dessinée par la présence de leur troupes sur le terrain ou des démarcations géographiques arbitraires. Dans cette optique, l’URSS aurait occupée la moitié du territoire Japonais et les Américains l’autre.
L’expérience nous ayant démontré que les deux idéologies ne pouvaient pas s’avoisiner, la guerre de Corée aurait pu déborder au Japon ou plus probablement influencer ses dirigeants communistes à tenter la reconquête de la moitié capitaliste de leur nation. En comparaison aux évènements d’Hiroshima et de Nagasaki, il n’est pas difficile de spéculer comme quoi la souffrance humaine qui aurait découlée de ce conflit aurait été bien de bien plus grande ampleur et encore là, je fait abstraction des torts qui auraient été causés au peuple Japonais par l’instauration d’un régime totalitaire à la sauce communiste.
Peut-être que la bombe n’était pas un si mauvaise chose en fin de compte, mais ceci ne diminue en rien l’horreur qu’ont vécu les résidents d’Hiroshima.
De retour au récit
Bref, ce fut une visite des plus intéressantes, mais dans l’ensemble triste et déprimante. Heureusement, les habitants et le gouvernement d’Hiroshima ont su capitaliser sur leur triste sort en se plaçant aux première lignes du militantisme anti-armement nucléaire en manifestant chaque année pour l’élimination de ces engins et en envoyant une missive diplomatique à l’ambassadeur en place au Japon à chaque fois qu’un test nucléaire est effectué par son pays. De retour à l’auberge, Pour me changer les idées, j’ai entreprit de rassembler quelques voyageurs pour sortir prendre un verre mais sans succès. En inspectant la collection de dépliants à l’accueil de l’auberge, je suis tombé sur un endroit que me semblait charmant et suis parti seul me balader dans le centre d’Hiroshima afin de m’imprégner de l’étrange culture Japonaise tout en me rendant à ce bar.
Le Japon étant très dense, les commerces et tout particulièrement les bars et restaurants se trouvent souvent empilés sur plusieurs étages et dans des petites ruelles et Cloud5 n’y fit pas exception. Plusieurs marches montées, la porte d’un karaoké philippin ouverte par mégarde et finalement, je me retrouva dans un tout petit bar de huit de places aux murs tapissés d’un mélange hétéroclite de posters, d’affiches et de peintures. L’endroit était peu inspirant, mais vu que j’avais déjà fait tout ce chemin, je me dis que j’allais au moins y rester le temps d’une bière. À ma grande surprise, j’y passât plusieurs heures. Un repère d’expatriés professeurs d’anglais tenu par Peter, un américain résident de longue date au Japon, les individus qui passèrent lui rendre visite au cours de la soirée furent tous plus intéressants les uns que les autres. J’eu droit à mon lot de conversation captivantes, tout particulièrement sur la décoration de l’endroit, dont chaque morceau avait sa petite histoire. Cloud5 est dans l’ensemble miteux et laid, mais contrairement à la majeure partie des établissements que l’on trouve en Asie et plus généralement dans le reste du monde, Cloud5 a une histoire et une âme. Une fois le bar fermé, son propriétaire m’emmena moi et d’autres de ses clients à un autre endroit tenu par l’un de ses amis, que nous trouvâmes dans une ruelle adjacente. En dépit d’un état d’ébriété bien avancé, Steve nous fit quand même la gracieuseté d’ouvrir son établissement et m’offrit sur la maison de nombreuses bières. La soirée se termina un peu plus loin dans un lieu dansant donc de formule un peu plus classique. Une fois ma consommation de politesse terminée, je pris la porte en vitesse. La musique étant trop forte (comme d’habitude), toute conversation était devenue désagréable voir impossible.
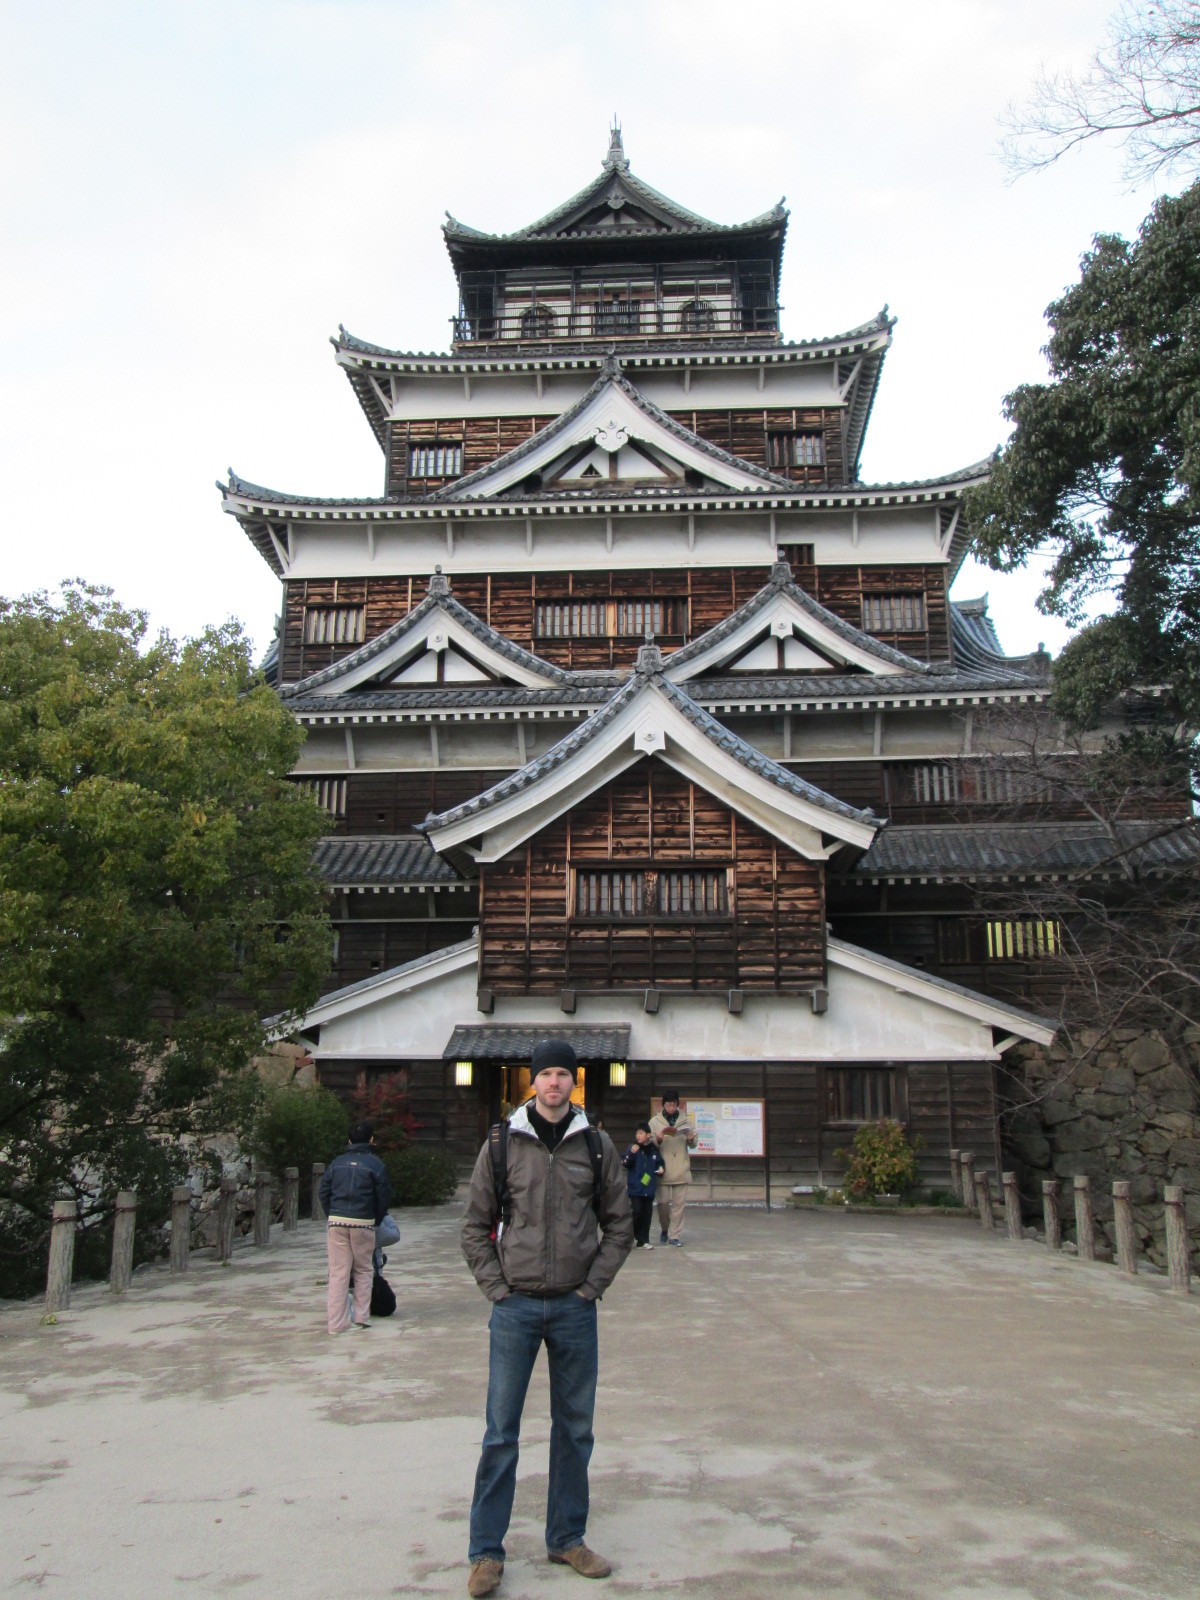
Le jour suivant fut dédié à la visite de la ville en elle même et de son musée d’art contemporain en la compagnie de Neil, un britannique lui aussi en voyage pour un long moment et le soir venu, je me retrouva avec lui et une Néo-Zélandaise une nouvelle fois à Cloud5, ayant promis à Peter que je lui ramènerait de la clientèle de l’auberge. Le lendemain, suivant les recommandations de Neil, je me rendit à l’île de Miyajima. À la sortie du terminal de ferry, je remarqua une large affiche en Français et lu que l’île était jumelée avec le Mont Saint-Michel en France; toutes deux ayant été de hauts lieux de spiritualité (et maintenant de tourisme) et partageant une condition insulaire. La comparaison s’arrêta içi; Miyajima, bien que charmante, n’a rien du pittoresque de son associée française. Mis à part une célèbre porte Shinto, quelques temples et une population de cerfs trop habituée à être nourrie par les touristes, l’île ne recela rien d’autre digne de mention. Tout de même, j’entreprit de gravir la montagne par mes propres moyens et fut récompensé de quelques moments de solitude bucolique et de beaux points de vue dans la forêt japonaise qui, bien que tempérée, arbore une végétation et un style bien à elle. Une fois revenu à l’auberge et après un repas plutôt austère de pâtes de sardines, je m’isola devant mon ordinateur pour envoyer des demandes d’admission à l’université et faire un peu de travail.

Comme d’habitude, les problèmes que de dû régler s’avérèrent plus coriaces que prévu et la piètre qualité du sans-fil n’aidant en rien je me mis à piétiner, me disant que de toute manière, 1h30 du matin était une bonne heure pour jeter l’éponge. Je me rendis dans le lobby de l’auberge et surprit ce qui parût être la gardienne de nuit. À ma grande surprise, elle m’adressa la parole en anglais; elle était américaine d’origine japonaise. Fraîchement débarquée d’un train en retard, elle ne semblait pas vraiment disposée à aller se coucher immédiatement et pour ma part, le cerveau encore en train de mouliner, je n’étais moi non plus pas encore à ce stade alors nous entreprîmes une conversation. Après les questions classiques (d’où viens-tu? quels endroits as-tu visité? que fais tu dans la vie? etc) nous passèrent vite à des sujets plus intéressants et ce n’est que bien plus tard que j’alla me coucher. Pour quelques heures seulement car le lendemain, je comptais me lever tôt pour aller visiter l’usine automobile de Mazda.
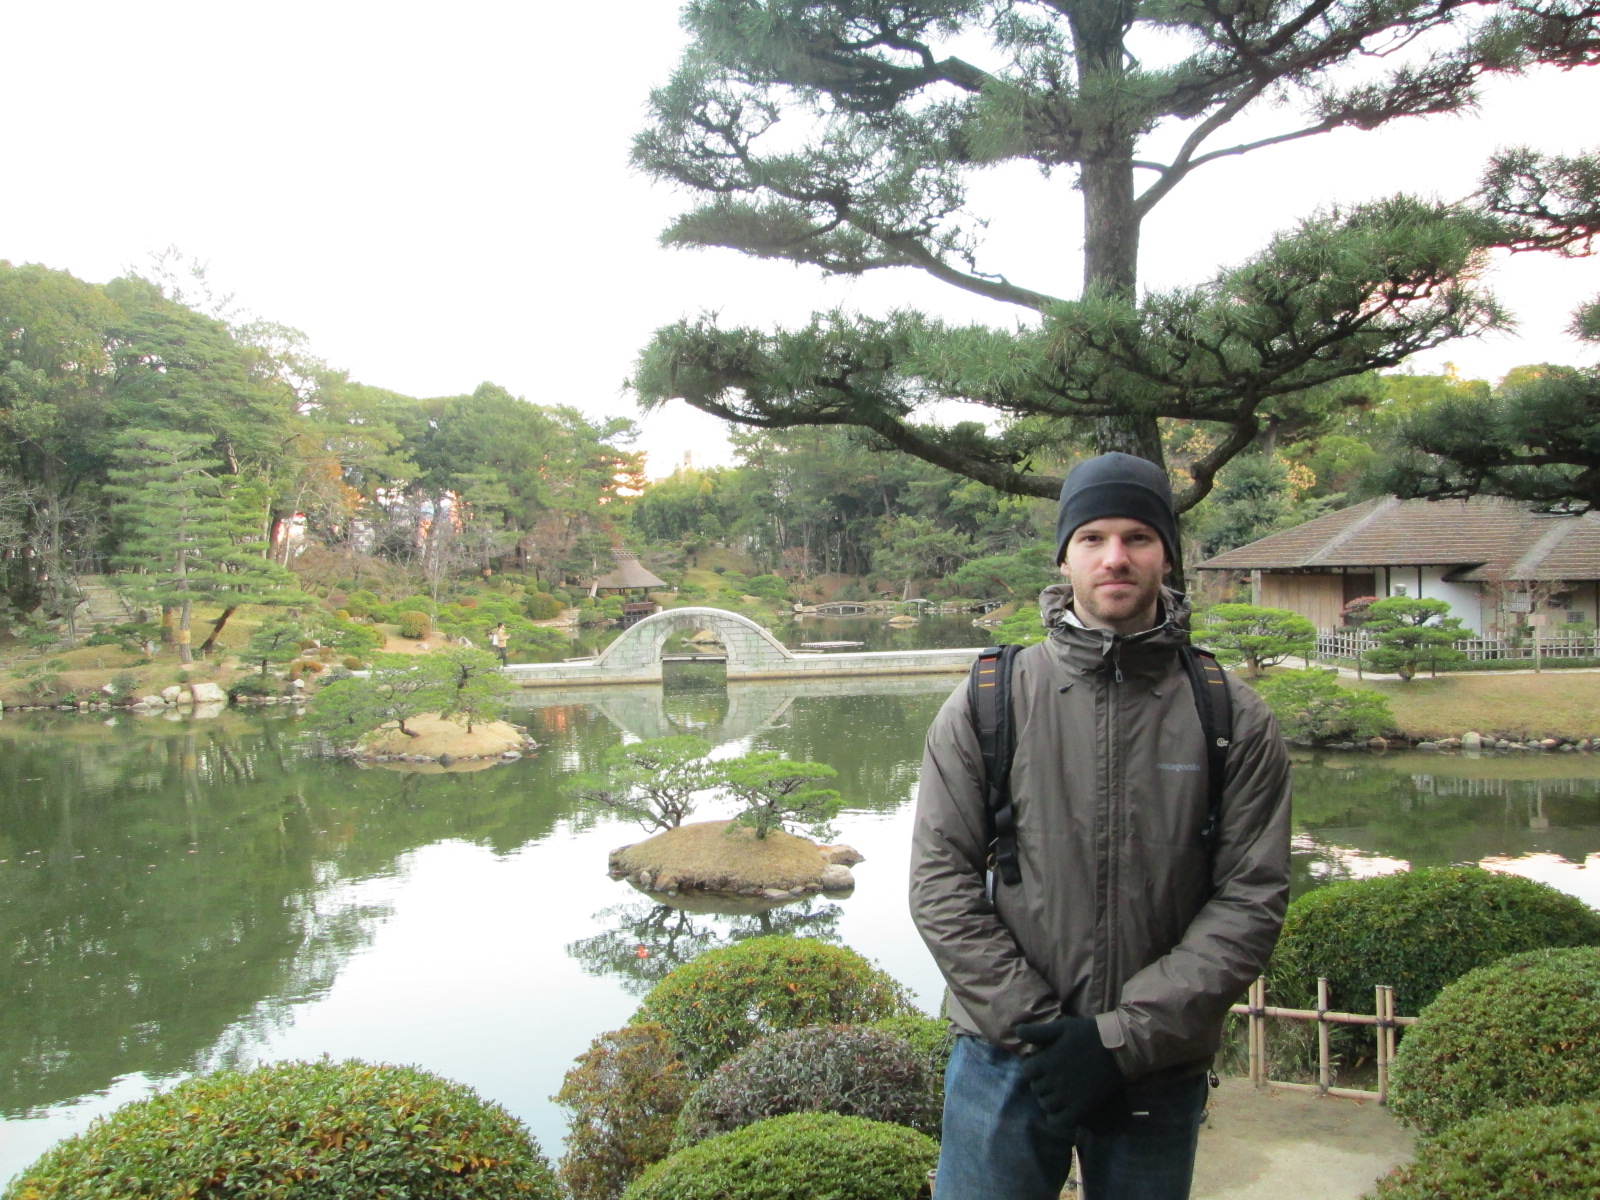
Tel qu’attendu, la visite fut entièrement constitué de propagande Mazda et très précipitée, chaque groupe n’ayant qu’une heure et demi pour tout voir. Évidemment, tout le monde fut laissé sur sa faim. Pour ma part, c’était le tour d’une partie ligne d’assemblage de voitures qui m’intéressait. Je savais parfaitement à quoi m’attendre, j’avais déjà vu maintes fois à la télévision des armées de robots et d’ouvriers s’affairant à la pose de leur unique pièces dans l’immense casse-tête qu’est une automobile moderne, mais j’y assister en personne, c’était autre chose. Je ne me lancerai pas dans de grandes descriptions du Fordisme au 21e siècle, mais ce qui fait la différence entre le voir et y être, c’est qu’en étant sur place, l’on se rend compte à quel point rien n’est laissé au hasard. Chaque mètre cube de l’usine est occupé, car tout se passe en trois dimensions: tout est en mouvement, des essieux se rendent à leur station d’installation; des robots appliquent une ligne de colle à de différents pare-brises qui ensuite sont amenés par convoyeurs je ne sais où; des trains de pièces circulent constamment en s’assurant qu’aucun ouvrier ne manque de quoi que ce soit; le vacarme est infernal, mais pas cacophonique, c’est le son horloger d’un immense automate qui produit une voiture à toutes les quelques minutes. La chaîne de montage est dite mixte, c’est à dire qu’elle n’est pas dédié à un modèle de véhicule, mais à plusieurs, mais le miracle de l’ingénierie industrielle moderne fait en sorte que la bonne pièce arrive au bon moment au bon ouvrier. Impressionnant. Après avoir pris mon congé de l’usine, j’effectua un passage en vitesse à l’auberge pour un autre repas austère et c’est reparti pour une visite d’un jardin japonais. Le temps presse, car à 19h00, un repas de Noël a été organisé par les employés de l’auberge.
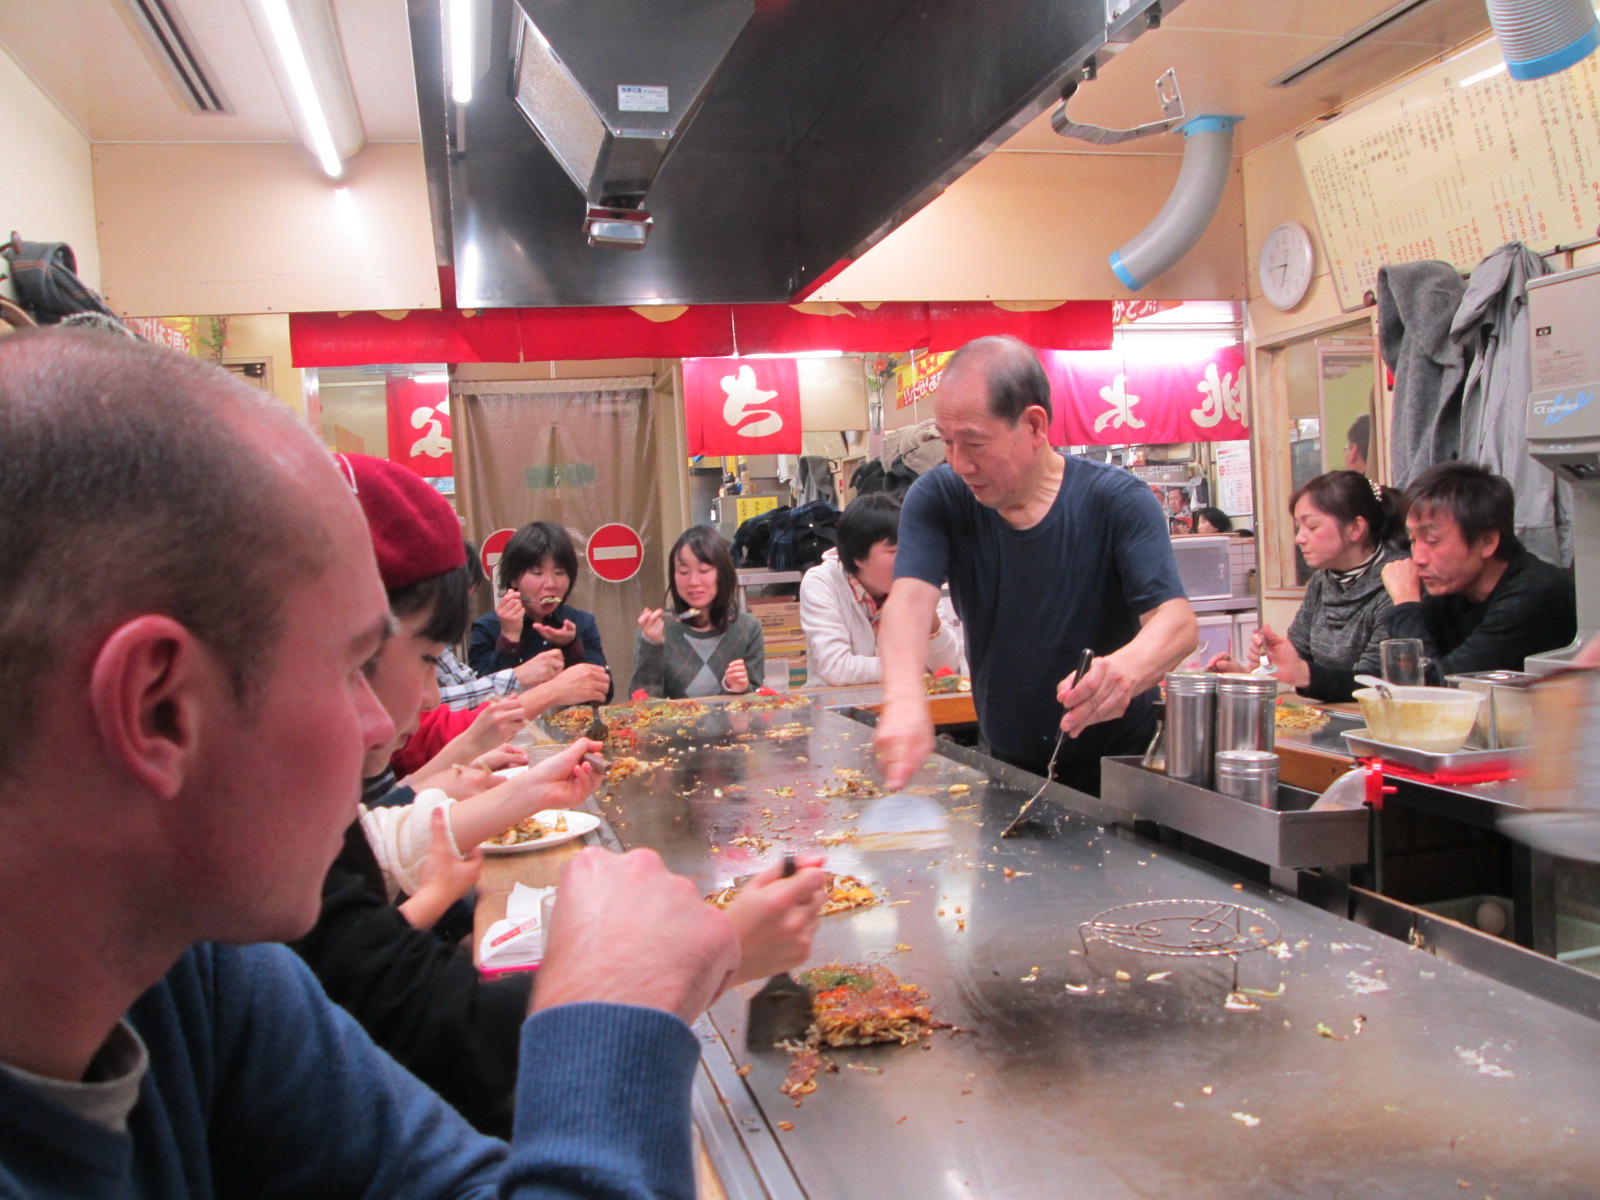
Le réveillon fut à base de takoyaki et une fois la population japonaise de l’auberge couchée – de toute évidence moins fêtarde que nous occidentaux – moi et plusieurs compagnons nous dirigeâmes vers le centre-ville pour y fêter Noël comme il se doit. Cloud5 étant malheureusement fermé lorsque nous y arrivèrent, je rabattis le groupe vers le bar auquel j’avais terminé une précédente soirée. L’américaine était de la partie. Rien d’extravagant en soit, mais tout comme les autres réveillons passés loin de la maison, ce dernier saura certainement perdurer dans ma mémoire. Bien évidemment, le jour suivant servit à récupérer de cette soirée.
Est-ce qu’il y avait suffisamment à faire à Hiroshima pour remplir 7 jours? Par vraiment, mais la ville était agréable et j’y ai trouvé de la bonne compagnie.