Cutting boards are sort of the “hello world” of woodworking. Nearly every hobbyist’s first few projects will at least involve the building of one and I was no exception. Since they unanimously make such great gifts, are quick to make and can be batched out easily, you always end up making a few once in a while for occasions where present giving is expected. You can get absolutely crazy with end-grain cutting boards pattern (google it), but frankly, the simplest layout will expose the beauty of the wood in a way that is guaranteed to please everyone.
I found out not too long ago that the process can be made a lot cheaper and faster by recycling stair steps easily found in any scrap wood pile at relevant shops where they make custom staircases. Occasionally, they will put the wrong finish on a set of steps and instead of tossing it, they will plane it one more time and sell it as scrap because it no longer has the required thickness. The steps that I got were 10$ a piece and made of maple, but I suspect one could get them in all sorts of varieties. Worst comes to worst, you can probably buy them new and unfinished and it will probably not be that much more expensive considering you are getting nice wood and that part of the gluing-up is done for you.
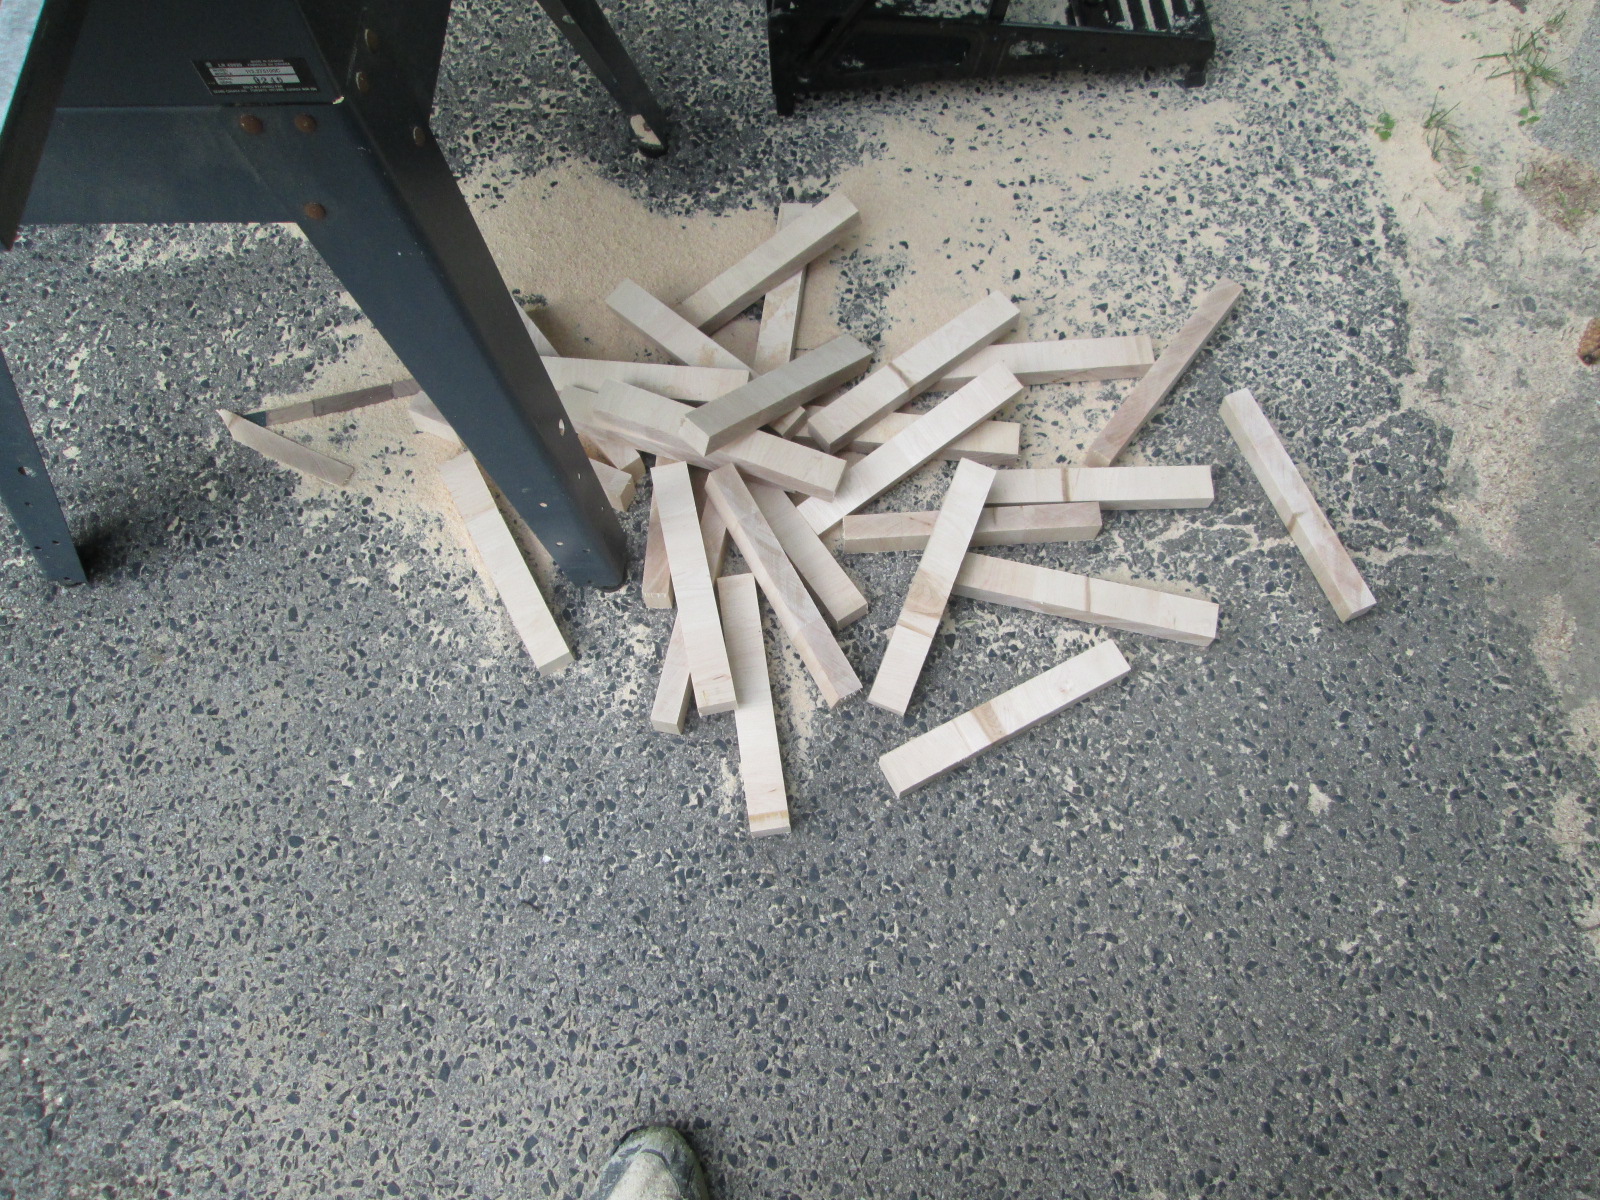
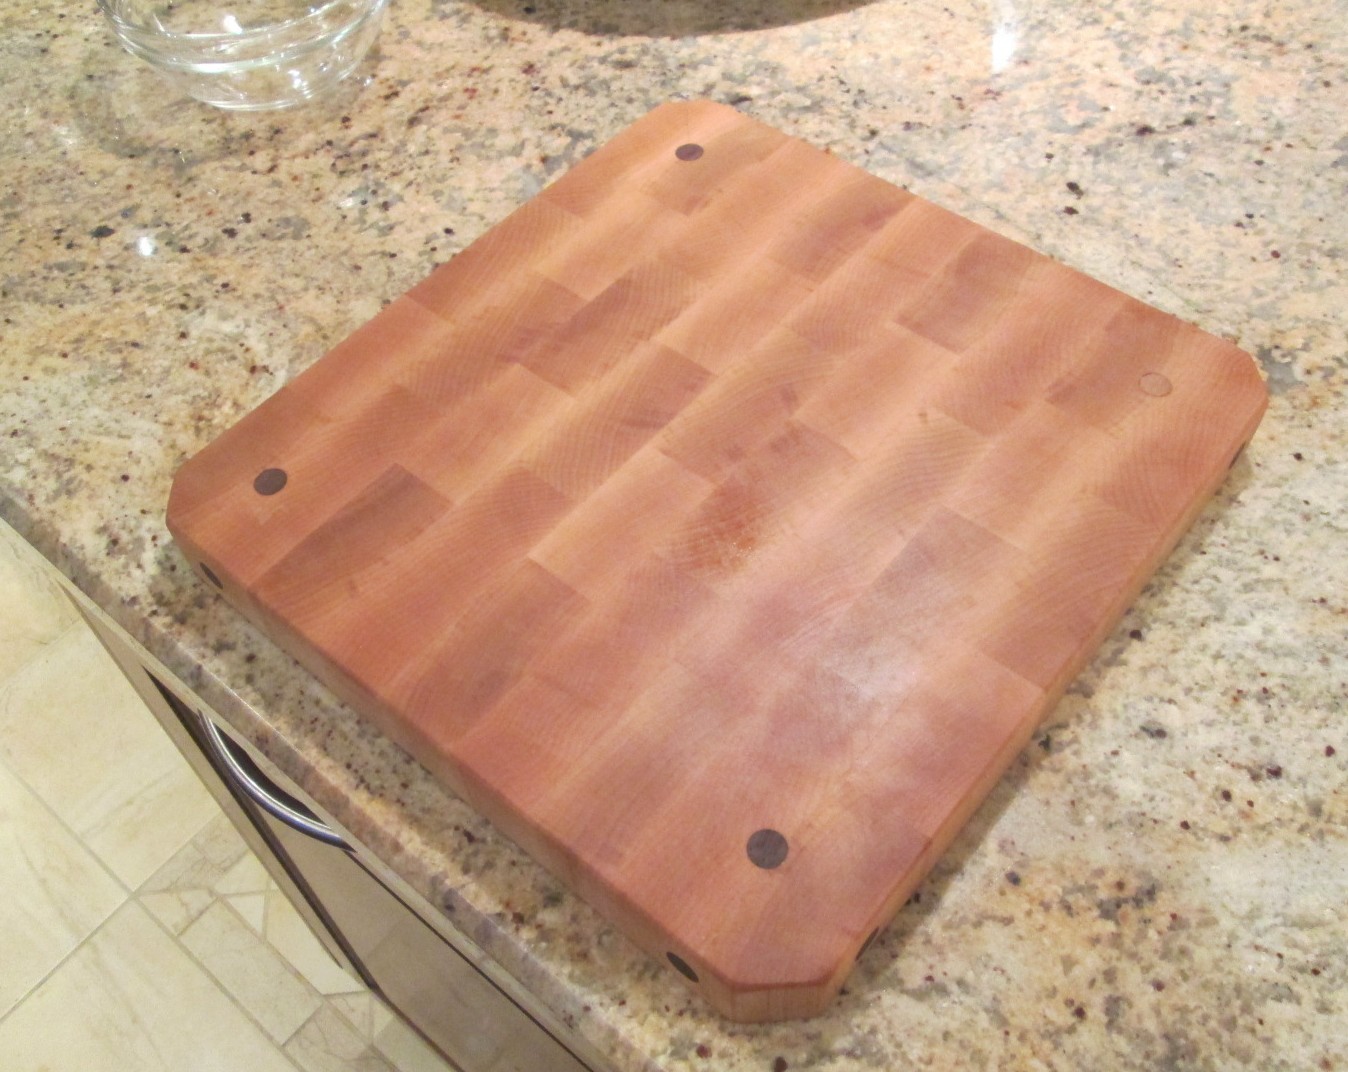
Afterwards, the process to transform them into cutting boards is as trivial as cutting them to lengths and softening the edges but if you want and end-grain cutting board as opposed to edge grain, that is a board on which the actual growth rings are visible on the cutting surface (looks nicer and easier on the knives), there is a bit more work involved. The steps have to be cut down in slices, rotated 90 degrees to expose the end-grain and then glued-up this way. Then comes the more complicated part.
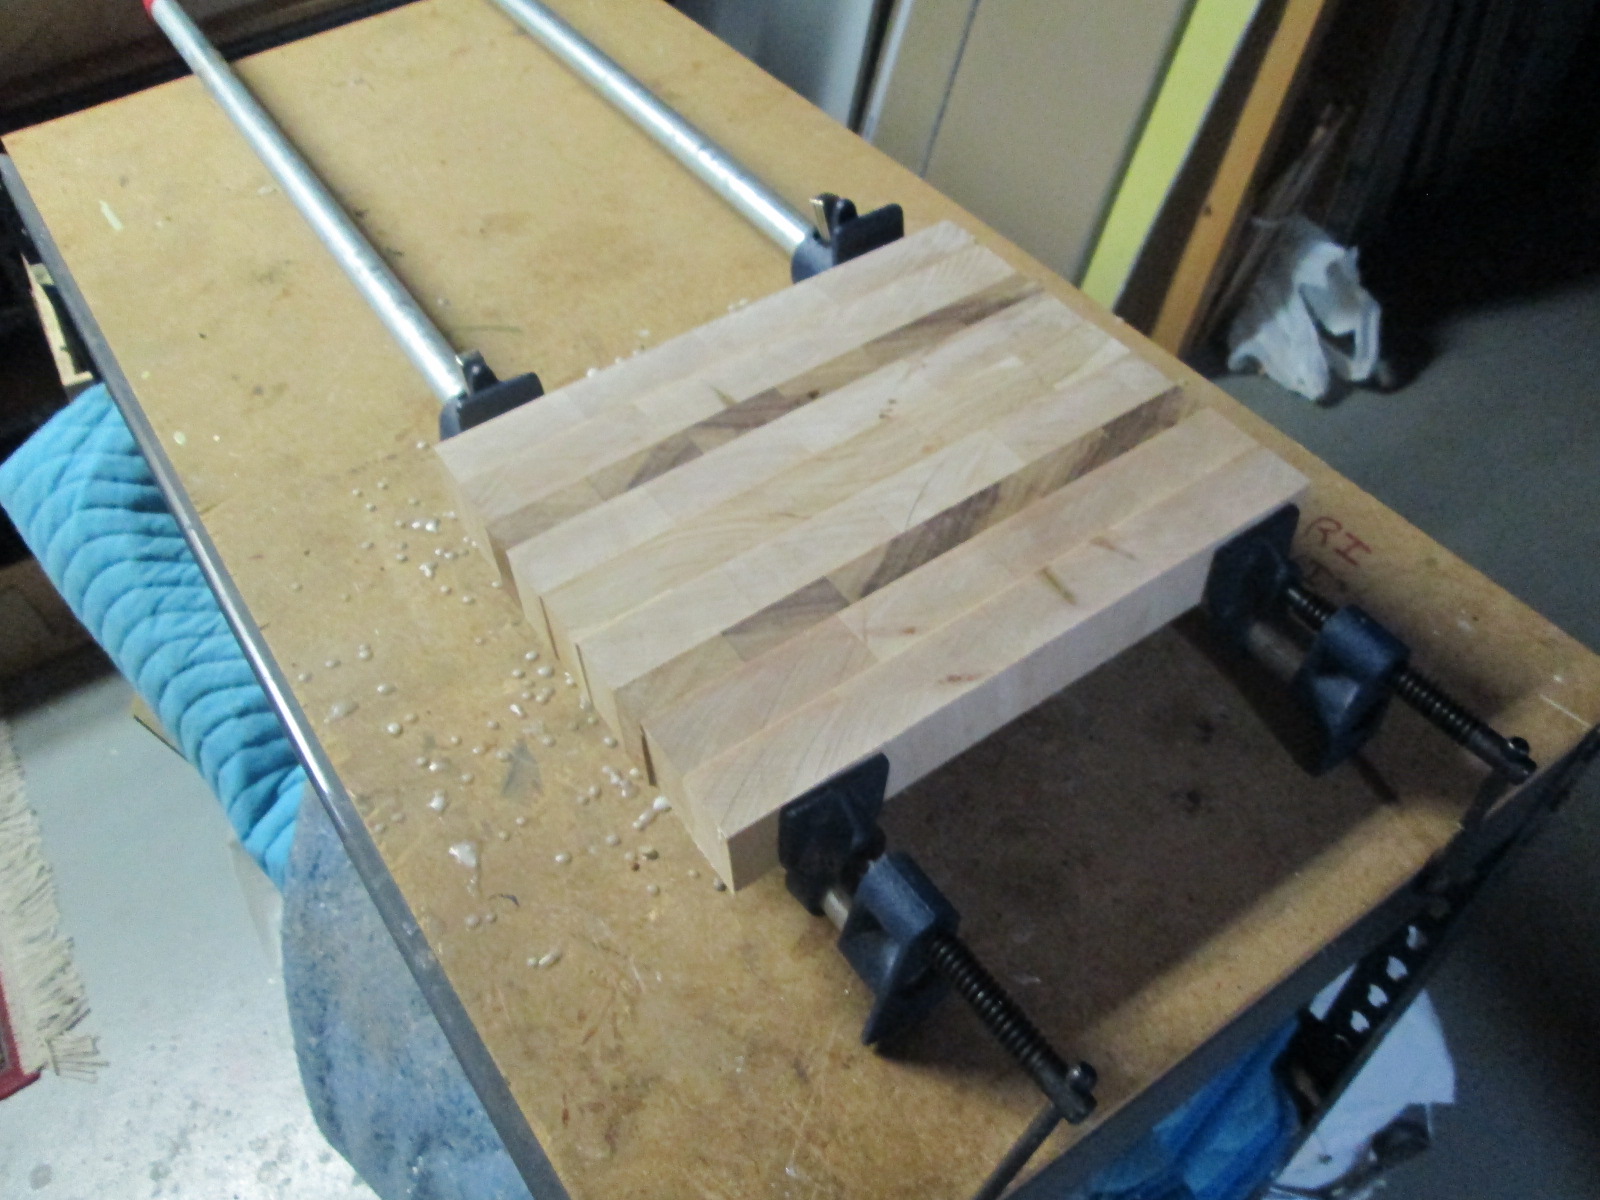
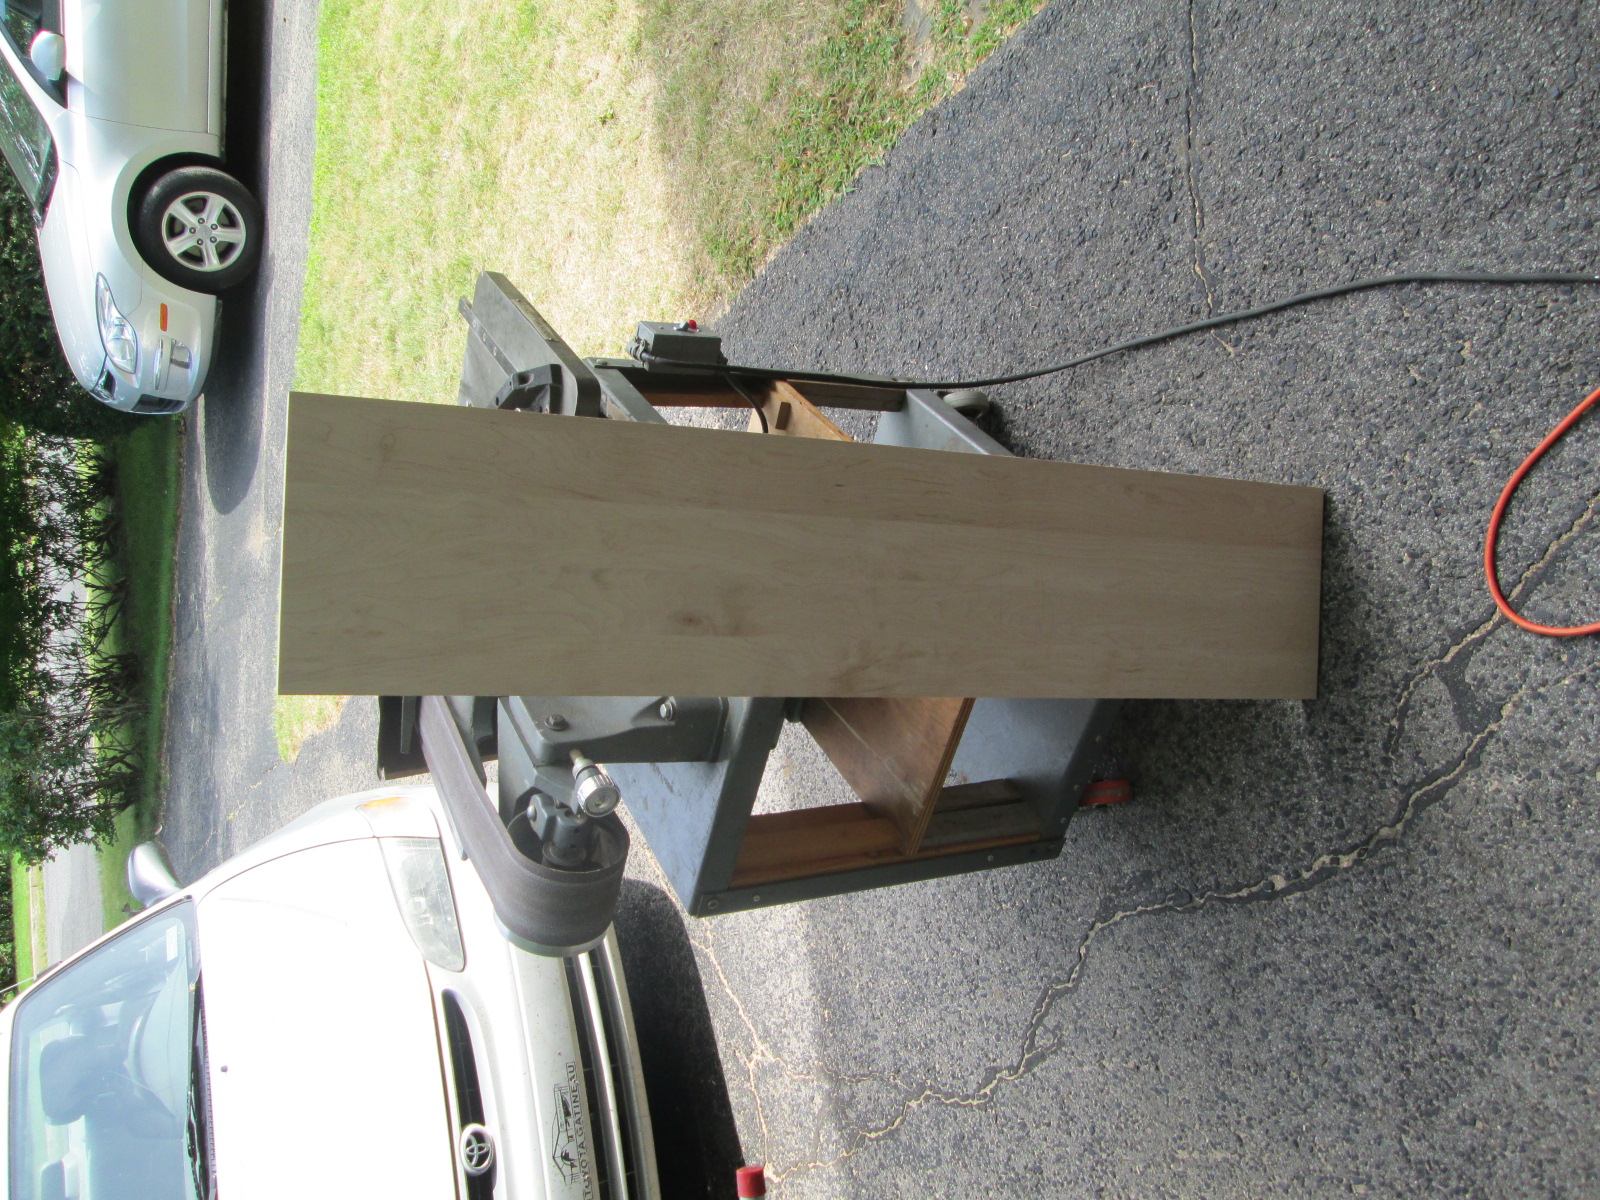
If your tools are as execrable as mine, chances are the dried-up result will be all crooked and encrusted with glue. No need to panic, find the flattest side and work at it using a belt sander (or elbow oil if that is all you have) until reasonable flatness is achieved. Then, if you own a drum sander or have access to one, send it through a couple times on each side and you should end up with something that resembles a kitchen accessory. If you do not own a drum sander, you can use a planer but in doing so, be extremely careful to make your planing increments as small as possible. Planer are not meant to cut perpendicular to the grain, it will be hard on them and will cause massive tear-out, be prepared to glue sacrificial wood or cut up what has been messed up. Overdo it a tiny bit and you might split the board in half (like it happened to me), ruin you planer in a spectacular explosion of metal and plastic shrapnels and/or send the board back the way it came in at supersonic speed. There is a bunch of horror stories on forums.
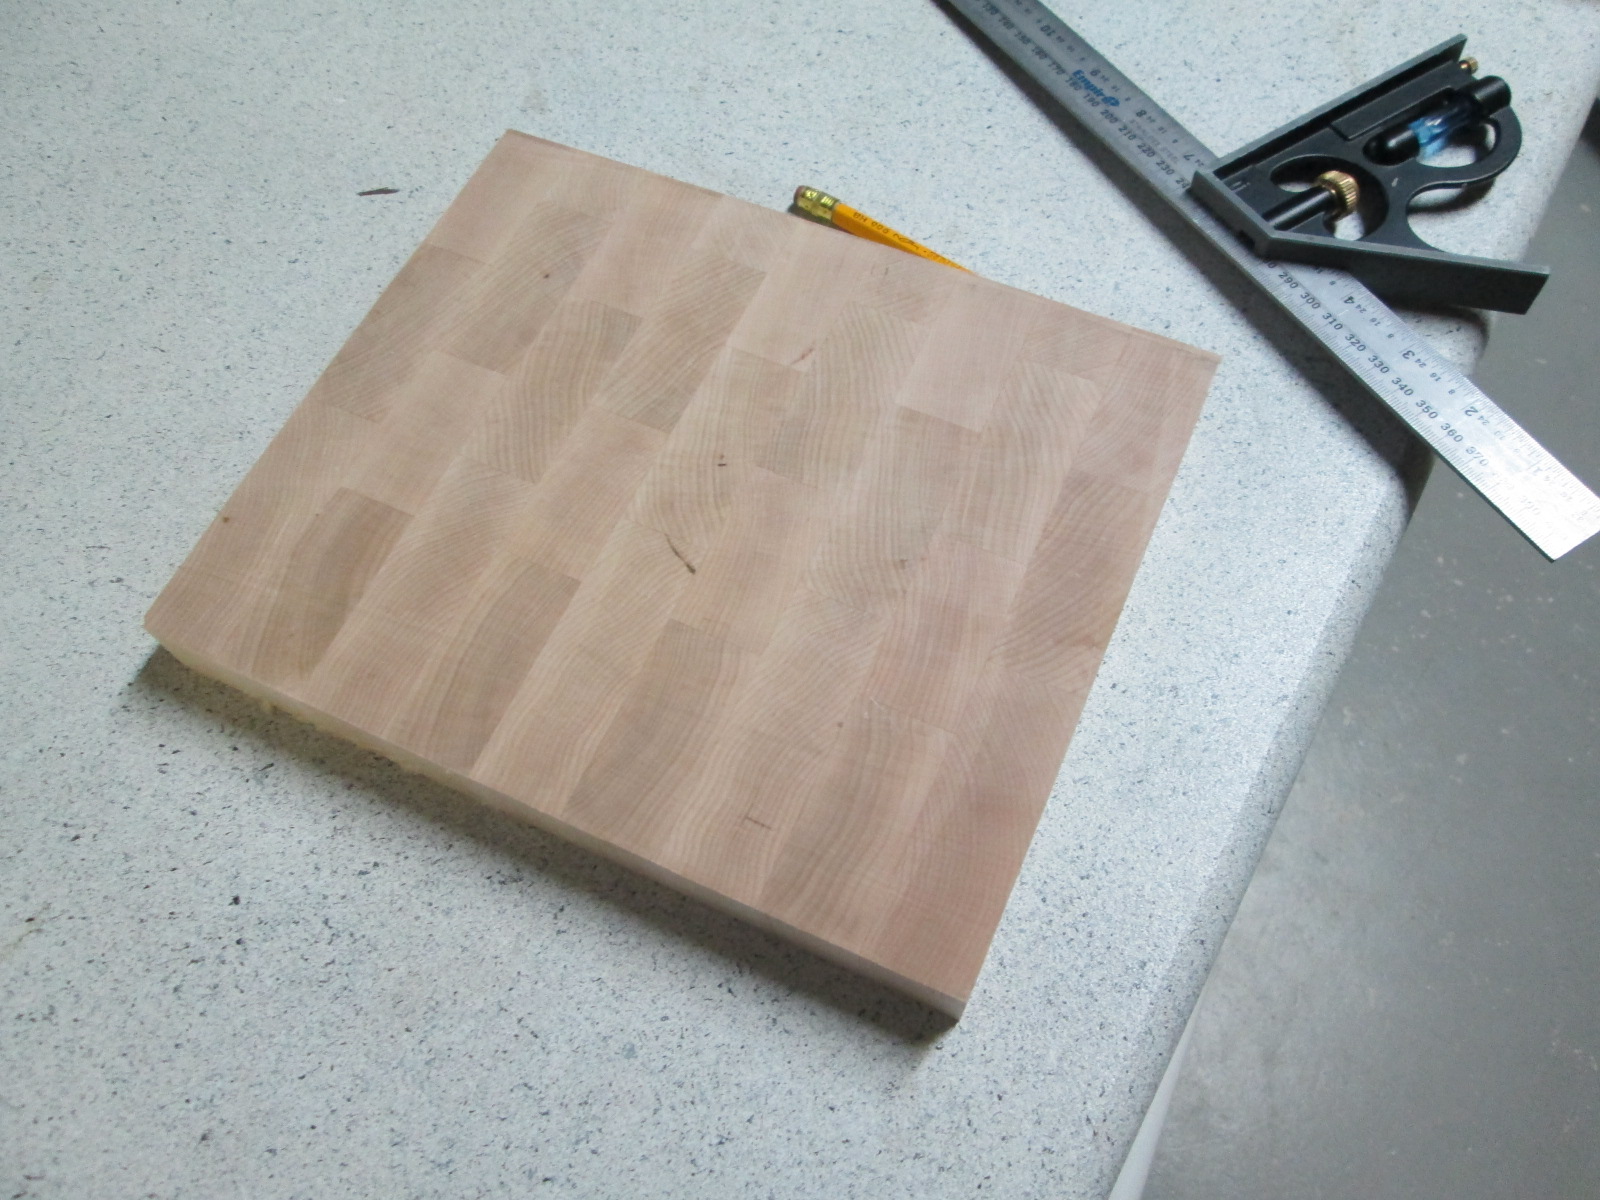
Next comes the sanding of the cutting surface and the edges but before that, decorations should be added to make the board stand apart from the ones you can get at Ikea. It can be a nice bevel, and asymmetric cut, handles, or like I did, inserts using a different type of wood.
Finally, seal the board by wiping a couple times it with your favorite product. What I had handy was heavy mineral oil but I know other solutions exist on the market. Sealing is primordial as it will prevent any organic matter into getting inside the board, rotting and contaminating food down the road. This is especially important with end-grain cutting board as end-grain, having been evolved by nature to conduct sap up the trunk to the leaves, is very absorbent and efficient at conducting liquids. So much so that completely saturating it with oil might take a few passes over some days, once every use for a week, once a week for a month, monthly for a year and then as needed. You will know when the board is saturated when the board stops absorbing the oil altogether and see drips on the underside. Better finishes do exist, such as a mix of paraffin and oil, food-safe vanishes, etc, google them or check this very instructing video by the Wood Whisperer.
Enjoy the giving of a gift anyone will appreciate and do make it a requirement that you will come over to their place for a meal in exchange. Buying something for someone is nice but thankfully, most can still appreciate the much higher value of a present that was hand-made.