Fold-down back seat modification on a Toyota Corolla 1999 VE

Toyota Corolla 1999 VE
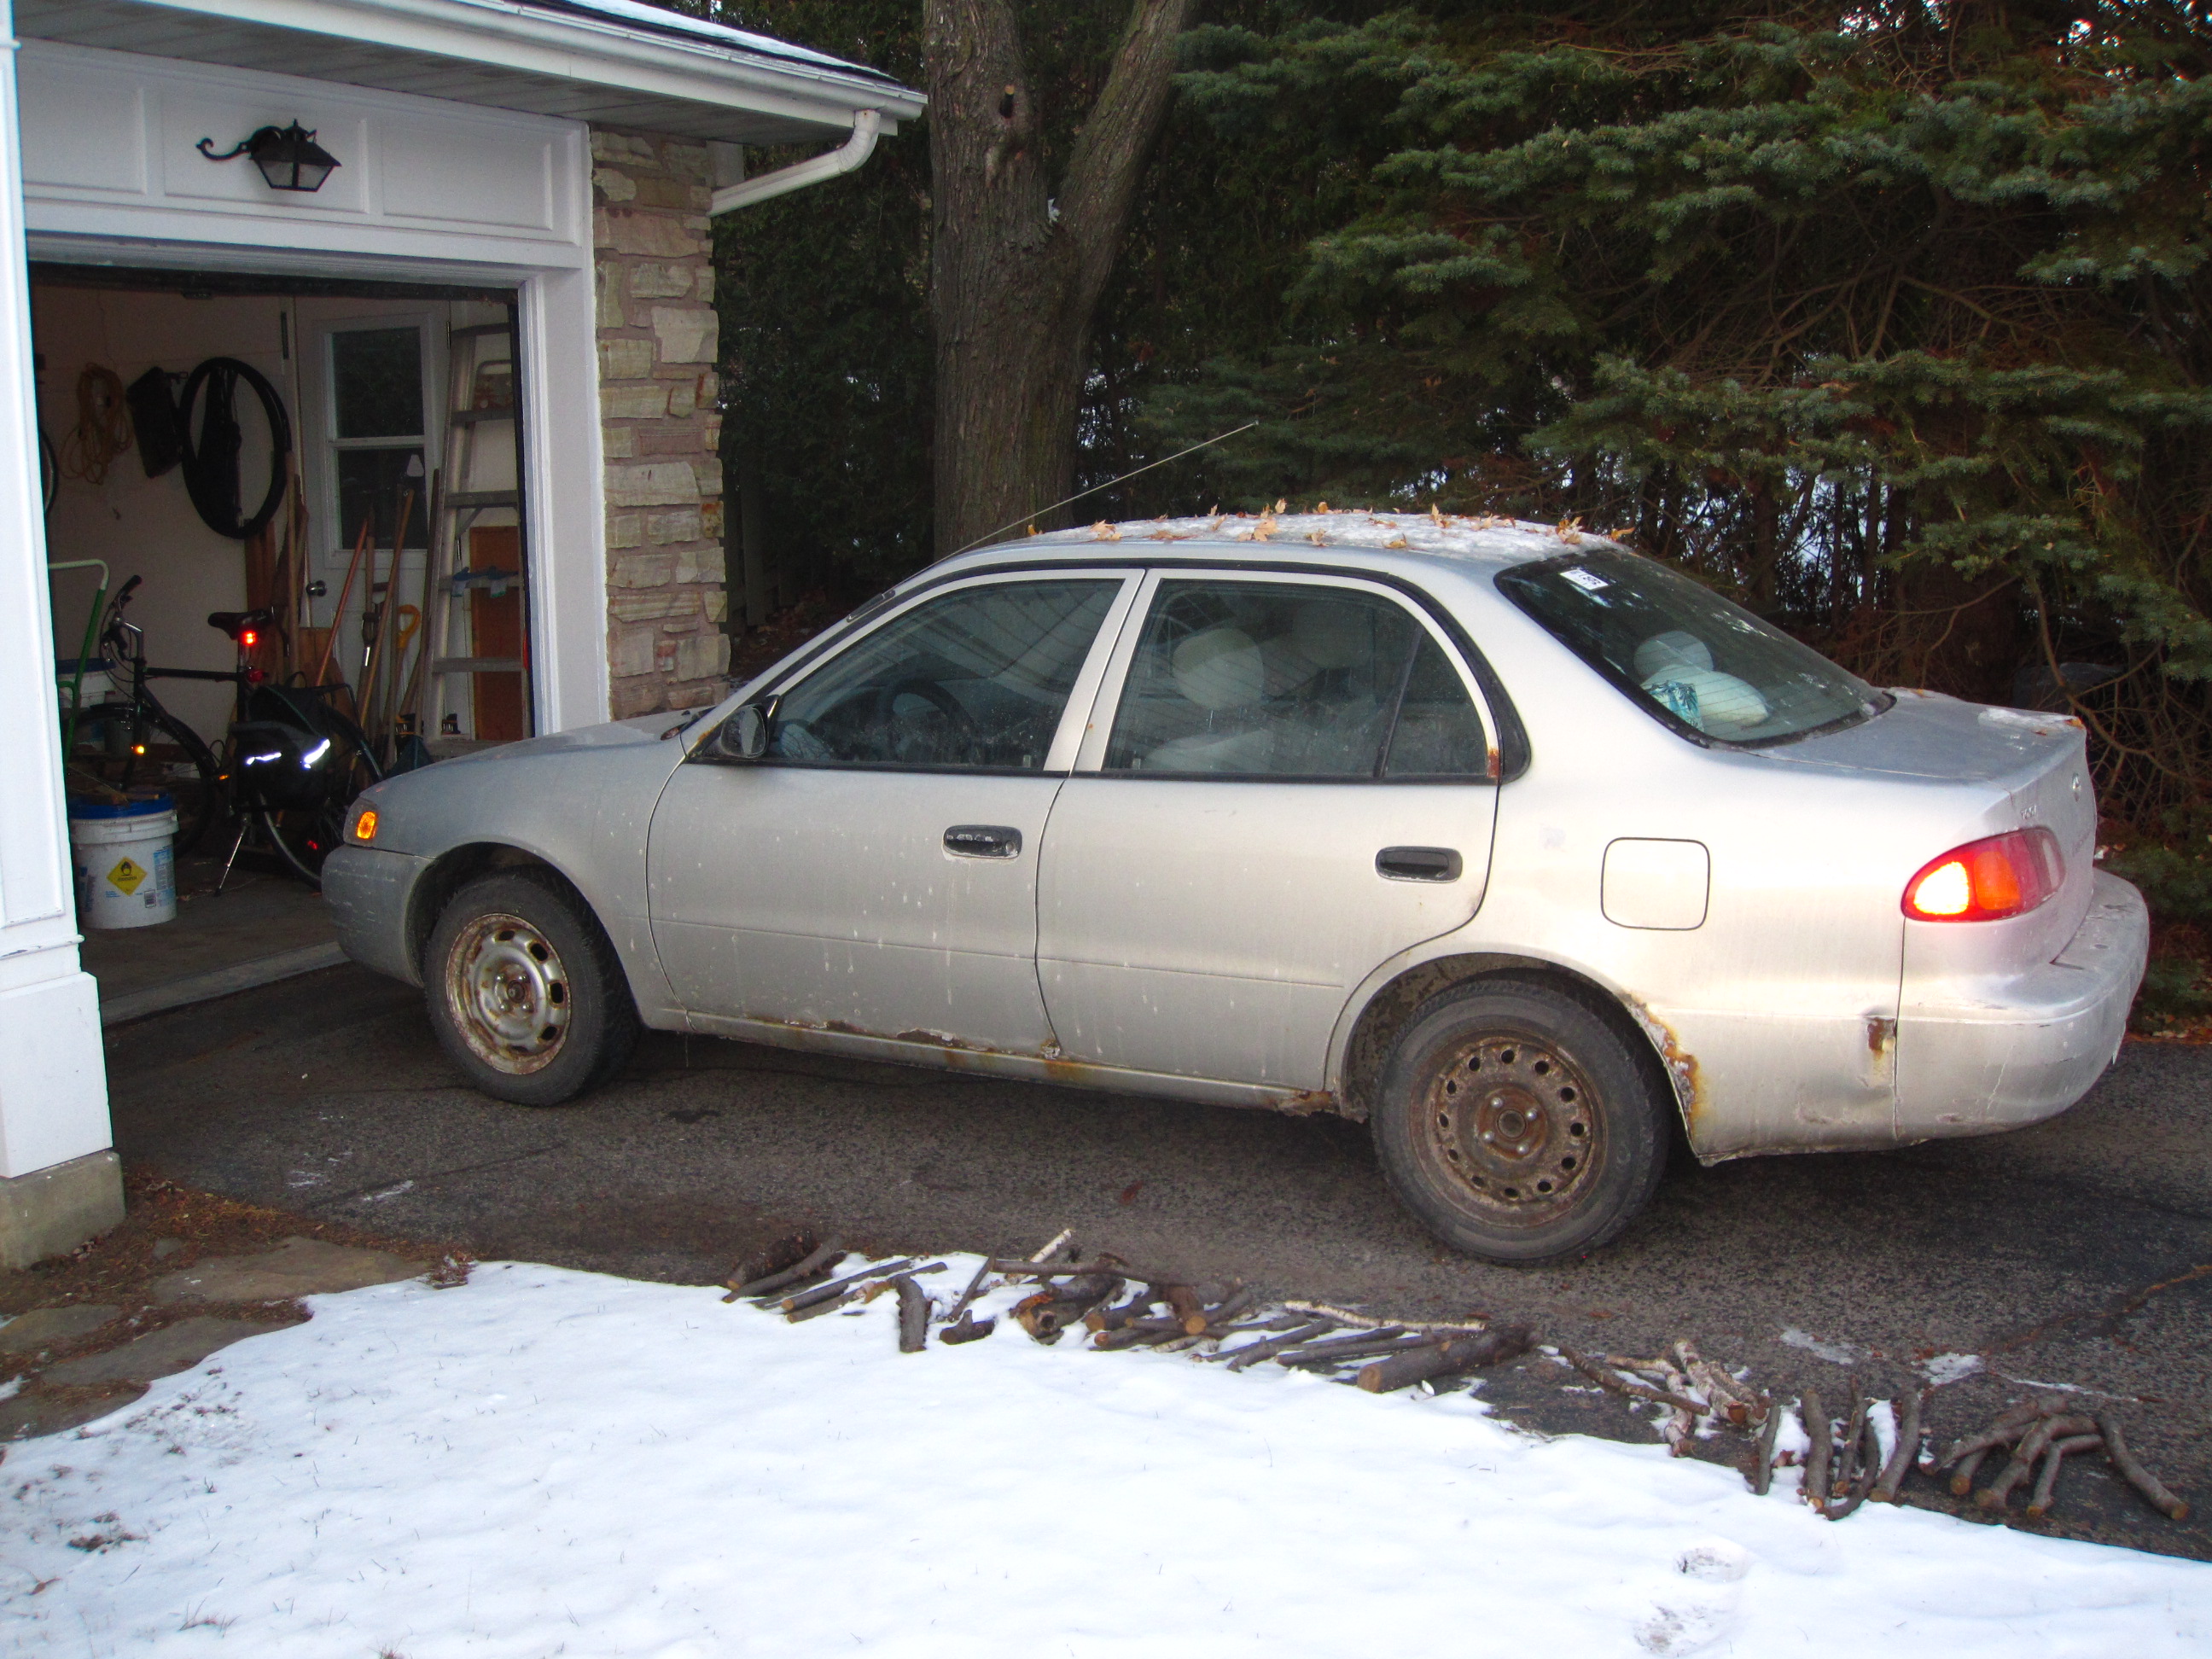
On several occasions lately, I’ve had to transport long objects or gain access to the rear strut mounts in my Toyota Corolla. On most cars, this would have meant to simply pull a lever in the trunk and fold the back seat down but for some reason, Toyota had made this an option on my vehicle (the North American VE model).

So in order to be able to take advantage of the full length of the car, I had to remove the rear seat, which is not that difficult and only requires a socket wrench, but still massively inconvenient. While undoing the seats, I had originally thought of a way to make removal easier and tool-less in the future, but did not decide to make the modification. Until now, with winter at my doorstep, I’m convinced fold-down seats are going to prove themselves quite practical should I want to go skiing.

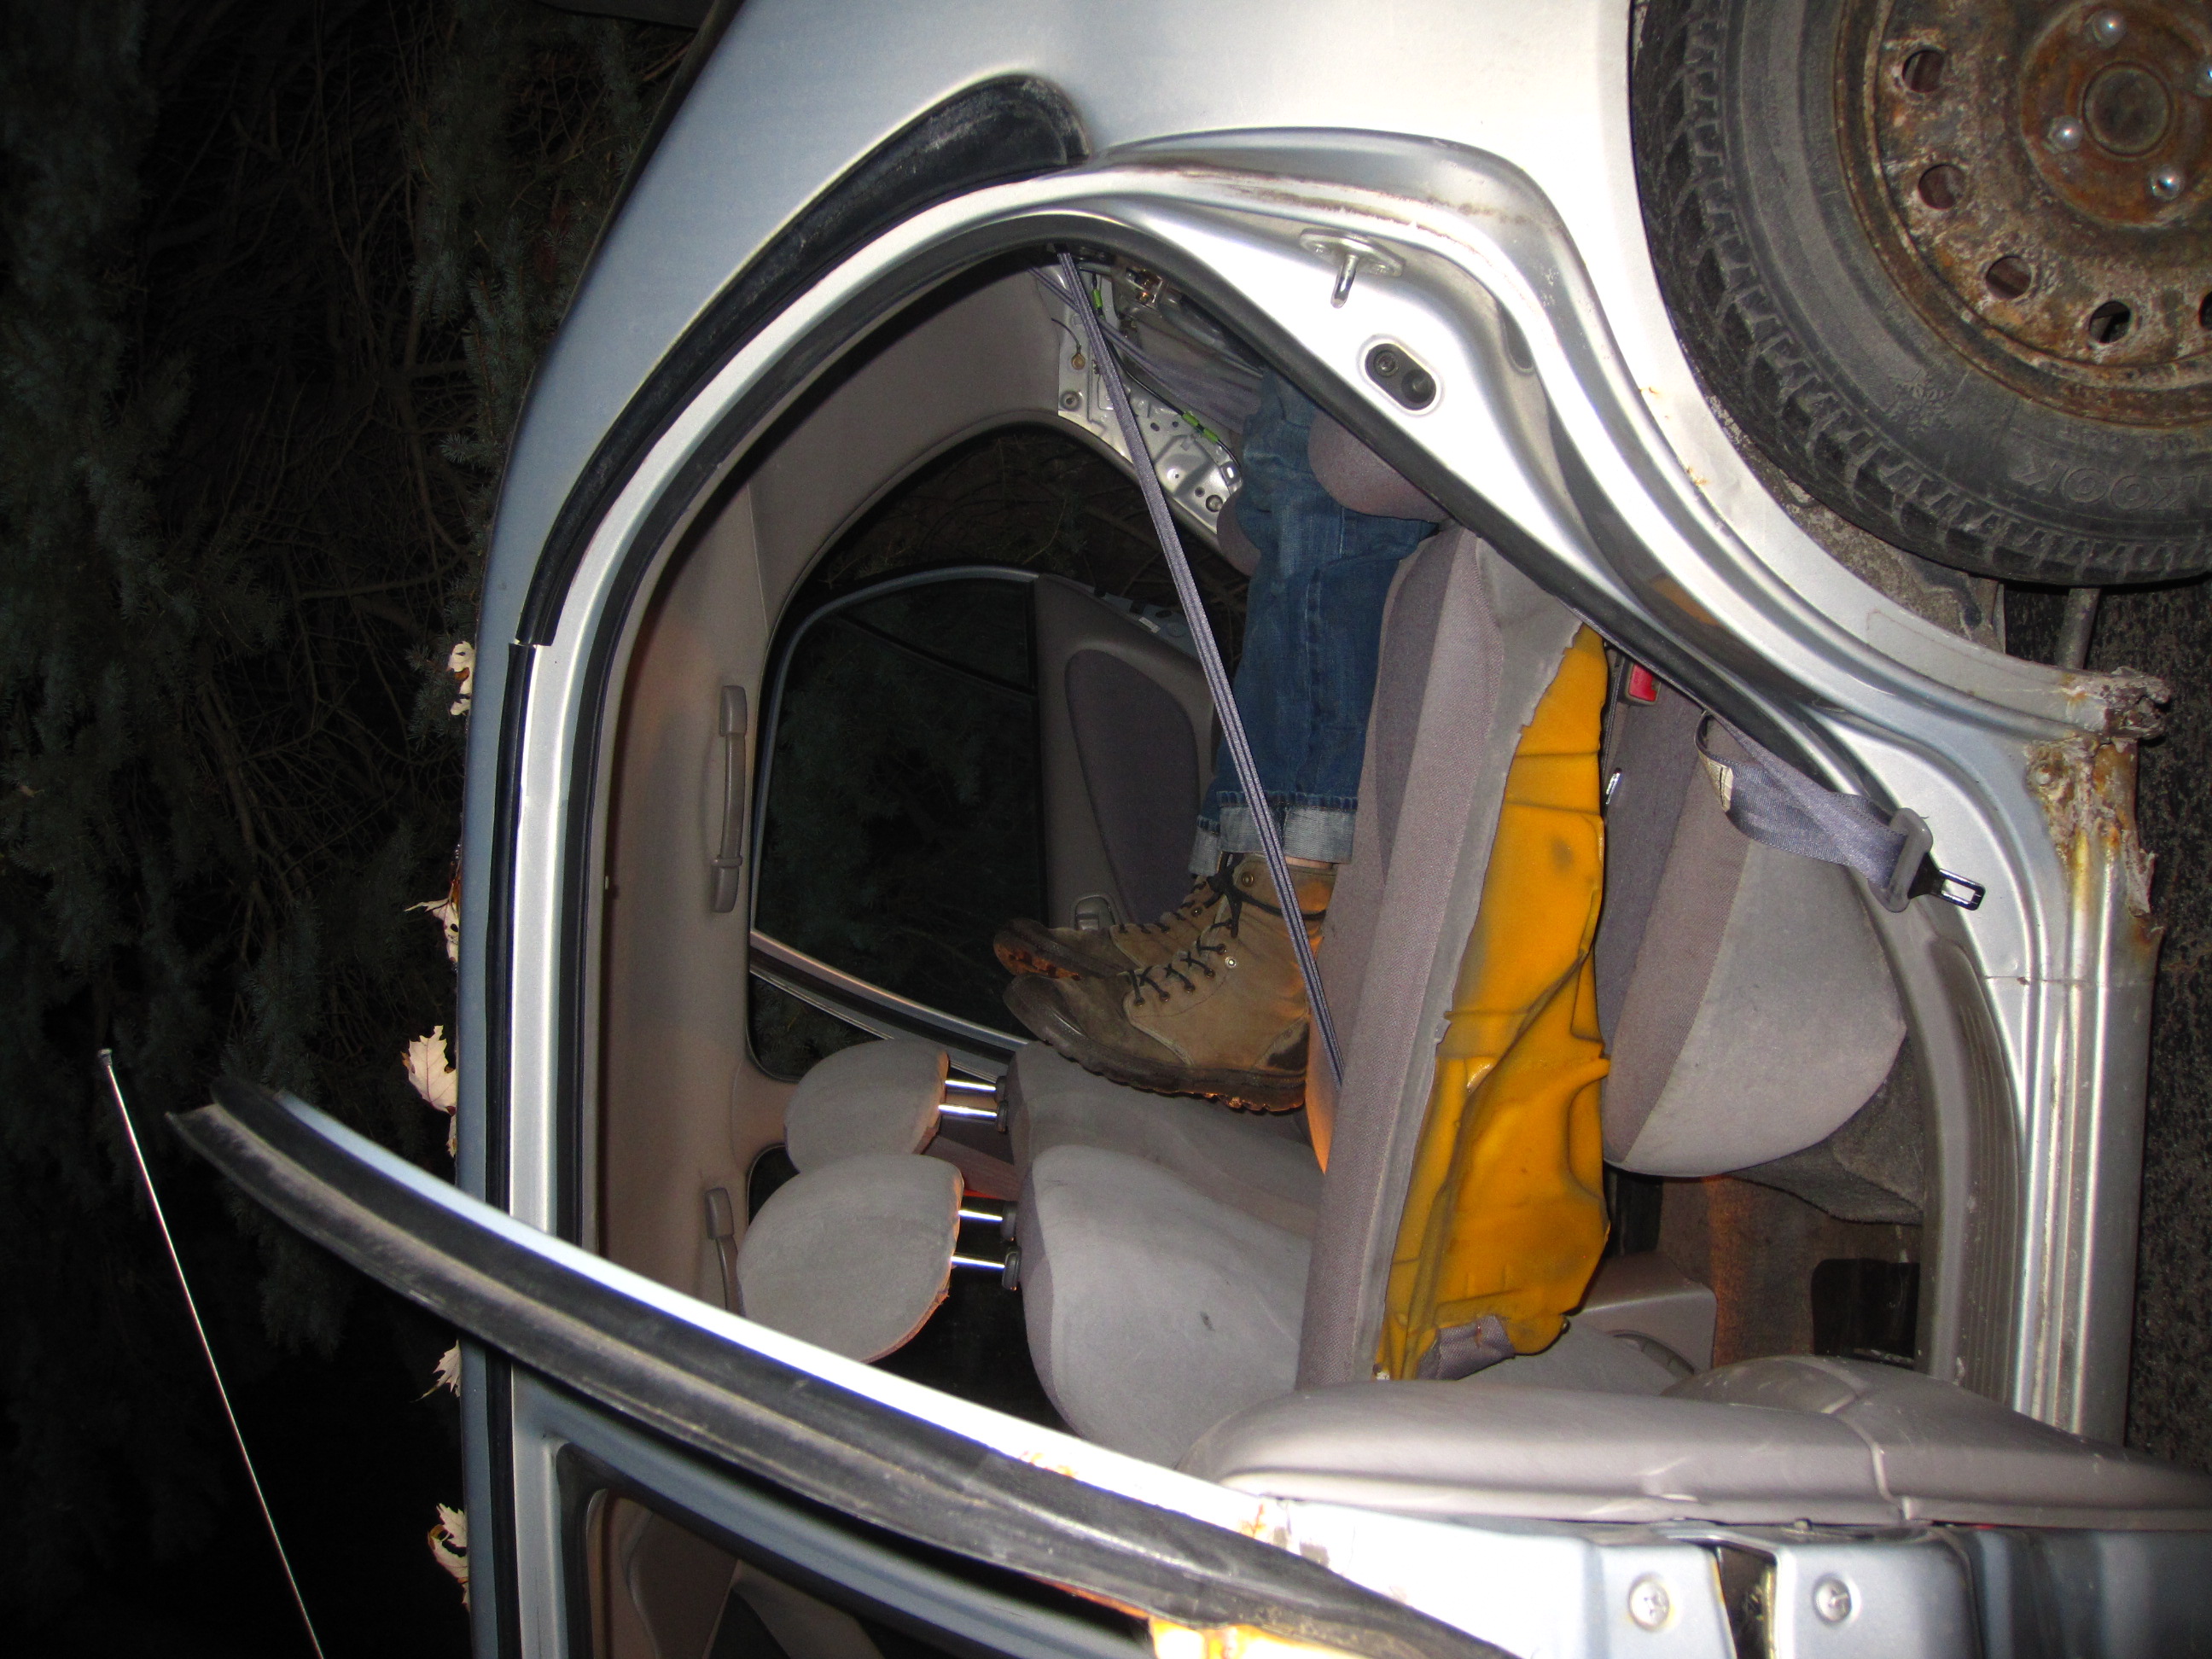
The mod is quite easy and requires no specialized tools or knowledge. The end result is that you will be able to lift the backrest up and lay it flat on top of the bottom cushion, exposing the opening to the trunk .  Since the seat belts are bolted to the frame, disturbing the seating should not have any effect on their function. However, you might end-up discarding a part I call the V frame, which could possibly have some structural or security importance, I’ll get to it later. Lastly, I’m not going to post a full disclaimer, this is the internet so you’re following this guide at your own risk. If you or your passengers get hurt because of this modification, nothing can be held responsible but you and your judgement.

Removing the rear seat

Bottom cushion out
Bottom cushion out

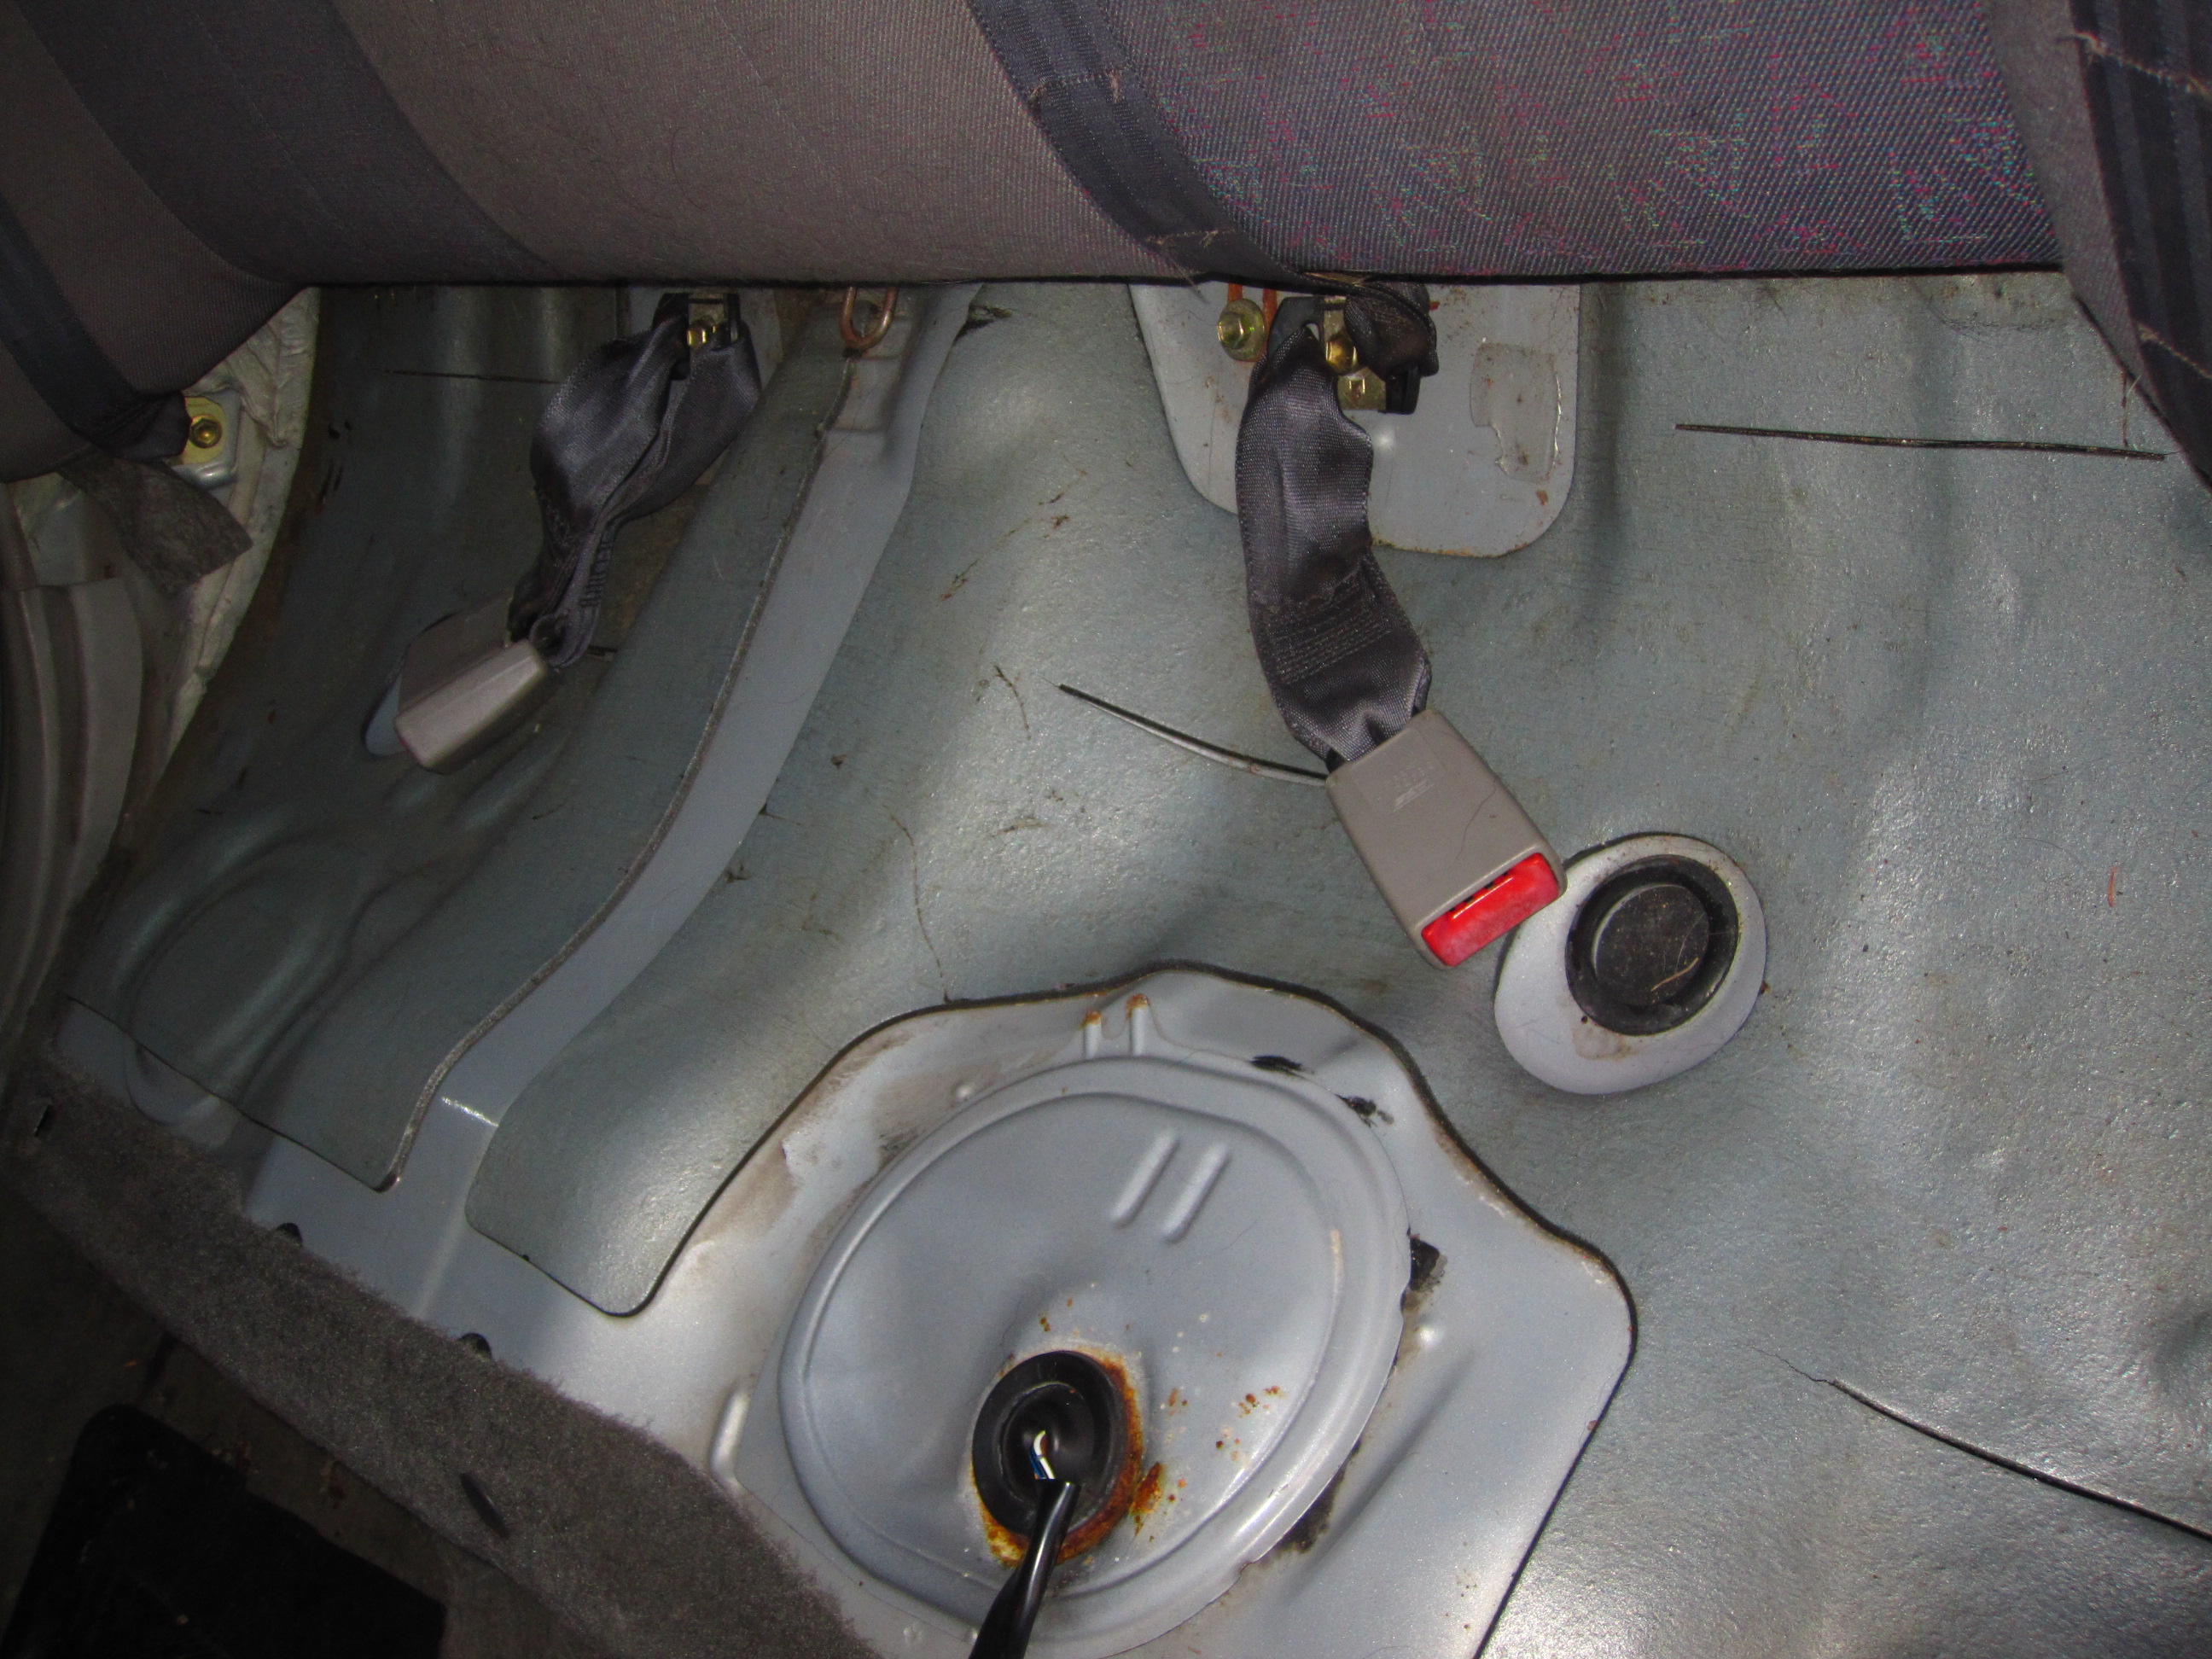
Taking the rear seat apart is nothing really complicated. The bottom cushion is held to the frame of the car by only two plastic clips that are approximately lined with the two front seats. You can even feel them by running your hand under the cushion along the outer edge. Pry them out with a sudden pull and they should give.

Backrest out
Backrest out

Next, undo the three bolts holding the back cushion to the frame. There is a bolt in the middle and two at the extremities close to where the seat belts attach to the frame. Lift the backrest out and set it aside outside the car. At this point you can re-install the bottom cushion to make working in the car a bit more comfy. Finally, push out the black plastic cache that separates the trunk and the interior.

If you just wanted your rear seat out only as a temporary measure, stop here. The car is perfectly drivable in this state. You might notice the road vibrations becoming somewhat louder but that’s entirely normal given the amount of noise insulation you just removed.

Removing the V frame

V frame removed
V frame removed

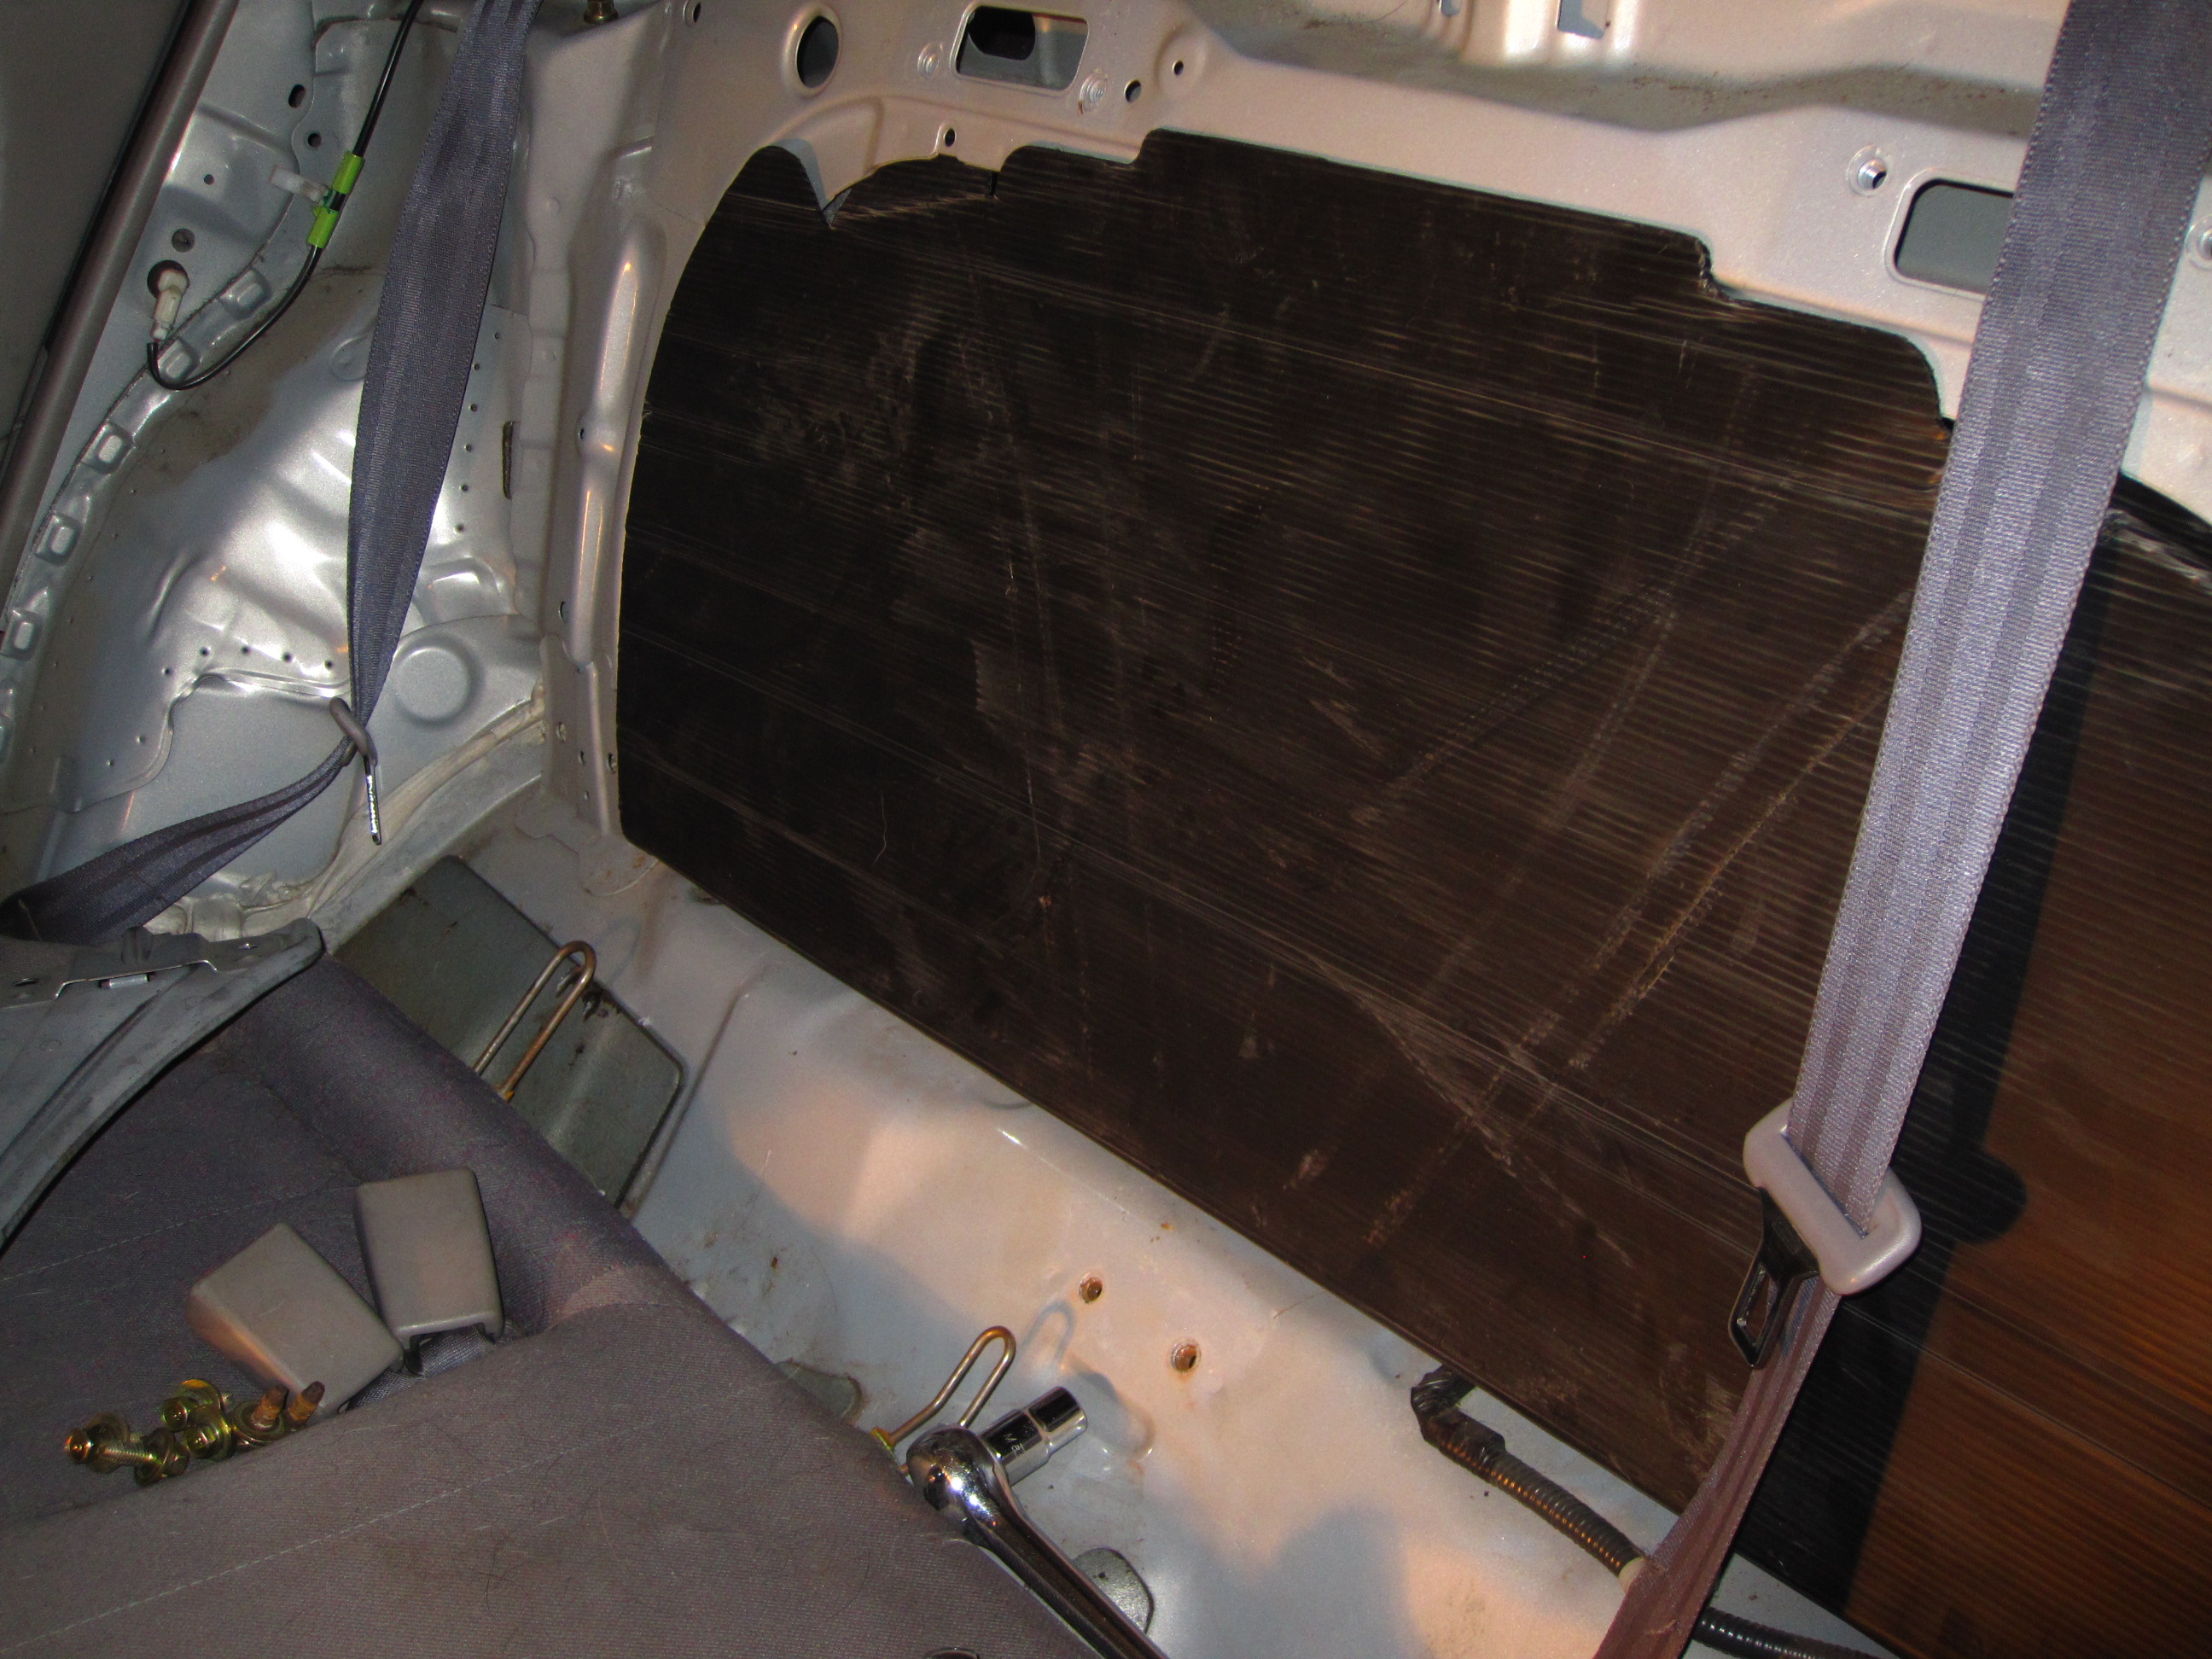
What I refer to as the V frame is the coincidentally V shaped piece of pressed sheet metal bolted right in the middle of the opening to the trunk. It’s in the way but if it does not bother you you can certainly keep it there. I, for one, decided to remove it because I did not deem it to be critical for the safety or handling of the car. First, Corollas with factory installed fold-down back seats do not have it and I’d be really surprised if their frame was any different than the standard model to account for the added structural integrity. Second, if it’s purpose was to give the body more stiffness, the V would be upside down. It could have a part to play in case of rear collisions, but my theory is that it’s meant to add support to the rear seat. So If you agree with my logic, you can go ahead and remove the six bolts that hold the V frame in place.

Fastening the bottom cushion

Bottom cushion fastened

Last major step is fastening the bottom cushion. It has three metal prongs that would normally slide under the backrest part of the seat, but since it will now become loose, the bottom cushion needs to be attached to the frame. Once you have re-installed the cushion, simply drill holes where the prongs are. Rest assured, the metal is not very thick and your fuel tank is a safe distance below. Once that is done, use properly sized sheet metal screws and washers and thread them through the holes you just did to hold the cushion down.

Cut that metal prong
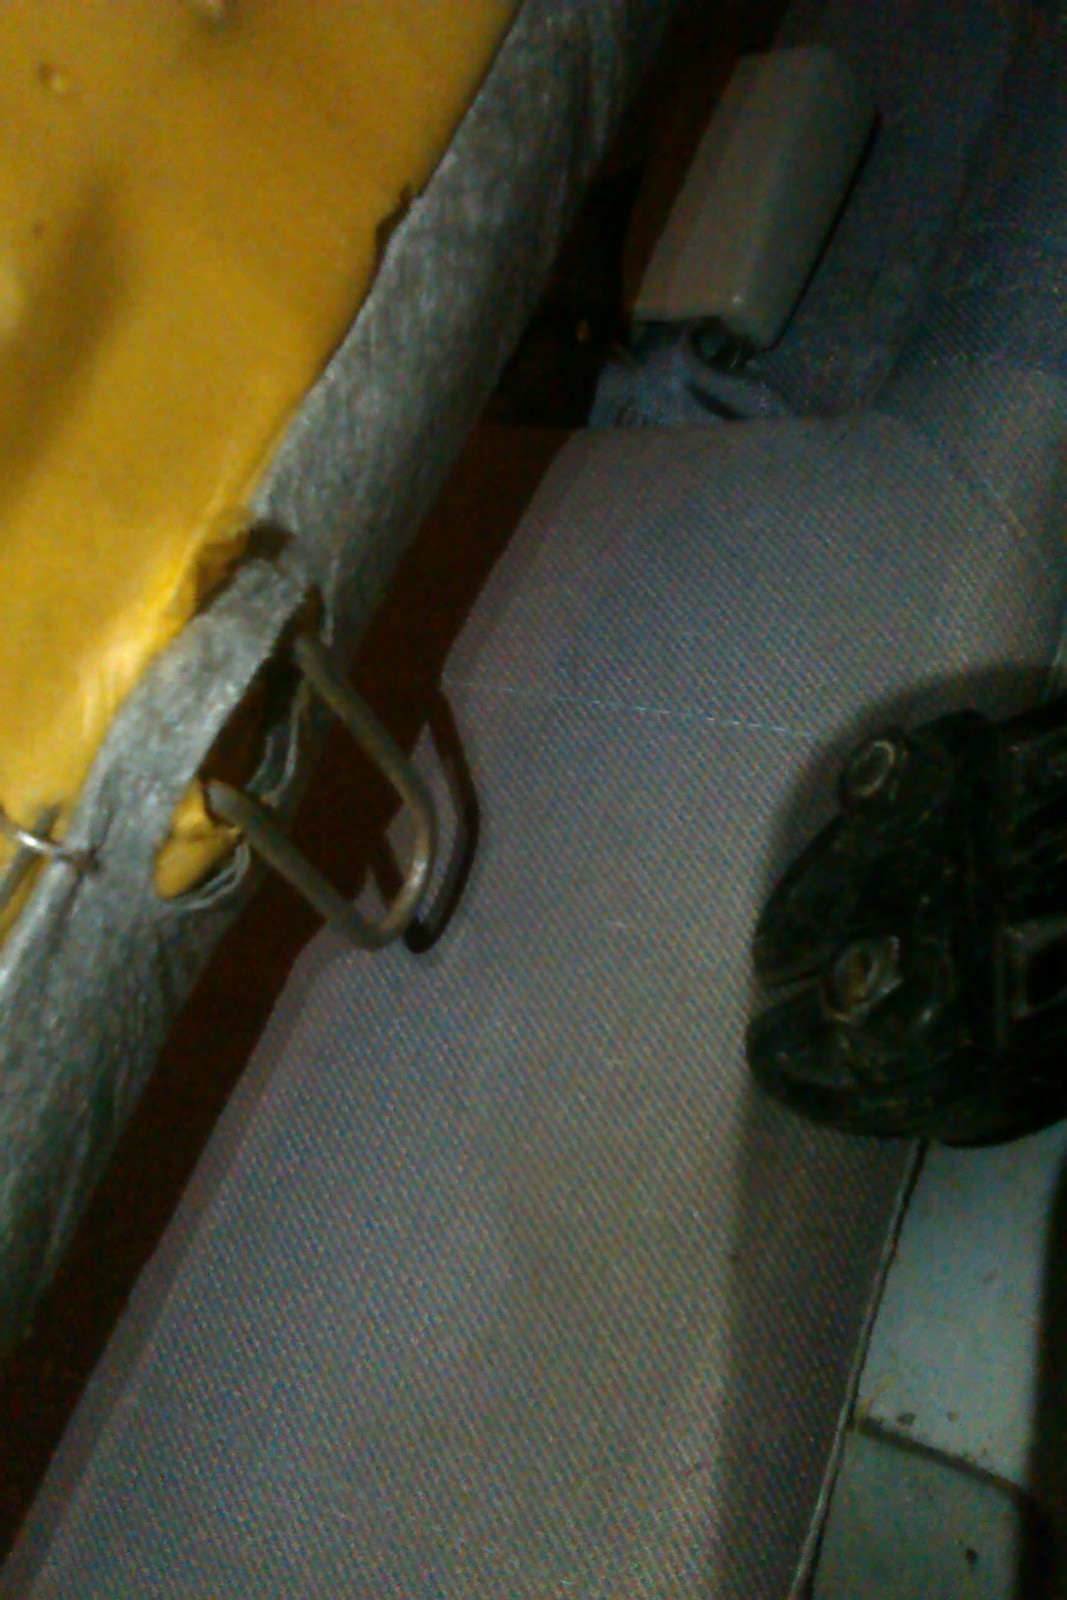
Of the metal prongs on the bottom of the backrest that used to be screwed to the frame, the middle one get in the way and should preferably be removed. Its not absolutely necessary, but it will make installation easier. This procedure can be accomplished with a bolt cutter or a metal saw. There is another prong right next to the one you just cut that is meant to slide under the seat cushion; leave it in place.

Finally, slide in the backrest, thread the seat belts in their correct position and set it so the metal loops below the headrests pair up with the hooks on the frame. Give it good tap so it sits correctly and you’re done. Nobody should ever notice this little trick but I’m sure its going to prove itself very useful.

Done! You can now transport dead bodies in your trunk without having to cut them up.

How to fix (fsck) a root file system that you have to boot into on Linux

Two days ago I corrupted my file system during a failed resume from standby on Fedora 19. This feature has never quite worked correctly and randomly makes the kernel panic. Usually, I hard reboot my laptop and everything is fine but that time, something went wrong and when it came back up:

systemd-fsck[605]: /dev/sda2: UNEXPECTED INCONSISTENCY; RUN fsck MANUALLY.
systemd-fsck[605]: (i.e., without -a or -p options)
[ 13.652068] systemd-fsck[605]: fsck failed with error code 4.
Welcome to emergency mode. Use "systemctl default" or ^D to activate default
mode.
Give root password for maintenance
(or type Control-D to continue):

In this case /dev/sda2 is my root partition and since it was mounted even in maintenance mode, attempting to run fsck on it would output:

fsck.ext4 /dev/sda2
e2fsck 1.42.7 (21-Jan-2013)
/dev/sda2 is mounted.
e2fsck: Cannot continue, aborting.

Which makes sense as common knowledge tells us that running fsck on a mounted file system will most likely do more damage to it.

The best option

Your best option is simply to boot into another Linux, be it on a different partition, a USB drive or a CD and run fsck manually on the faulty partition, which can easily be unmounted if necessary because no OS is using it. Easy. Normally yes, but my stupid Macbook Pro 2008 cannot boot though USB into anything else other than Mac OS X, my cd drive has been dead for years and recently, I got rid of my OS X partition. To make things more complicated, I’m in Thailand at the moment and obviously not able to take apart my computer to grab the hard drive and stick into a working system.

The other option (if you cannot boot into another Linux)

In order to assess the damage, I ran fsck in dry-run mode and piped the output to more to make reading more practical:

fsck.ext4 -n /dev/sda2 | more

From there, I could ensure that no critical files had been damaged and while keeping in mind that it’s always a gamble to use a corrupted file system, I proceeded to boot into the system to make some backups. That out of the way, I did some research on the web on how to fix a root file system that I had to boot into and sadly, not many things turned up for its not an ideal solution. Forcing the system to do it a boot time by creating a file named forcefsck and writing y in it (echo y > /forcefsck) at root no longer works and adding fsck.mode=force on the kernel command line did not fix the problem as fsck will not fix errors on its own without authorization, ie: someone to enter yes on the keyboard. Tried a few other tricks but none worked. I had no choice but keep my fingers crossed and use the system as is.

A few days later, I decided to get back to the issue and while researching alternative solutions, I read that it was possible to fix errors on a read-only file system, which it turns out can also be used to boot into. And it worked, so for posterity here is the technique:

  1. Put your root partition into read-only mode by modifying the faulty partition’s line on /etc/fstab (but remember your old settings):
    UUID=fd1d0fad-3a4c-457f-9b5e-eed021cce3d1 /                       ext4    remount,ro        1 1

    Note: If you’re already in maintenance mode at this point, you may be able to remount your file system in read only mode by running “mount -o remount,ro /” and skipping the reboot (thanks Jay).

  2. Reboot
  3. Switch to runlevel 1 just to minimize the amount of interfering processes (skip this step if you are running the session over SSH [thanks Josh]):
    init 1
  4. Fix your file system (replace /dev/sda2 with your partition’s device), which should now work because the root partition is in read only:
    fsck /dev/sda2
  5. Reboot
  6. Make your root file system readable/writable:
    mount -o remount,rw /dev/sda2
  7. Restore your /etc/fstab to its original state.
  8. Reboot

Voilà, your system is safe to use again. Hopefully this will have gotten you out of a sticky situation like it did for me. If errors keep coming up, it’s probably a sign that your hard-drive is failing and before you loose it completely, you should mirror your data to a new one.

Nuts for coconuts, the amazing ways of consuming this exotic fruit

The coconut at the stage we are most familiar with

We know coconuts as the principal ingredient of a piña colada, we know coconuts as the tasty filling of a bounty chocolate bar, we know coconuts as the crucial part of a good curry, we know coconuts for their awesome taste but otherwise, we remain pretty ignorant about its many uses and life cycle.

Allow me to enlighten you with my recent experience with this incredible fruit and the knowledge I gathered from the locals in the Carribean. While not scientifical, I sincerely hope you will remember this little piece should you ever become stranded on a lonely tropical island. Otherwise, just take it as a little how-to guide for the next time you find yourself around a lot of coconuts.

An opened coconut

Coconuts as their name implies, are the nuts (or fruit (technically a drupe)) of the coconut palm tree. They grow everywhere around the carribean coast of Costa Rica and as far as I know, their extend is very large and in some cases, their productivity can turn them into a nuisance. There is no season for these trees, they just constantly produce all throughout the year, with every batch taking a couple months to mature. Coconuts are large fruits and do not biodegrade very easily. So much so that locals have to get rid of them (and their leaves) using bonfires.

A yellow coconut palm

Coco palms come into a few varieties which are mainly differentiated by the colours of their nuts: yellow, green, or something in between. If you are after pipa, you will prefer the green variety for its sweetness but when they age, the differences in flavor dissapear and the nuts all turn the same brown.

The pipa

A green coconut palm, preferred for pipa

There is a couple of vendors yelling “pipa fria” around you but cannot quite figure out what they are selling? Its coconut water, or “pipa”. A young coconut before it becomes ripe has a lot of water in it, easily 150 ml I would say. This water is sweet, very rich in minerals and feels very healthy to drink, if you can get past the weird taste (it’s somewhat of an acquired thing). Mike, another volunteer at the association has aptly called pipa “the gatorade of the jungle”: some local guides will not bring any water bottles on patrols, they will just reach up for a pipa or two.

A yellow “coco tierno” alongside a green pipa

The pipa is probably the stage of the coconut that is easiest to consume. Vendors in the street will slice the top off, put in a straw an refrigerate pipas but in nature, you just grab, smash and drink. Grab a pipa from the palm, smash it one or two times against the trunk until the nut cracks and drink the dripping water. It’s a bit messy but even though it is sweet, pipa will not get your hands all sticky.

The older pipa (or half-coconut)

Size comparison of a more mature coconut to a young pipa (which I am holding)

As they age and ripe, pipas grow bigger, thicker, and get harder to crack open. Should you succeed tough, you get rewarded with sweeter coconut water and a gelatinous substance called “coco tierno” (tender coco) that covers the inside surface. Coco water serves as a suspension for the endosperm of the nut and as it matures, will form this deposit. This substance is what is later going to become the white hard flesh of a ripe coconut and while the taste is somewhat different, it definitely hints towards that flavor.

The white gelatinous flesh can be scooped using a slice from the skin, notice the presence of shell

This tasty flesh can be scooped using a broken piece from the shell or a slice from the skin of the husk but in order to access it the nut has to be split in half. Without the proper tools (a machete), this is quite a challenge and requires a lot of smashing around and prying. At this stage, the very hard shell which we are used to crack with a hammer has started forming.

The nut (as we know it)

The tool of choice when working with coconuts: the machete

Now we come back into known territory, the ripe and mature nut is what we are used to finding in northern hemisphere supermarkets. What we are not familiar with however is how incredibly hard it is to get to the nut itself. Covered by a dry husk made of a thick skin and very fibrous material, this one it truly a “tough nut to crack”. Once open, little coconut water remains, most of it has coalesced into the very flavorful flesh we are all so fond of.

A ripe coconut with the husk removed

When on the ground and in the presence of humidity, the nut will obviously start to germinate. From one end of the nut, leaves will burgeon and from that same end a root system will emerge, all feeding on what is inside the nut and turning the flesh and water into a coconut sponge. Very rich, this sponge when be pressed will ooze oil (good for cooking) or can simply be eaten. Be careful, common wisdom has that eating too much of this will give you diarrhea.

A germinating coconut

These nuts are nature’s own small ships, known to have traveled by sea for thousand kilometers to land on a small remote island and populate it with this awesome tree. I did not get into the great many uses of the husk (textile), shell (jewelry, combustible) and the tree (lumber) itself, I did not cover the great many culinary, medicinal and industrial applications of this plant as well. I admit to be

Coconut sponge

wholly ignorant in this matter: the list of use cases for the coconut palm and its fruits seems virtually endless, I just know how to eat them raw.

Now we need to figure out how to grow these in Canada.

Coffee tables with reclaimed wood and wine bottles

The finished product
Ten green coffee table
The original design

My friend’s apartment in Toulouse, France, was really lacking furniture so I challenged myself to find a design I could build with whatever materials I could reclaim from the garbage, a budget of 10€  and nothing for tools but a saw, some sanding paper, a drill (or the kind of stuff not-so-manual people keep in their toolboxes).

While browsing instructables, I came upon what I felt was the most promising design, the Ten Green coffee table by  Zero-Waste. It is built with easy to come by materials (wine bottles and wood), but what I found problematic was the hardware used for the tensioning system, which for the three levels of tables would have costed me at least 50€. While it certainly looks great, it was totally over my budget so upon realization of that fact at the hardware store, I got my brain to work and stated walking up and down the alleys for inspiration and quickly came to figure out a more economical solution with nothing but screw eyes and strings.

The wood: a pallet

The pallet

Finding wine bottles is trivial (especially in France), but cheap wood is another story. There were plenty of discarded pallets in the streets, but it took me a while to find a suitable one. It had to be large enough, clean (ie: mostly free of dirt, cement and/or paint) and built with decent quality wood which for pallets is very uncommon. I forgot to take a picture of the whole pallet so this one does not quite do it justice. It was a pain to carry across the city, back-breaking work cutting it and immensely tedious to sand the pieces manually but I managed to build my two tables out of it.

The two surfaces of the first table

Apart from the physical hardships of working without power tools processing the pallet into decent looking surfaces was a piece of cake. I cut up the pallet in even size planks (which numbered 30) and then sanded them down to remove some coarseness (they use very low grade timber). I then assembled them into levels and drilled the four corners of the bottom levels with a hole large enough for the neck of a bottle to fit in.

The wine bottles: Cabernet-Sauvigon, Shiraz, etc.

The part most will enjoyed the most. Be careful though, wine bottles vary in shape between brands so you should buy bottles in four. If you want bottles very quickly ask a nearby restaurant if he can put them away for you and come pick them up after a service.

Assembly

Half of the tensioning system in place
A detailed view of how the rope is kept under tension

With two levels done, I screwed eyes at the eight inside corners of the table, inserted the wine bottles and layed the table upside down to build the tensioning system.  Starting from a bottom eye, I routed the string in the upper eye and then to the opposite corner and down again; Tied both ends and repeated for the other side. To prevent the ends of the strings from fraying, I dipped them in melted candle wax. Then, all there there was left to do was to put a long enough (to give torque) wood screw with an unthreaded shank between the two strings where they met in the middle of the table and turn to tighten the rope. Once I felt there was enough tension I simply drove the screw in the surface above to lock the whole system in place. Make sure the string is able to withstand a fair amount of tension because you need some if the bottles are to be kept tightly sandwiched between the two levels.

Assembling a two (or more) level table was a matter of simply repeating the process. The two level table ended up being more stable because the wood was just thick enough for the neck of the upper level bottles to lock itself inside the dip of the bottle below. The necks will make nice feet but If you want more adherence on the floor or want to protect it, you can put back corks into you bottles. Also, you are by no means limited to wine bottles, it could be beer bottles (on a good night with a few friends, you can get enough for a full shelving unit), or hard liquor bottles (but they take more time to accumulate in quantity).

Partitioning an Ipod to FAT32 and ext3

I recently inherited my sister’s “defective” (but fixed for 5$) 120GB Classic Ipod and managed to partition it the way I wanted. It was not a trivial process so I tought I’d share my experience with the web so others can benefit from it.

My music library is far from being 120GB so even if I feed the Ipod all my tunes, I’d still have a lot of free space on it. Granted, you can mount the Ipod as a mass storage device and stuff the rest with anything, but here’s the catch: Ipods will only format to FAT32 or HFS+ file systems if you use iTunes. As a consequence, if you pick HFS+, you will not be able to use them on windows and some *nix (if they lack the HFS+ support module) and if you choose FAT32, backup solutions such as backtintime will not work (they need a journaling file system).

So I took to partitioning my Ipod with two different partition using a different file system for each, FAT32 and EXT3. I tough it would be a simple task, but turns out that it wasn’t. Just formatting the Ipod and letting gtkpod rebuild it did not cut it; the device would stutter, only play the first few seconds of each track and give off artifacts while displaying the CD covers. And when plugged in iTunes, the software would report the device as corrupted and offer me to reset it. I thought that gtkpod must be missing on something so I should use iTunes instead yo rebuild it, but iTunes would still ask me to reset my iPod. Here is what worked after a fair amount of tinkering:

  1. Reset the iPod with iTunes (on a different computer since this tutorial assumes you are using a *nix).
  2. Plug it on Linux and run the following command on the user partition. My Ipod is a 6th generation classic, there is no partition for the firmware, it sits somewhere on the MCU flash, but it appears that older Ipod use a firmware partition so leave it alone. Paying attention to that particularity, here is the commands you need to run:
    1. Unmount the plugged int Ipod with umount  /dev/sdXY Where X is the device letter of your Ipod and Y is the partition number.
    2. dd if=/dev/sdXY of=ipod.bk bs=512M Where X is the user partition of you Ipod and Y is the partition number. This will effectively copy 512MB of raw bytes from you Ipod partition and save it to the ipod.bk file.
  3. Next, take your Ipod and format it the way you want using fdisk. If you have a firmware partition, do not destroy it! Keep the following points in mind:
    1. Use a Master Boot Record (MBR)
    2. All partitions should be primary
  4. Finally: dd of=/dev/sdXY if=ipod.bk bs=512M Where X is the user partition of you Ipod and Y is the partition number. This is going to copy back that 512MB file we extracted earlier from the Ipod, setting that partition the way it was before the repartitioning.

Voilà! Plug your Ipod in, upload music with you favorite app and do backups with your file system of choice. Mine is happily working with that setup: Ipod stuff on FAT32 and backintime on EXT3.

The quirk I got with this technique was that both iTunes and the Ipod report the full size of the internal hard drive as being available for music while in reality its not; it looks like the firmware keeps a record of the empty space withing the files of the user partition (why it is not computing it is anyone’s guess). You should probably be careful not to fill it up to a point where the two partitions would overlap (although that should not happen if the firmware is paying attention but then again, not tested).

Enjoy!