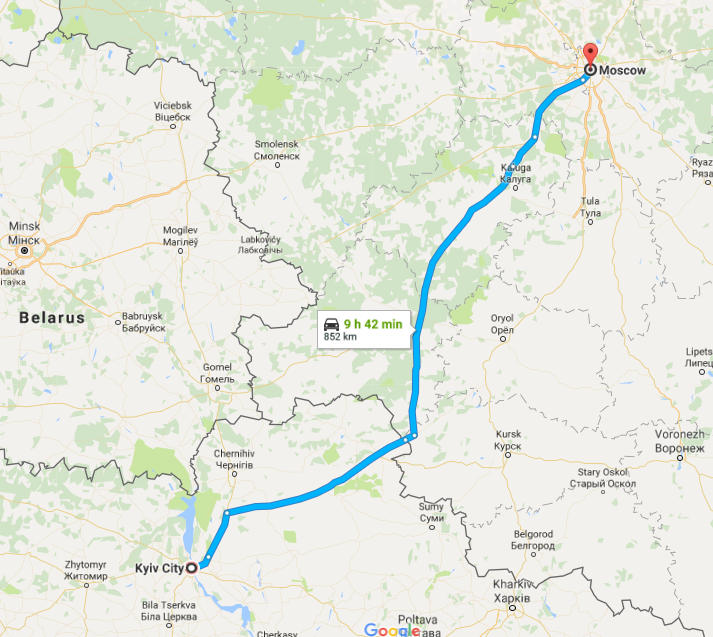
1500 roubles, donc 35$ pour un Saint-Pétersbourg-Moscou, c’était peu cher payé, mais nos sièges se situaient contre les toilettes. Donc une heure avant l’arrivée, la procession de passagers pour la miction matinale s’est enclenchée si bien que notre nuit a été un peu écourtée. Tout de même reposés, nous avons engloutis notre petit déjeuner (Audrey une pâtisserie et moi un kebab [c’est permis]), sommes retournés par métro à la voiture pour y délester nos sacs en vue de la visite du jour : le fameux Kremlin.
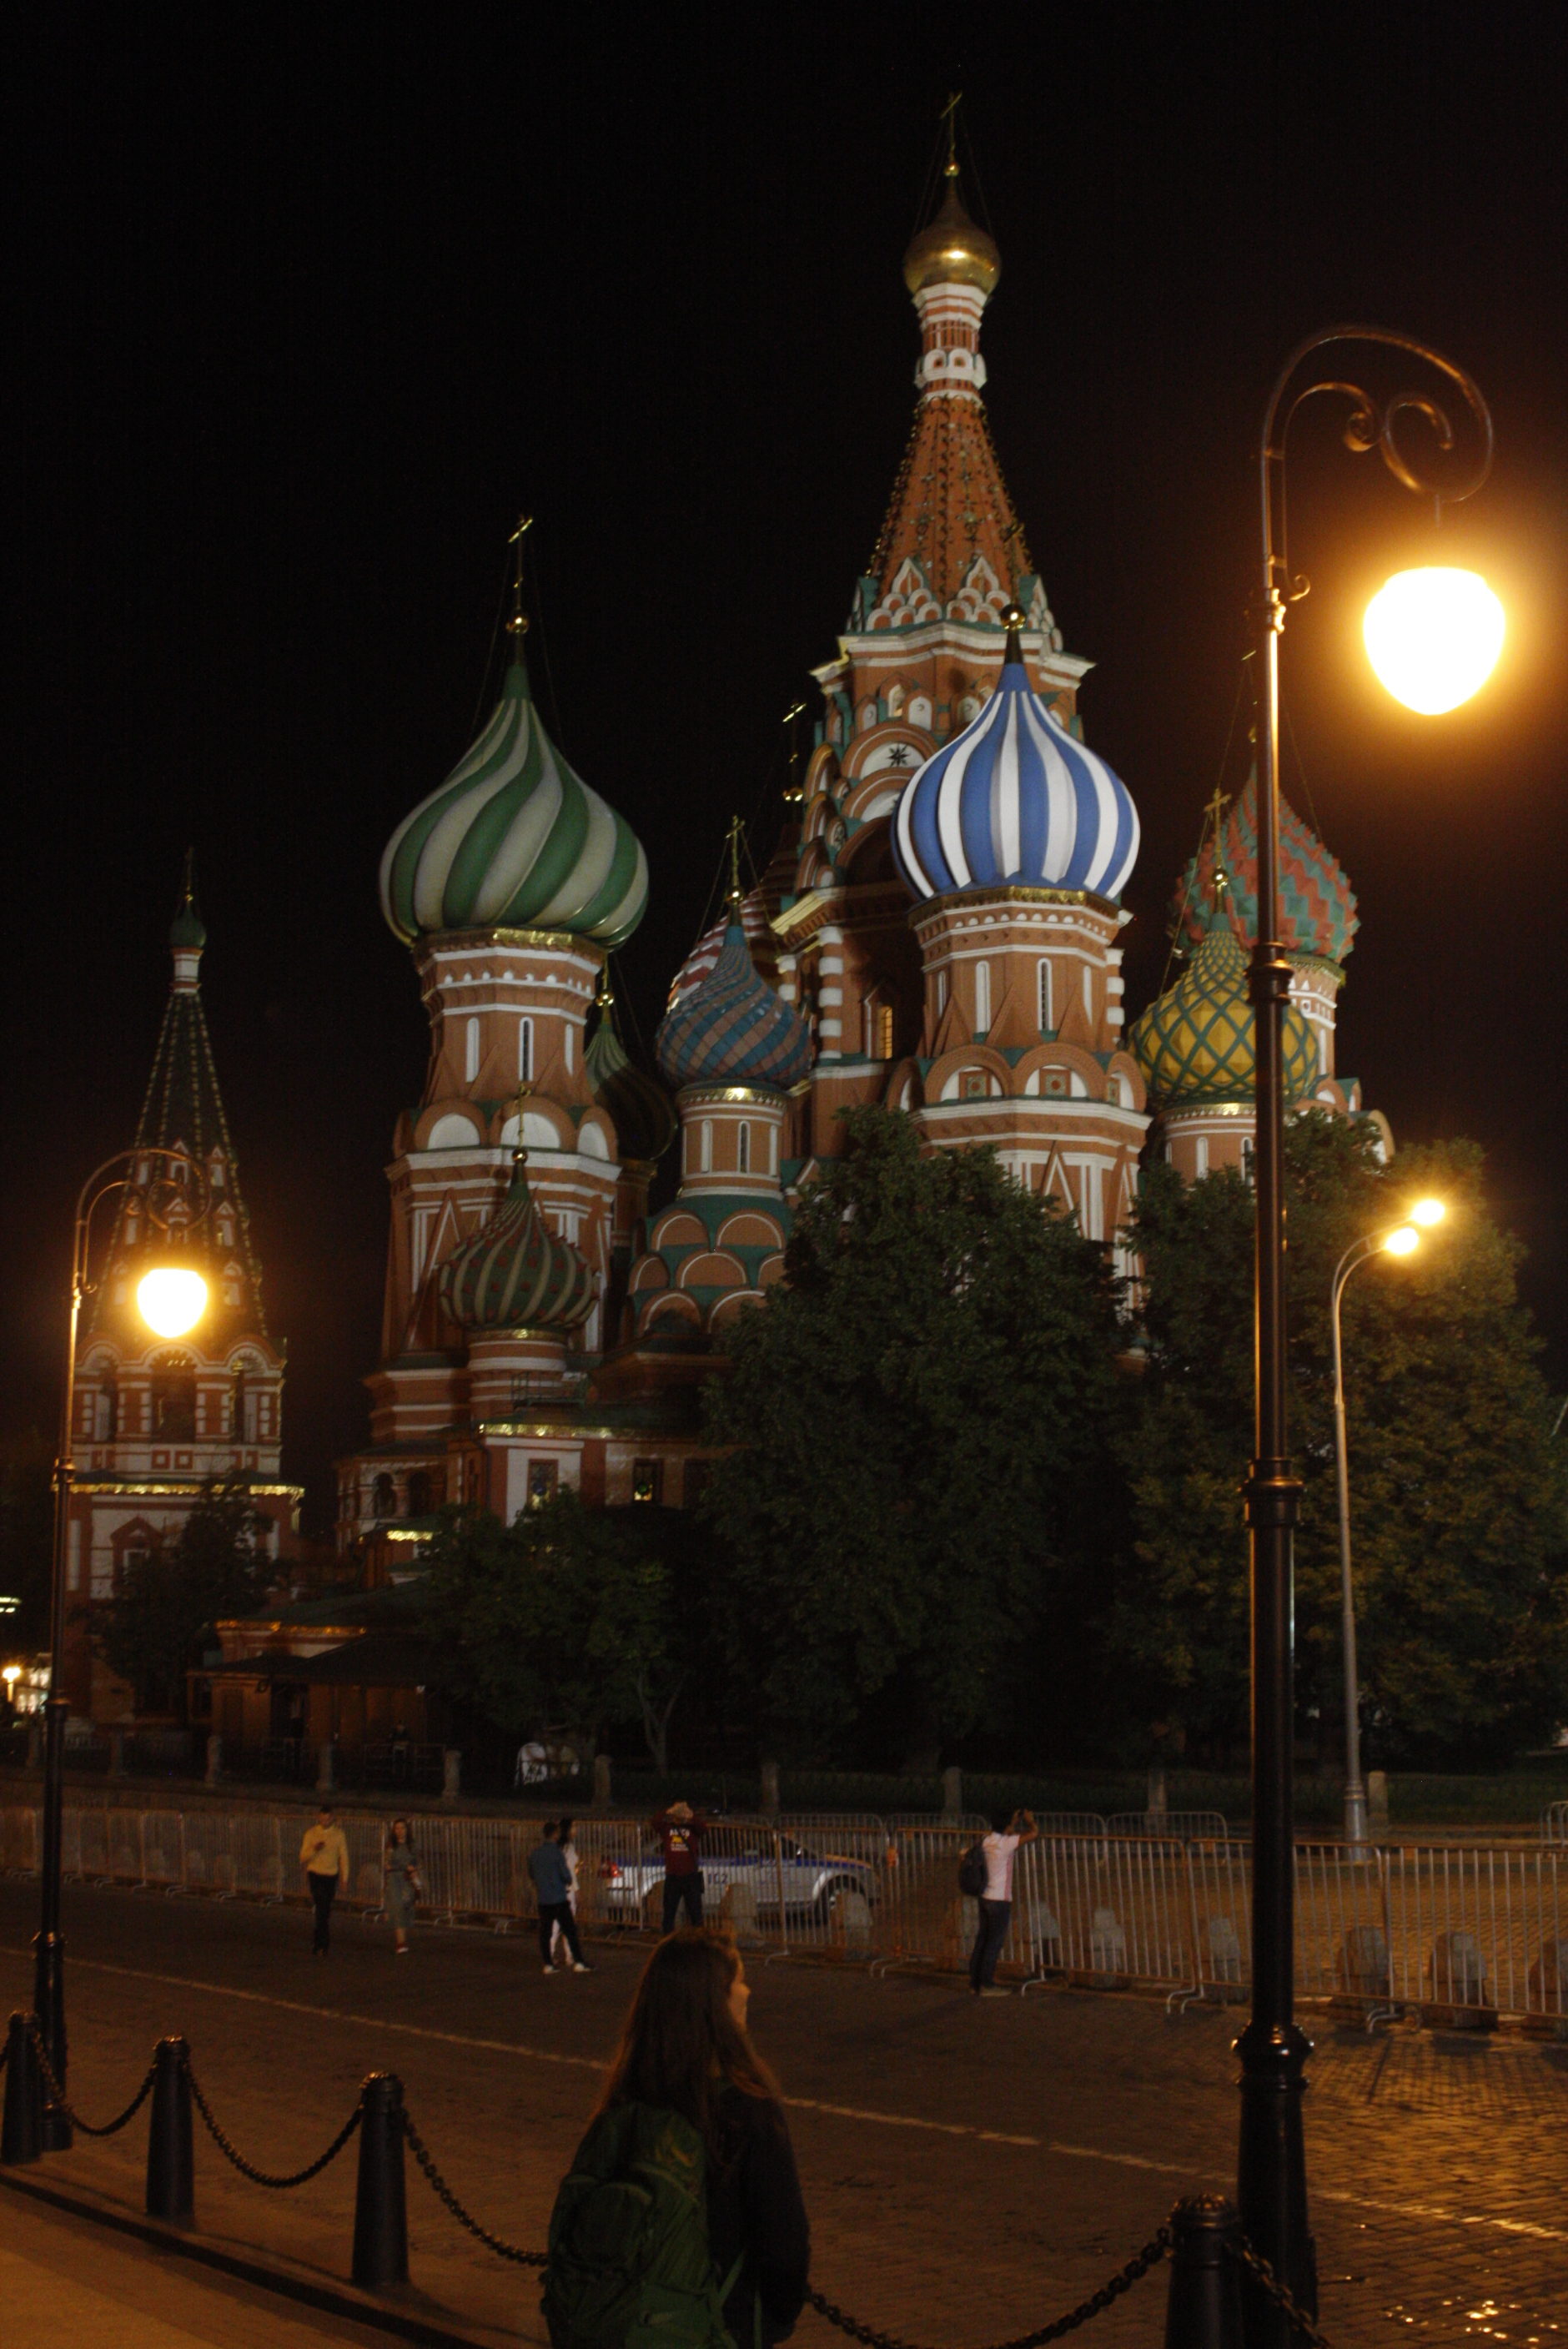
Nous avions de l’avance, ce dernier n’ouvrait qu’à dix heures, alors nous en avons profiter pour reprendre un café, aller chercher de l’argent (à la bonne banque, car la plupart son bloquées par le Canada) et acheter un atlas routier de la Russie. Une fois sur la place rouge, nous nous sommes rendus compte que le mausolée de Lénine était ouvert, contrairement à ce que notre guide (de 2009) suggérait. Moi content de pouvoir aller rendre hommage au père du communisme soviétique et Audrey indifférente, nous avons tout de même attendu près d’une heure avant que notre tour vienne. Après avoir passé un contrôle de sécurité, nous avons été admis en petits groupes et pressés dans le mausolée où, à la file indienne et en silence, nous sommes passés devant la dépouille de Lénine pendant que des soldats veillaient au bon déroulement de la procession. J’adore visiter les dépouilles de grands leaders. En Corée du Nord, il m’avait été donné de défiler dvant Kim Jong-Il et Kim Il-Sung, son père. Ici par contre, à la différence des chefs Nord-Coréens, qui étaient exposés dans un somptueux palais, le mausolée de Lénine était beaucoup plus austère, mais l’expérience n’en était pas le mois solennelle et intimidante (Je viens tous juste de demander à Audrey ce qu’elle a pensé de la visite, et elle m’a répondu : « Je mets ça dans la catégorie expérience bizarres de ma vie. »)

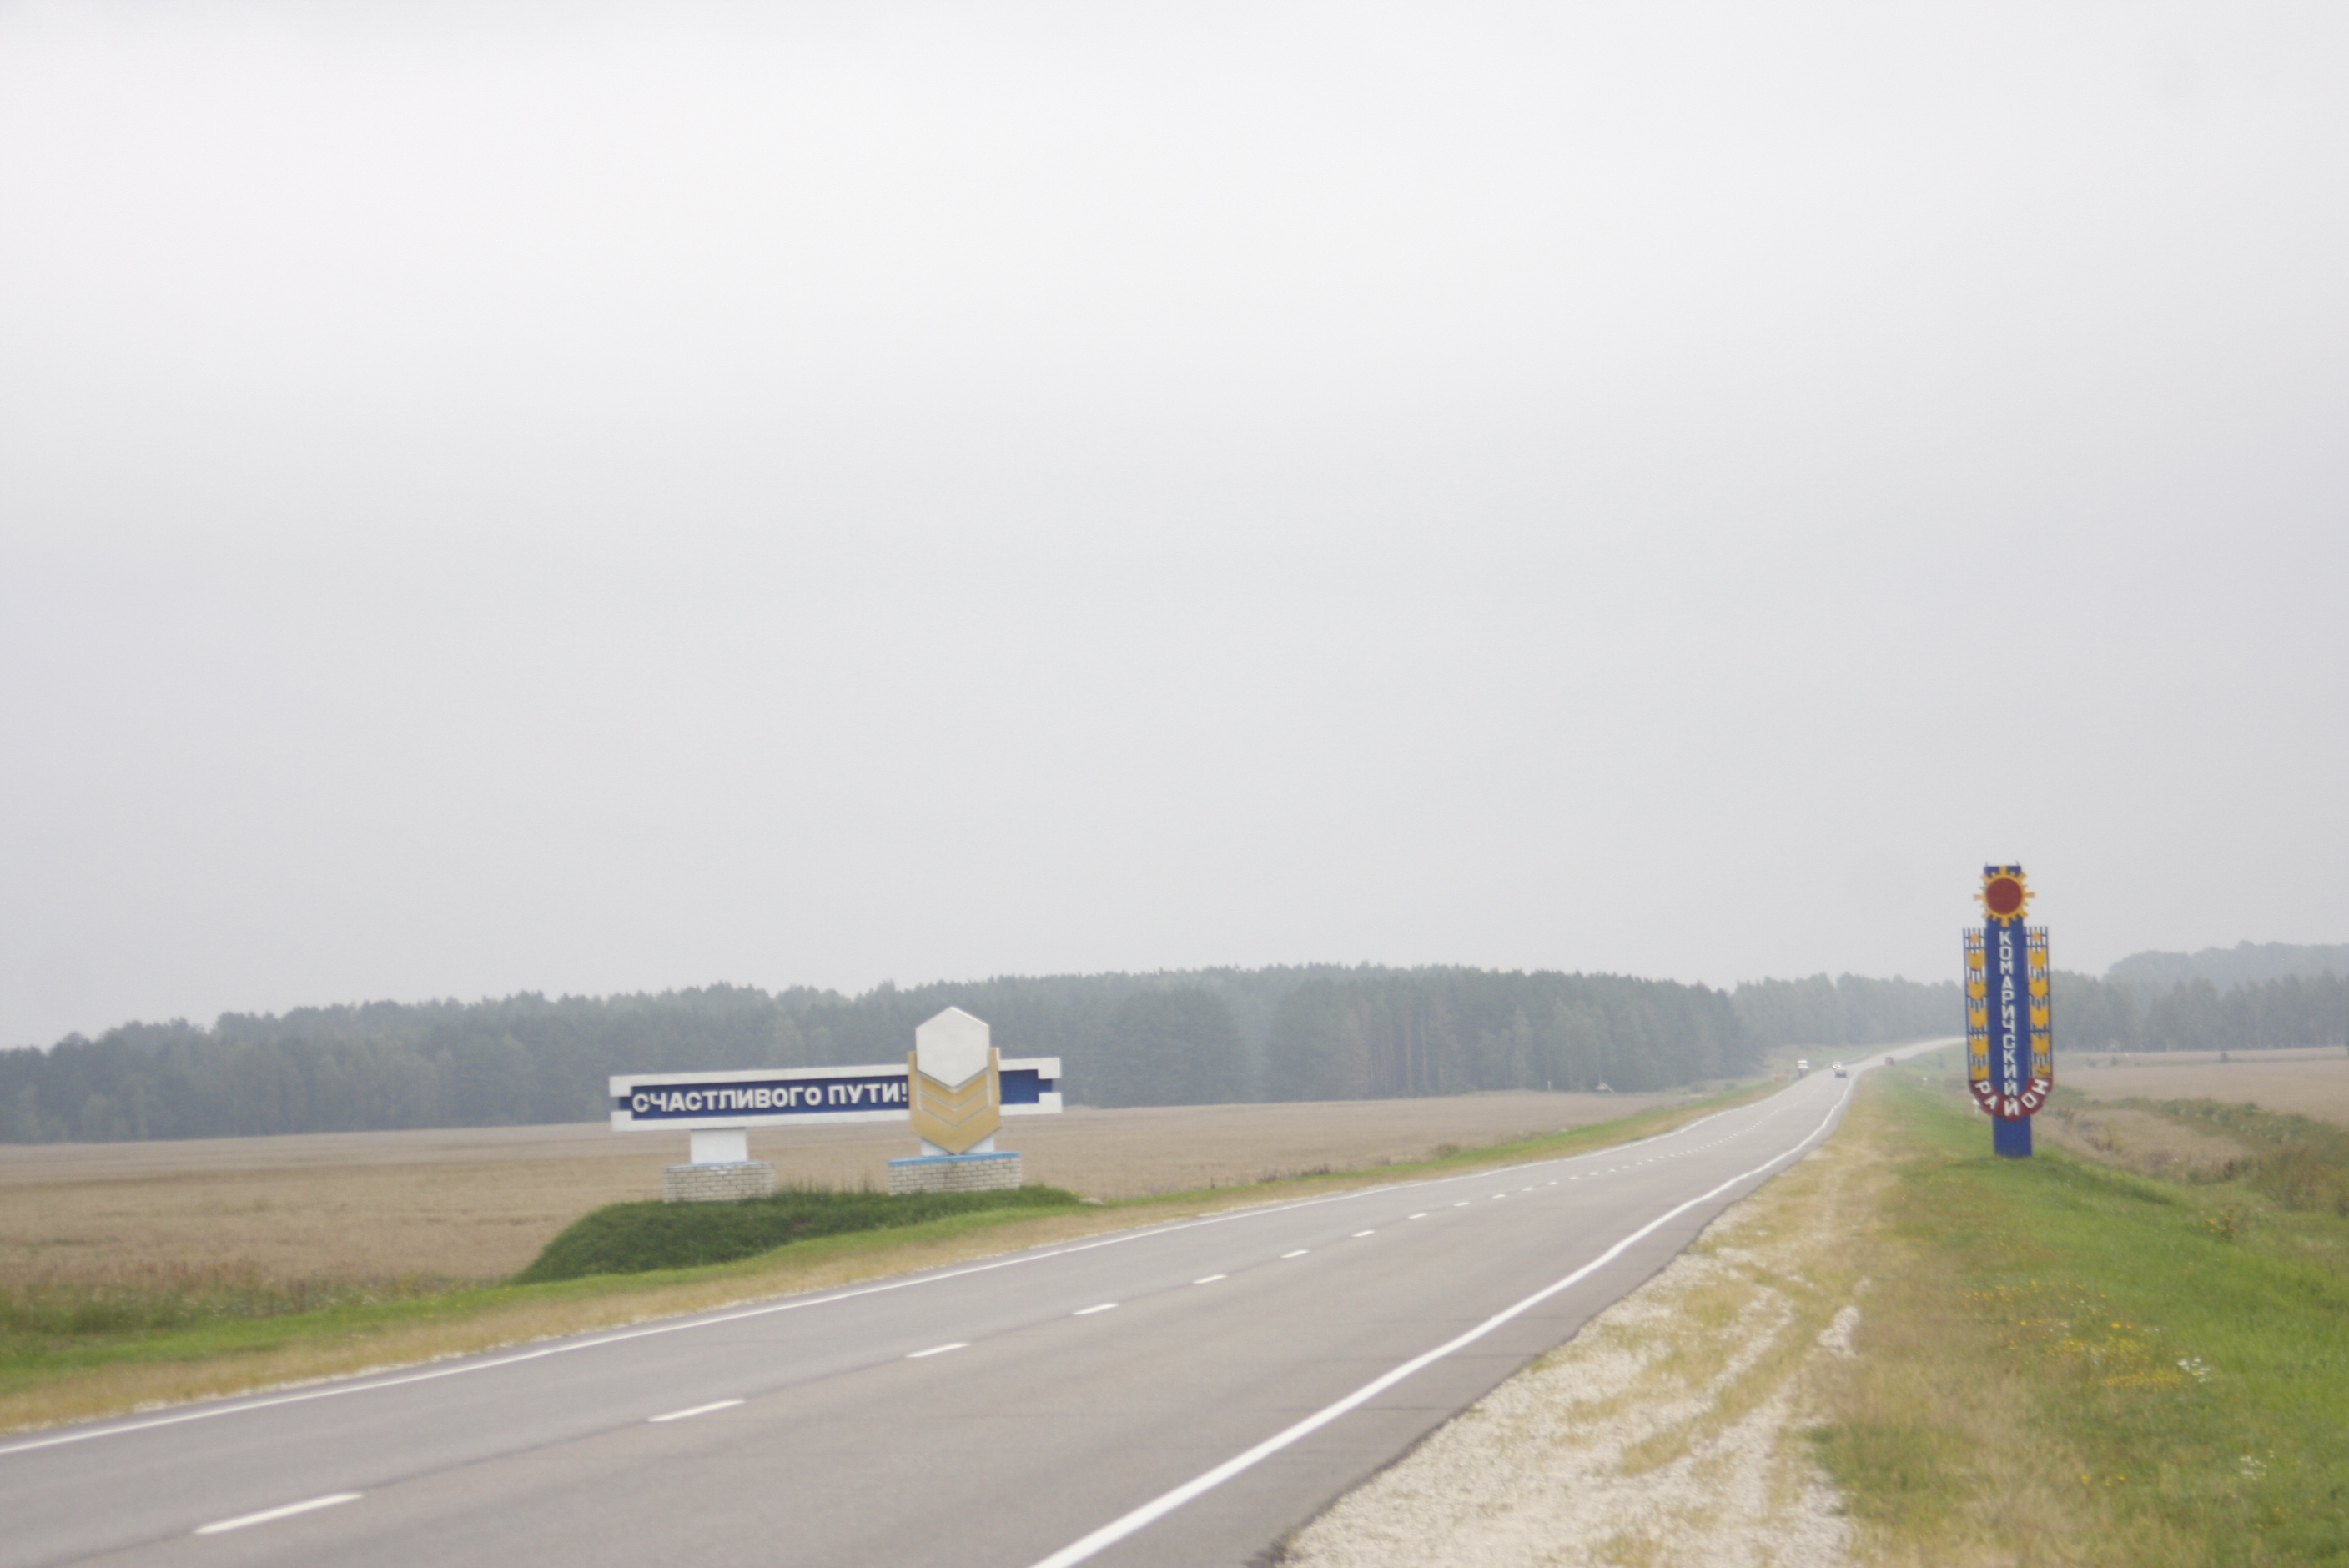
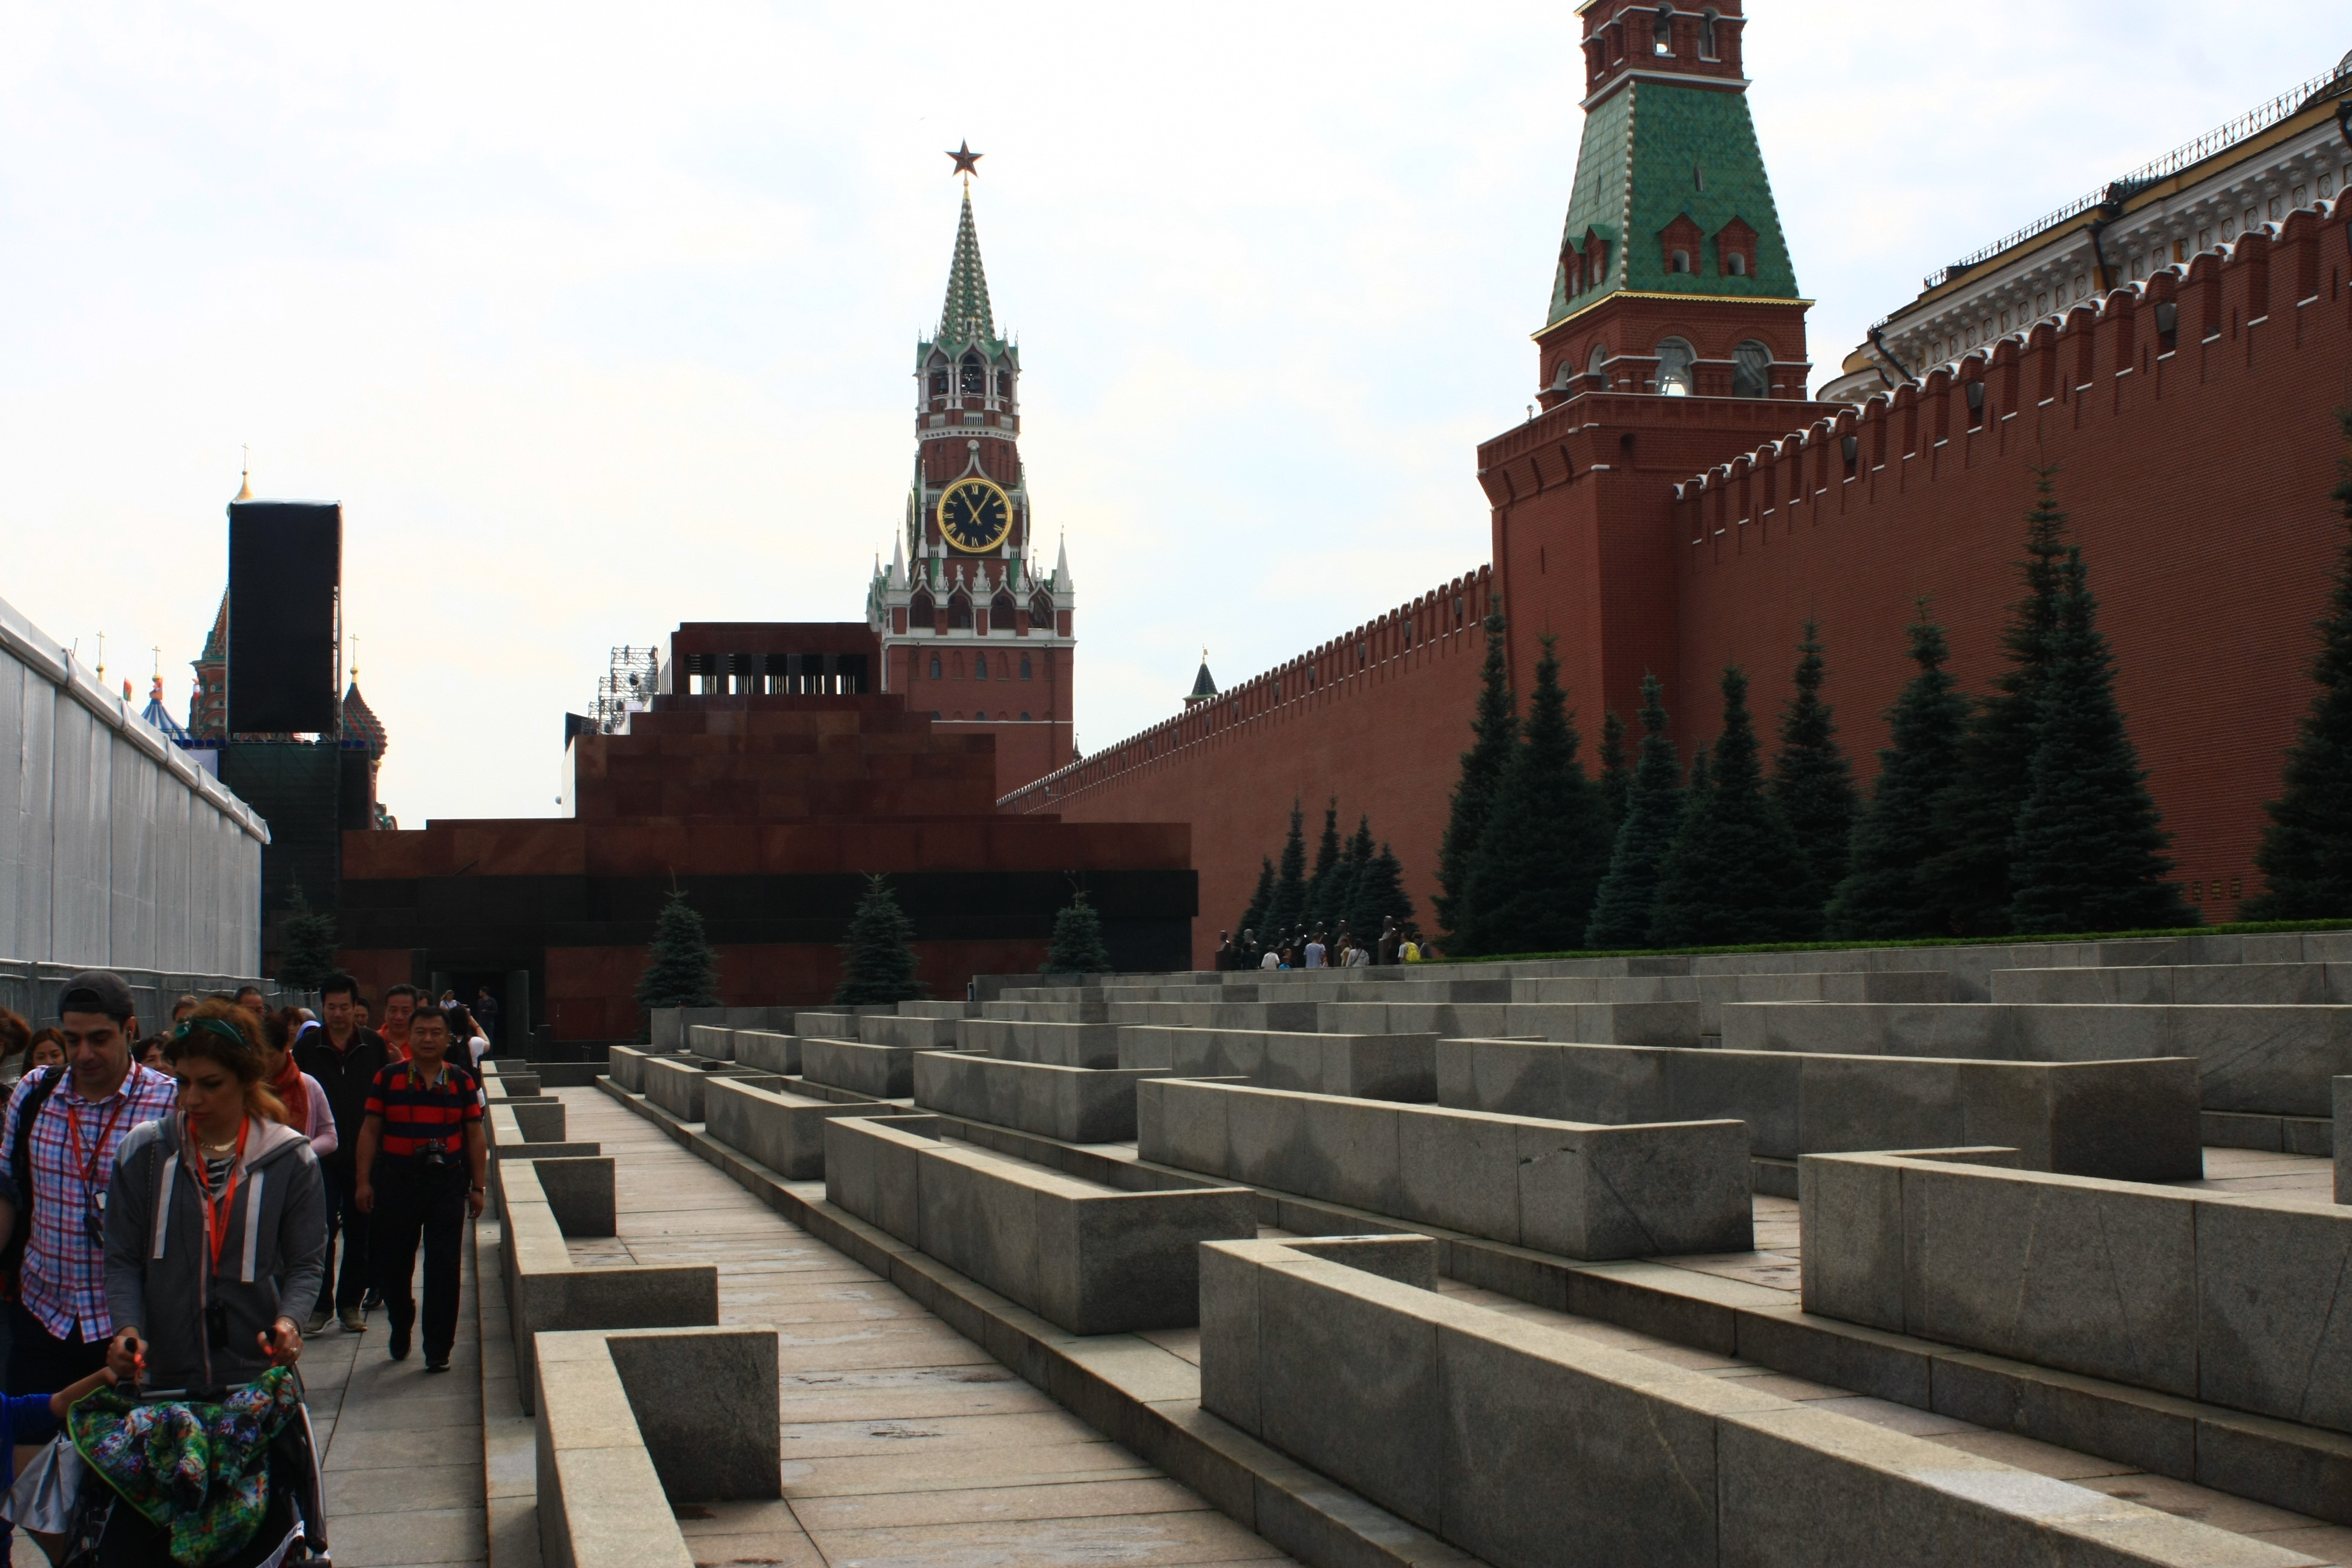
Sortis du mausolée, nous nous sommes dirigés vers le Kremlin, dont la file à l’entrée était finalement très gérable. Le Kremlin est en fait une forteresse, à la fois le siège du gouvernement Russe, de son assemblée et de l’Église Orthodoxe. Il recèle donc de nombreux bâtiments à fonctions publique au look plus austère, mais aussi des palais et des cathédrales. Notre billet nous donnait principalement accès à ces dernières. Beaucoup plus vielles que leurs congénères de l’extérieur, elles étaient donc moins impressionnantes. Normal, elles ont pu survivre aux purges du communisme, qui ne s’est pas gêné pour démolir tout ce qui avait à voir avec la religion ailleurs sur le territoire. Conséquemment, les églises russes ont tendance à être de manufacture récente et donc construites avec des moyens modernes. Autres objets d’intérêt, le canon du Tsar, le plus gros calibre au monde, mais tellement gros et volumineux qu’il n’a jamais tiré. Tout aussi gargantuesque, la plus grosse cloche du monde, qui n’a elle aussi jamais sonnée, car durant son refroidissement après sa fonte, un contact prématuré avec de l’eau l’a fait fendre. Tout ça est visible sur l’image ci-bas :)

Après avoir parcouru l’intérieur du Kremlin, nous sommes retournés à la voiture consommer un lunch d’épicerie et ramasser le nécessaire pour la nuit. L’auberge ou nous étions n’avait plus de lits, alors nous avions étés référés à un autre endroit non-loin dans la ville. Le plan de la soirée était d’aller rejoindre Ferenc, cet ange-gardien hongrois qui nous avait solidement sorti de l’embarras à la frontière Russe. Auparavant par contre, une sieste et un peu de travail s’imposait. Vers 20h00 donc, nous avons rencontré notre ami et sa copine russe pour un souper à la gastronomie azérie. Ferenc est un type dont les histoires ne cessent d’étonner. Il parle 6 langues, travaille dans la spéculation immobilière en Hongrie et en Russie, importe des voitures allemandes en Slovakie et de la machinerie agricole en Ukraine. Sa mère est Russe et son père un diplomate Hongrois, il a étudié les relations internationales à Moscou en 1991 car son père y était en poste. 1991, c’était tout juste après la chute du bloc. La soirée a donc été hautement divertissante, mais aussi mutuellement enrichissante, car tant lui que sa copine n’étaient pas familiers avec le type de personnages qui eux aussi font de l’export de véhicule allemand, mais cette fois de la France jusqu’au Kyrgyzstan (en l’occurrence, nous).
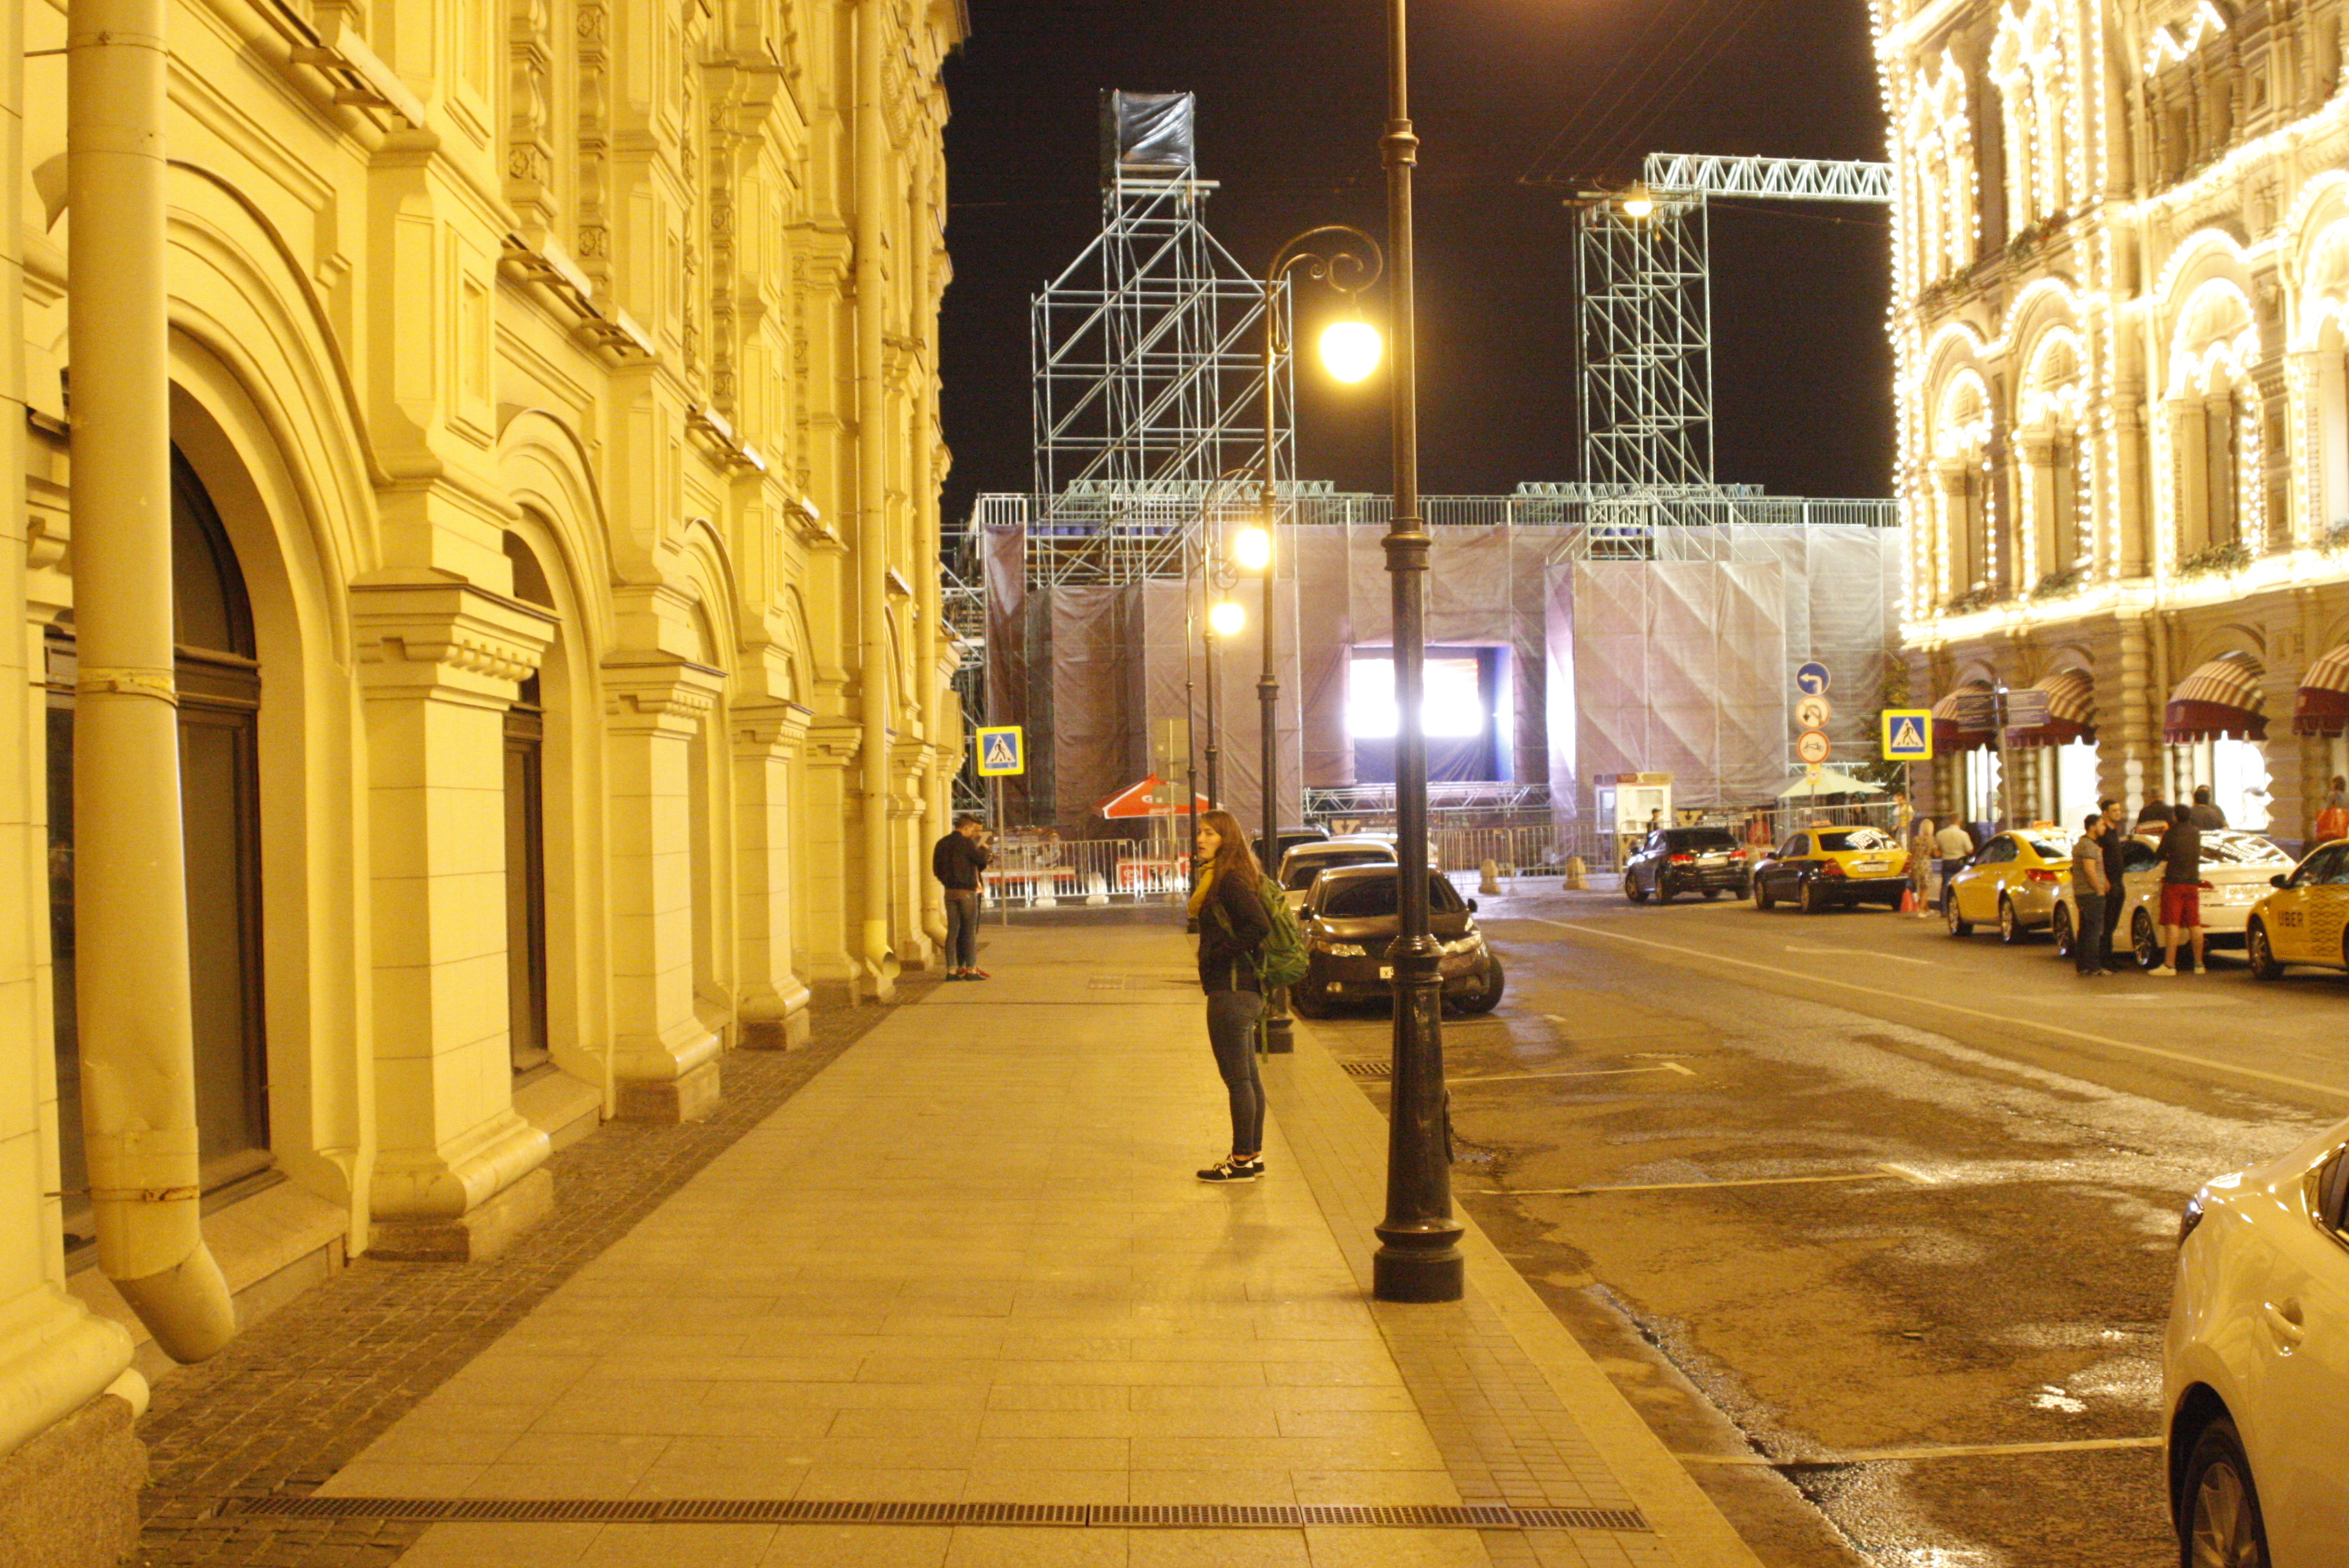
À notre sortie du restaurant, l’averse avait débutée. À la sortie du métro, la pluie était torrentielle et l’entrée de la station était littéralement inondée, tout comme les rues. Courant vers l’auberge, mais désireux de prolonger la soirée un peu, nous sommes tombés par chance sur un bar de bières de microbrasserie (tout comme chez nous, le concept est populaire en Russie) ou nous avons conversé avec un autre Canadien qui venait de débarquer à Moscou en provenance d’Ukraine et de Géorgie. Il travaillait à Houston au Texas, alors imaginez la réaction de ses collègues de travail quand il leur a parlé de ses prochaines vacances. Qui plus est, il était d’origine africaine. Dans un pays qui s’est construit une bonne réputation de xénophobie, Audrey et moi n’avions que de l’admiration pour lui. Nous aurions volontiers prolongé la soirée, mais les bars ferment tôt (12h00) sur semaine à Moscou et nous devions partir de bonne heure le lendemain.