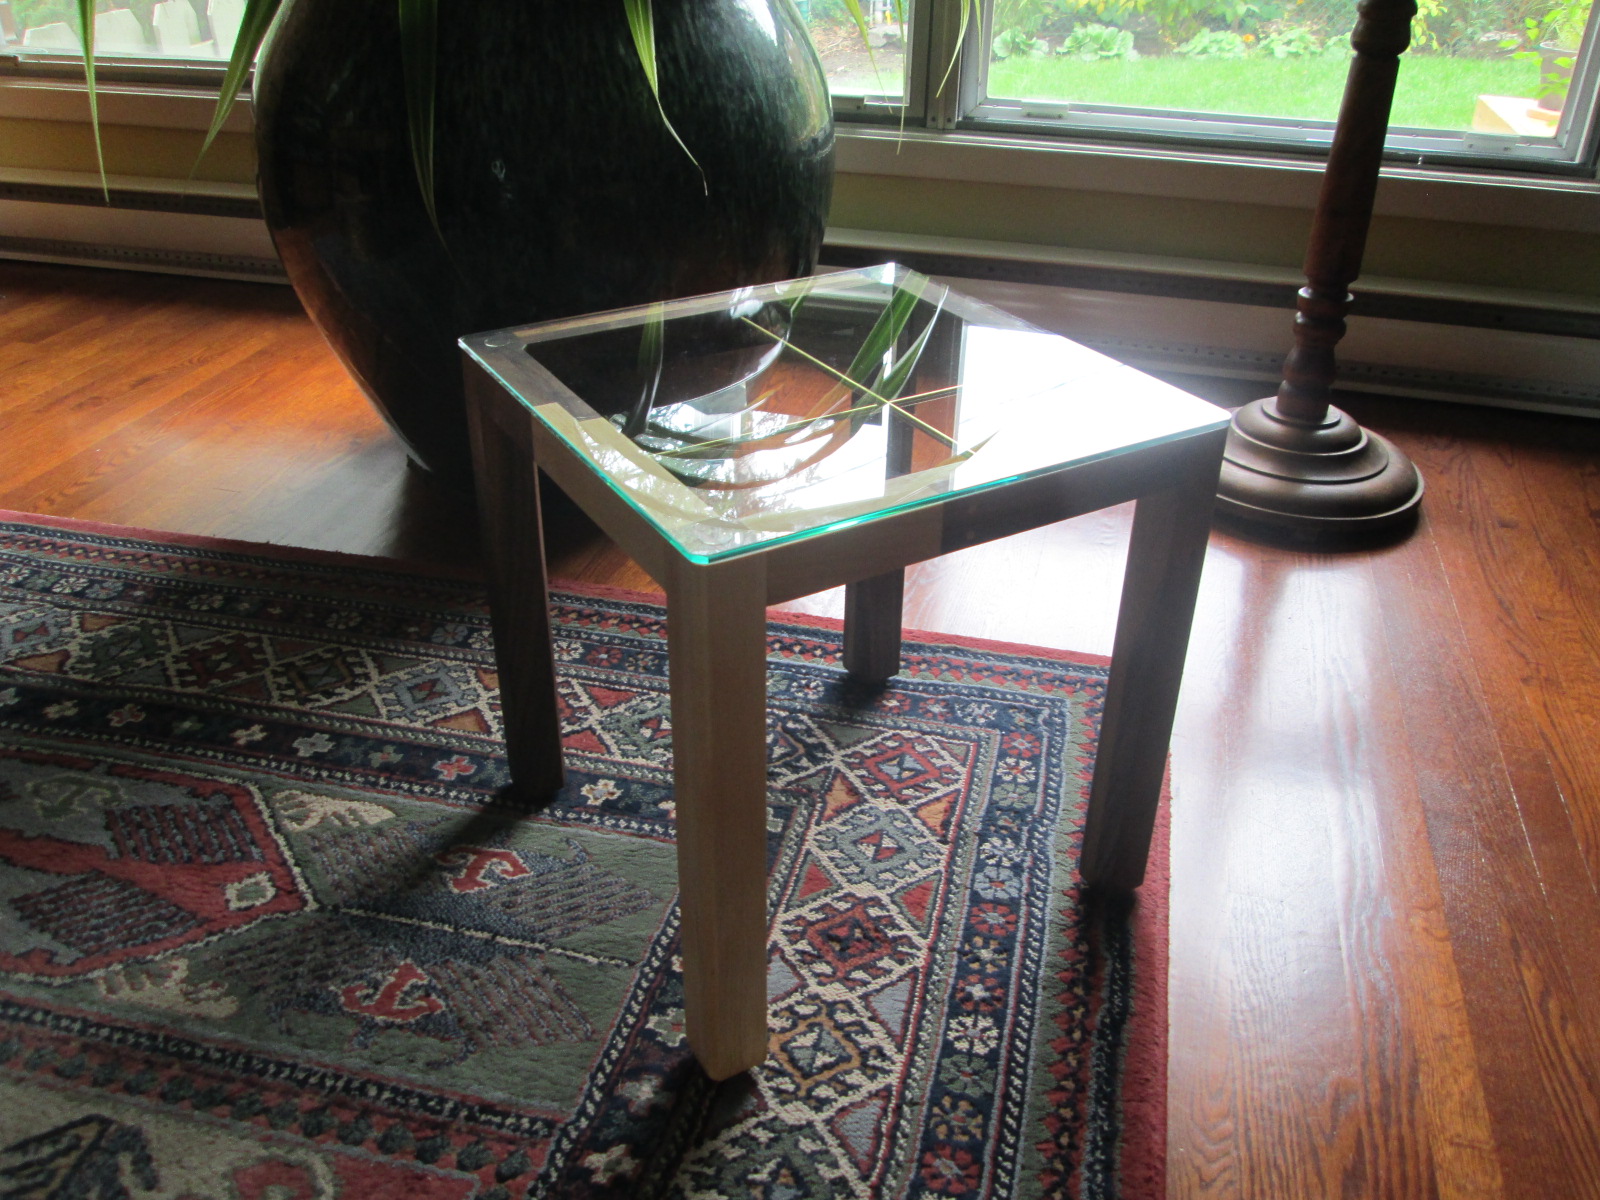
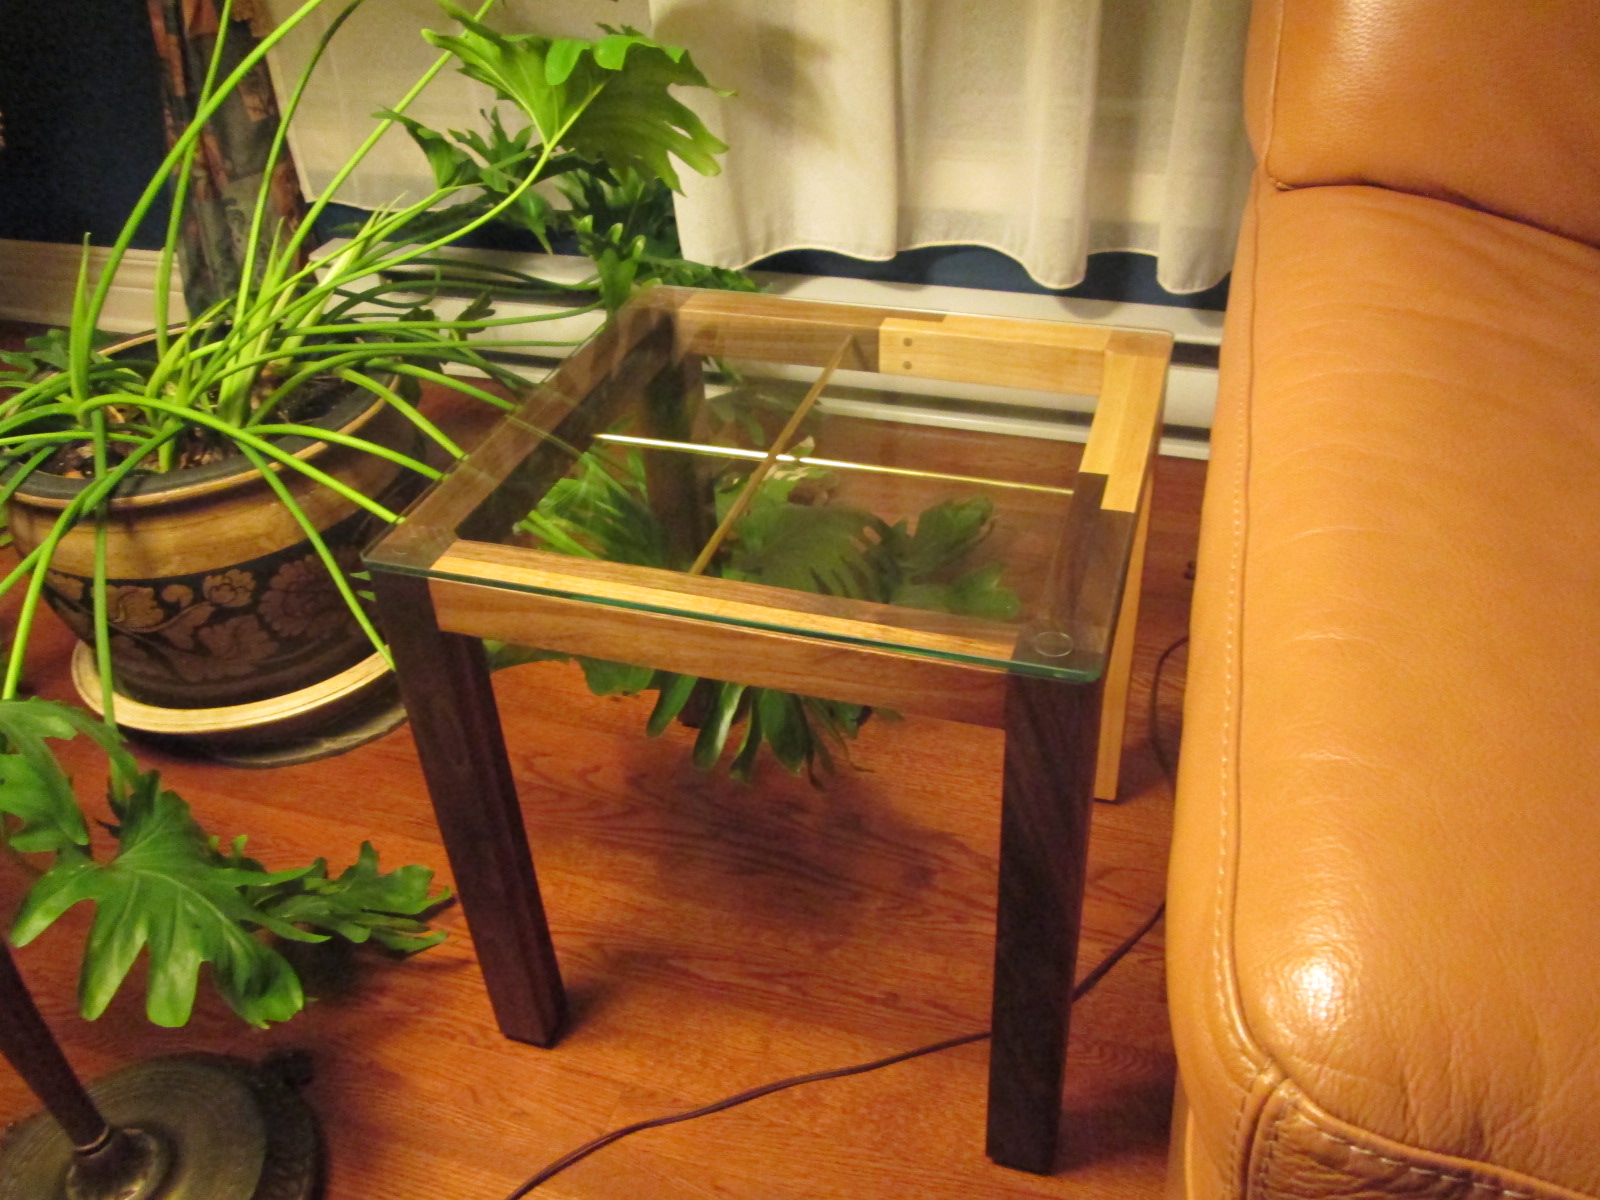
Two side-tables made out of walnut and maple or yellow birch and finished with danish oil. The top is glass and they both feature brass inserts and rods. These additions hold no structural responsibility, everything was attached using dowels.
The pair got their name from the fact that they are mainly crafted from walnut, but each feature one leg made of a lighter-colored wood joined as it the table was mutating. They are of a very similar design to this project and this other one because they were made to compliment them.
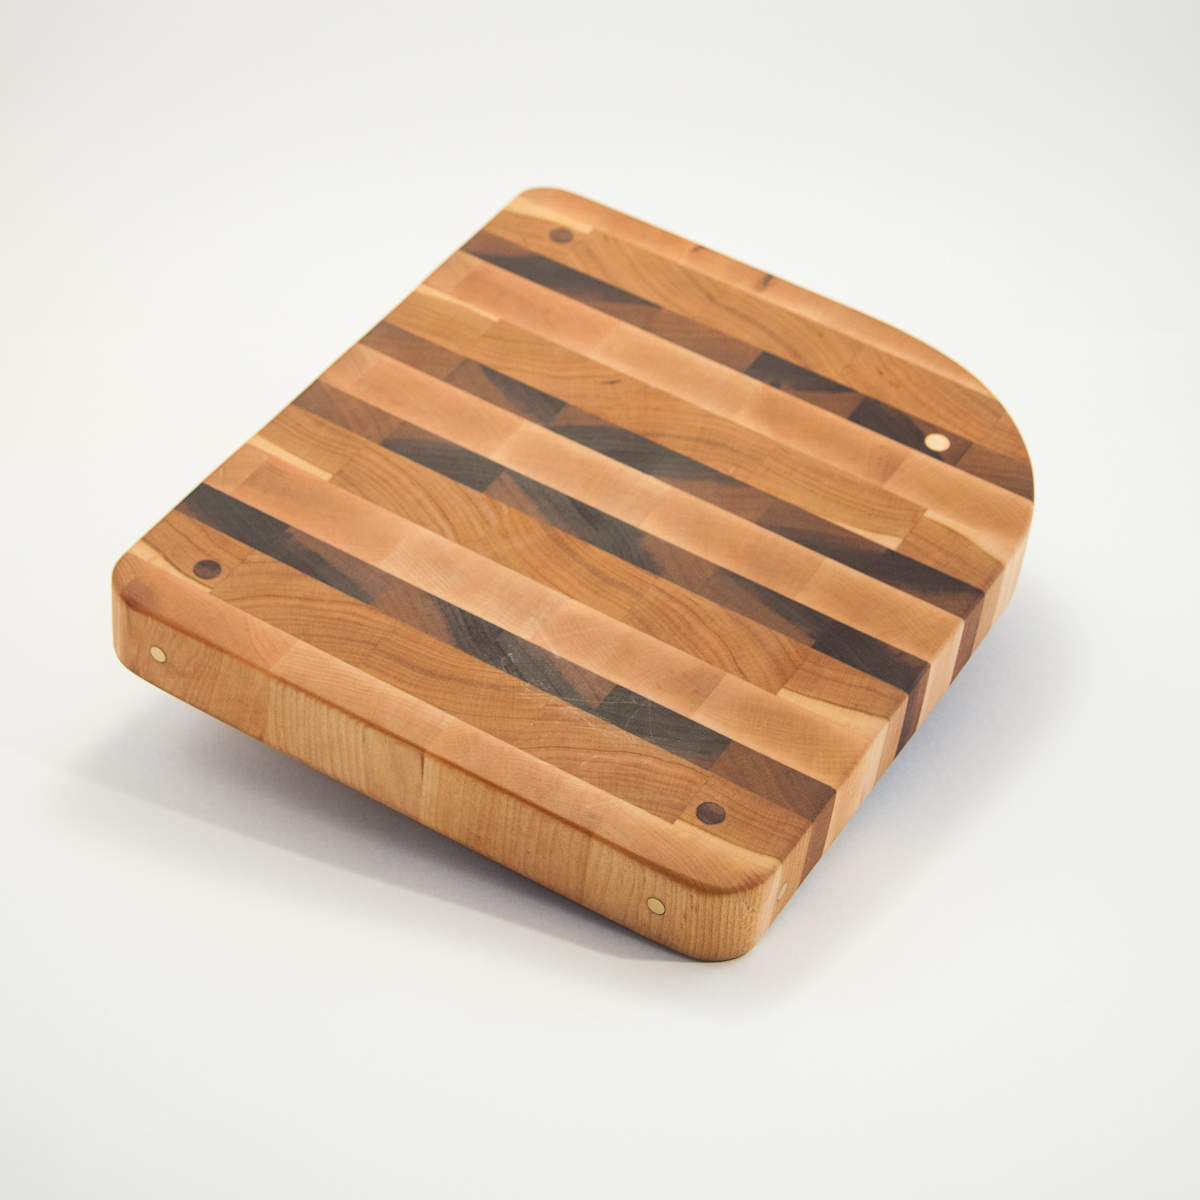
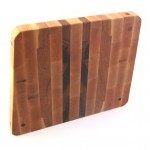
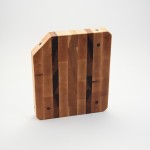
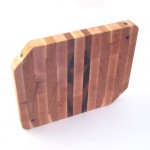
I’ve been ordered more cutting boards using the same process described here except this time, I’ve gone fancier with shapes and materials. They still are mostly made from maple (from a stair step), but I’ve added rows of cherry and walnut and one even has brass inserts (not on the cutting surface).
Cutting boards are sort of the “hello world” of woodworking. Nearly every hobbyist’s first few projects will at least involve the building of one and I was no exception. Since they unanimously make such great gifts, are quick to make and can be batched out easily, you always end up making a few once in a while for occasions where present giving is expected. You can get absolutely crazy with end-grain cutting boards pattern (google it), but frankly, the simplest layout will expose the beauty of the wood in a way that is guaranteed to please everyone.
A step
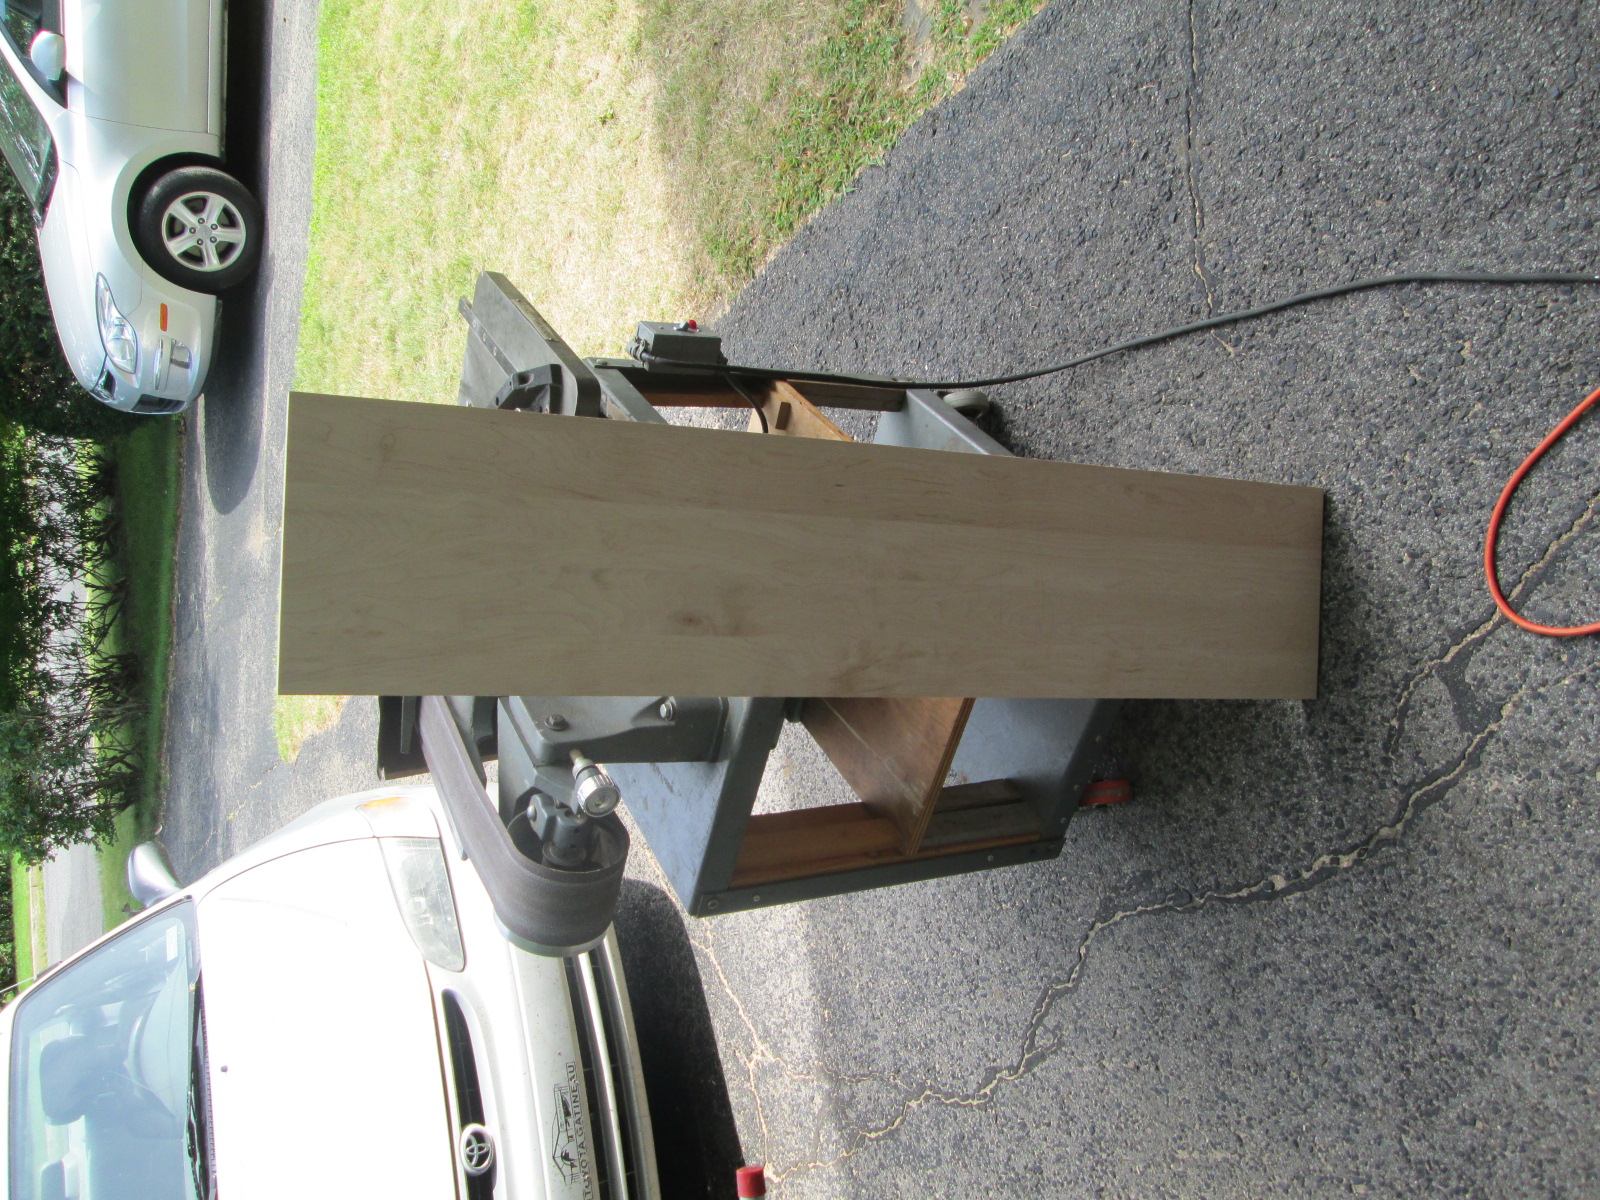
I found out not too long ago that the process can be made a lot cheaper and faster by recycling stair steps easily found in any scrap wood pile at relevant shops where they make custom staircases. Occasionally, they will put the wrong finish on a set of steps and instead of tossing it, they will plane it one more time and sell it as scrap because it no longer has the required thickness. The steps that I got were 10$ a piece and made of maple, but I suspect one could get them in all sorts of varieties. Worst comes to worst, you can probably buy them new and unfinished and it will probably not be that much more expensive considering you are getting nice wood and that part of the gluing-up is done for you.
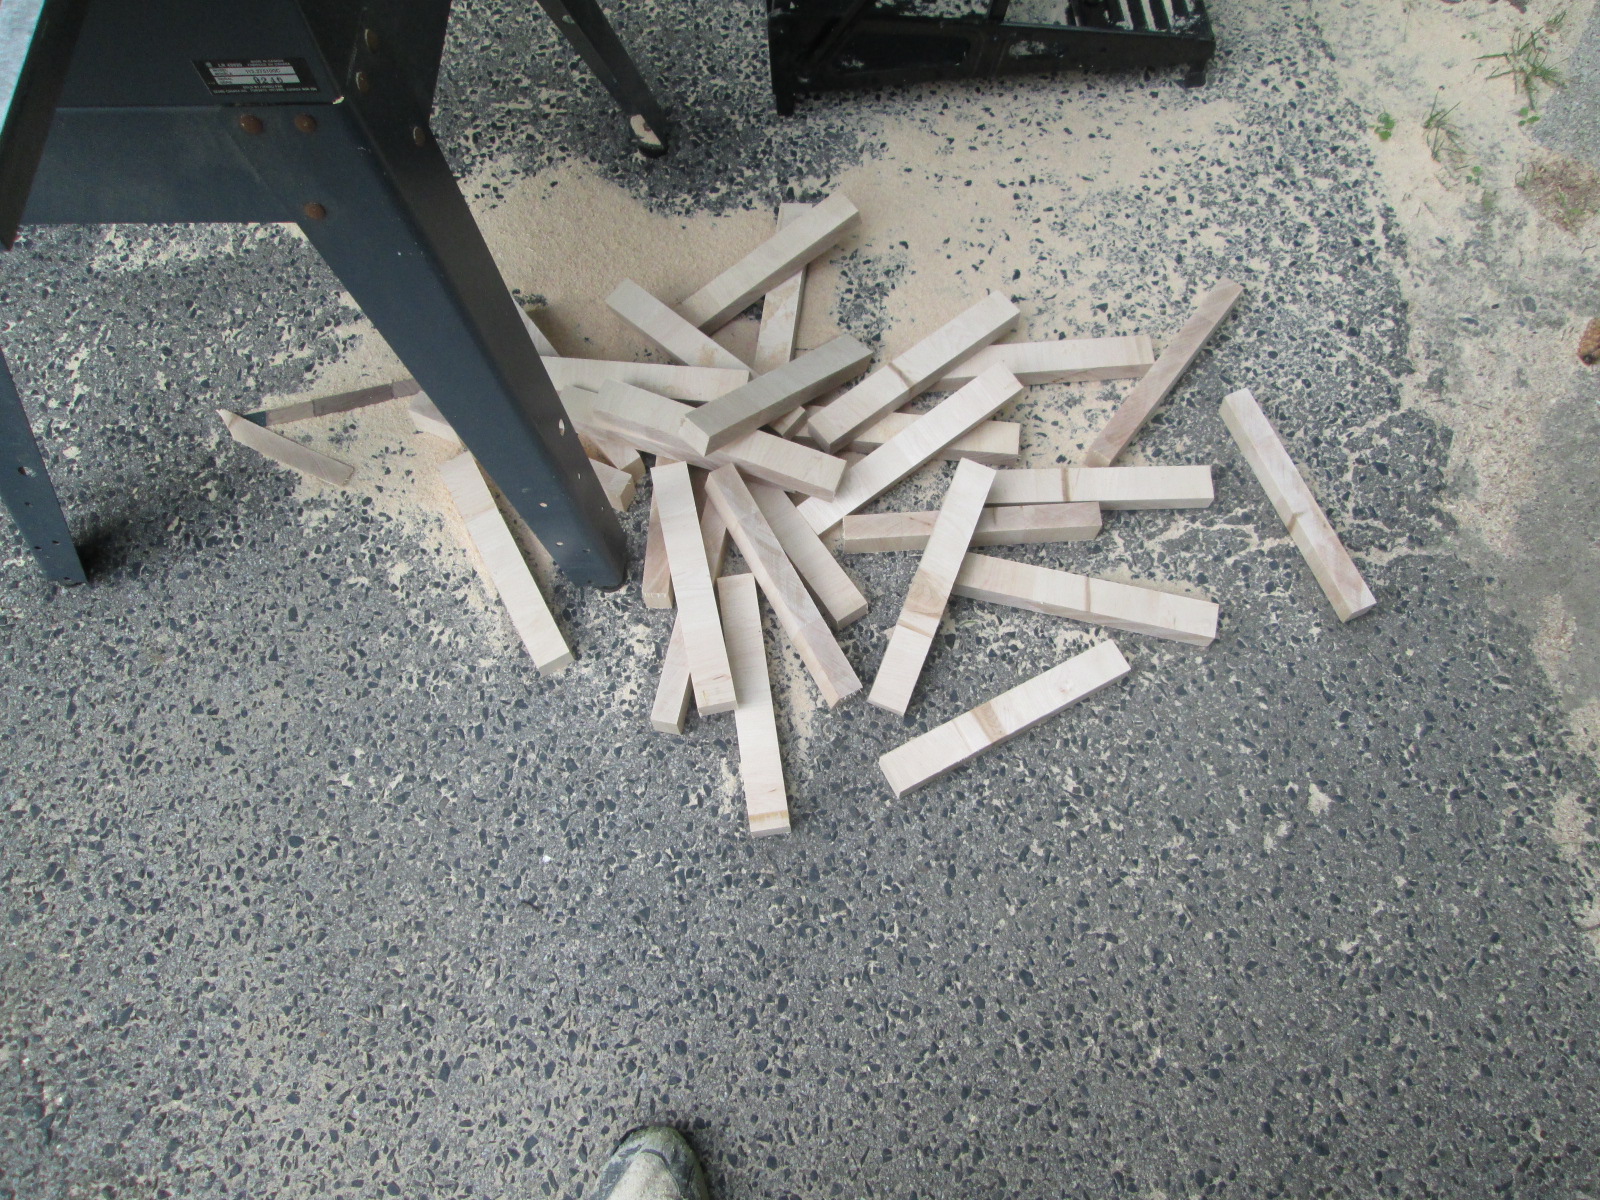
Step all cut in slices to expose the end-grain
Afterwards, the process to transform them into cutting boards is as trivial as cutting them to lengths and softening the edges but if you want and end-grain cutting board as opposed to edge grain, that is a board on which the actual growth rings are visible on the cutting surface (looks nicer and easier on the knives), there is a bit more work involved. The steps have to be cut down in slices, rotated 90 degrees to expose the end-grain and then glued-up this way. Then comes the more complicated part.
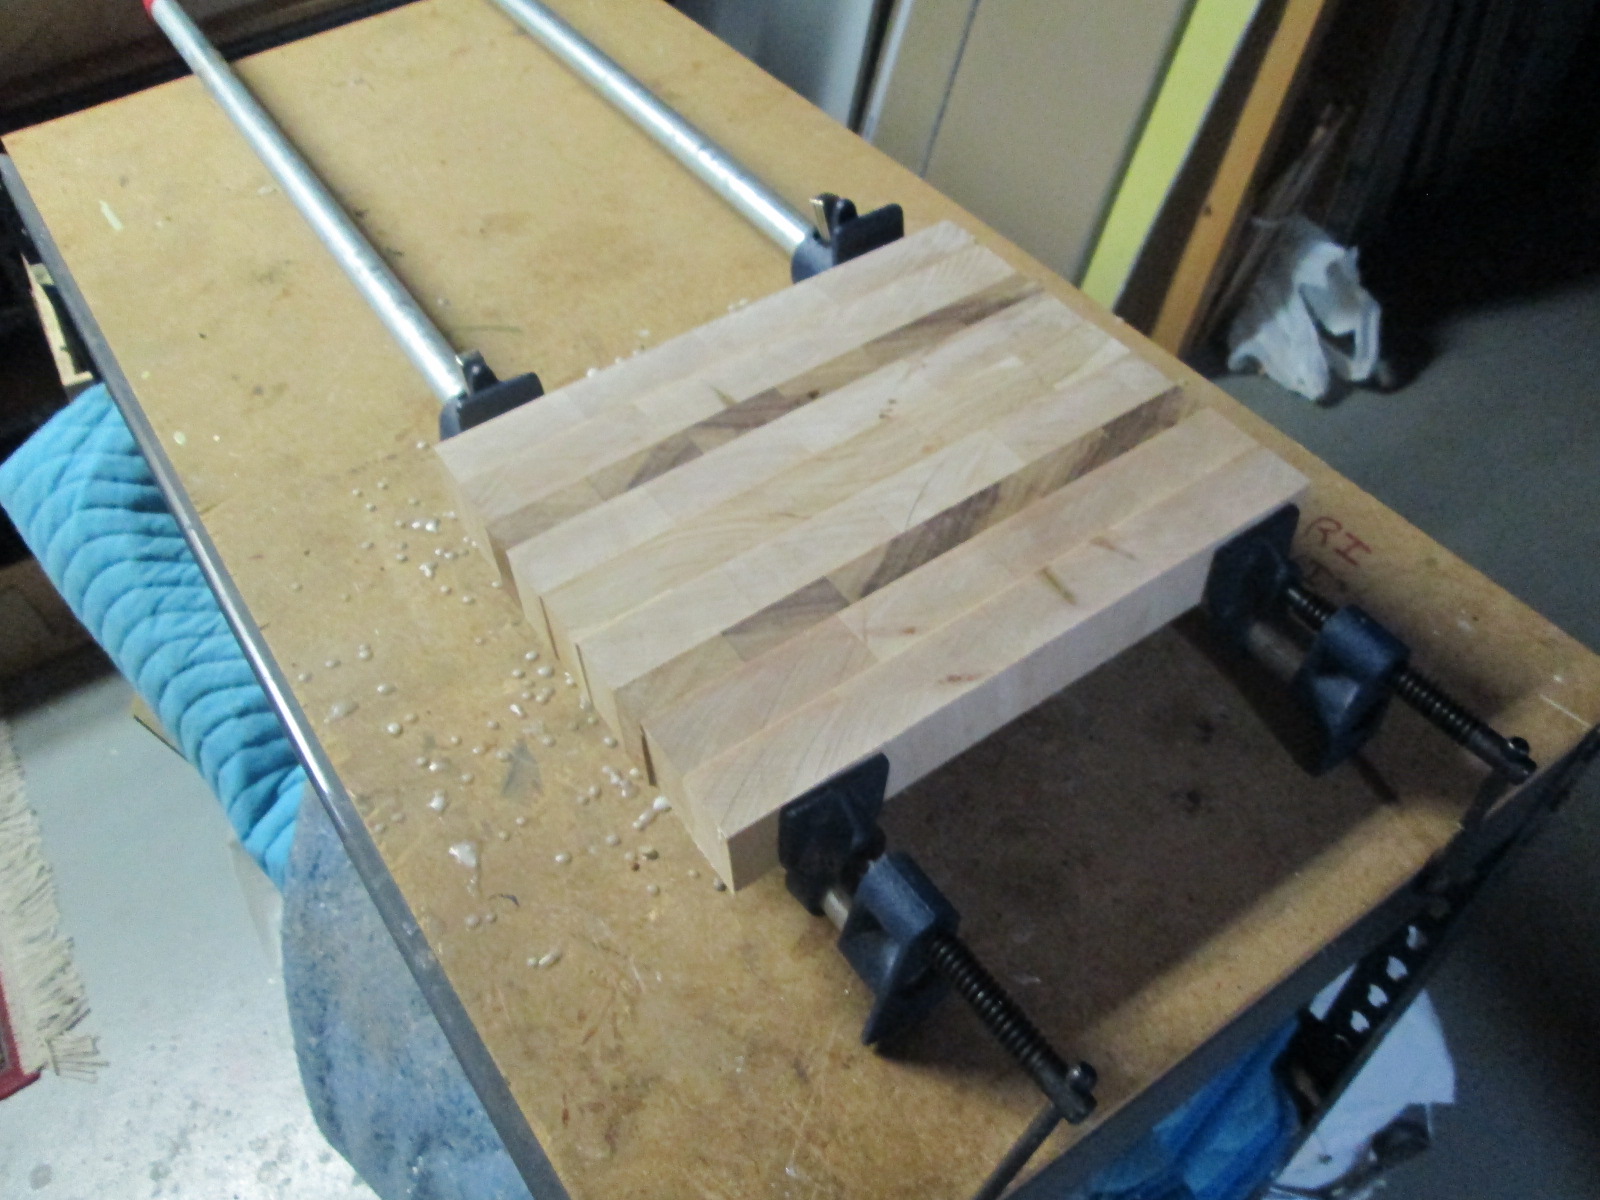
Gluing it all up
If your tools are as execrable as mine, chances are the dried-up result will be all crooked and encrusted with glue. No need to panic, find the flattest side and work at it using a belt sander (or elbow oil if that is all you have) until reasonable flatness is achieved. Then, if you own a drum sander or have access to one, send it through a couple times on each side and you should end up with something that resembles a kitchen accessory. If you do not own a drum sander, you can use a planer but in doing so, be extremely careful to make your planing increments as small as possible. Planer are not meant to cut perpendicular to the grain, it will be hard on them and will cause massive tear-out, be prepared to glue sacrificial wood or cut up what has been messed up. Overdo it a tiny bit and you might split the board in half (like it happened to me), ruin you planer in a spectacular explosion of metal and plastic shrapnels and/or send the board back the way it came in at supersonic speed. There is a bunch of horror stories on forums.
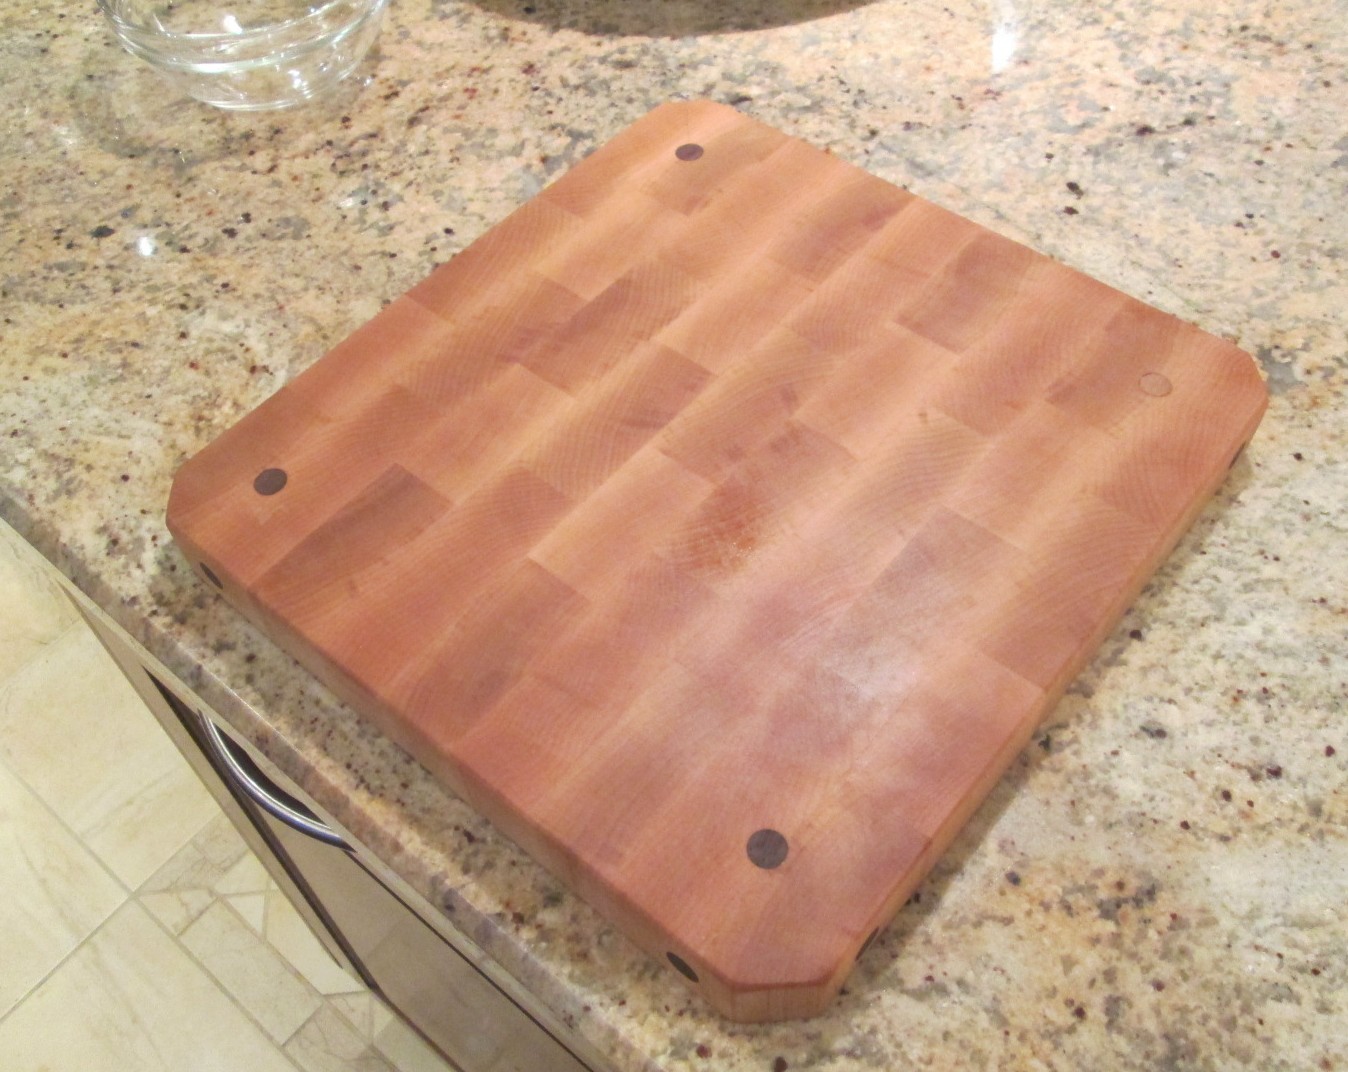
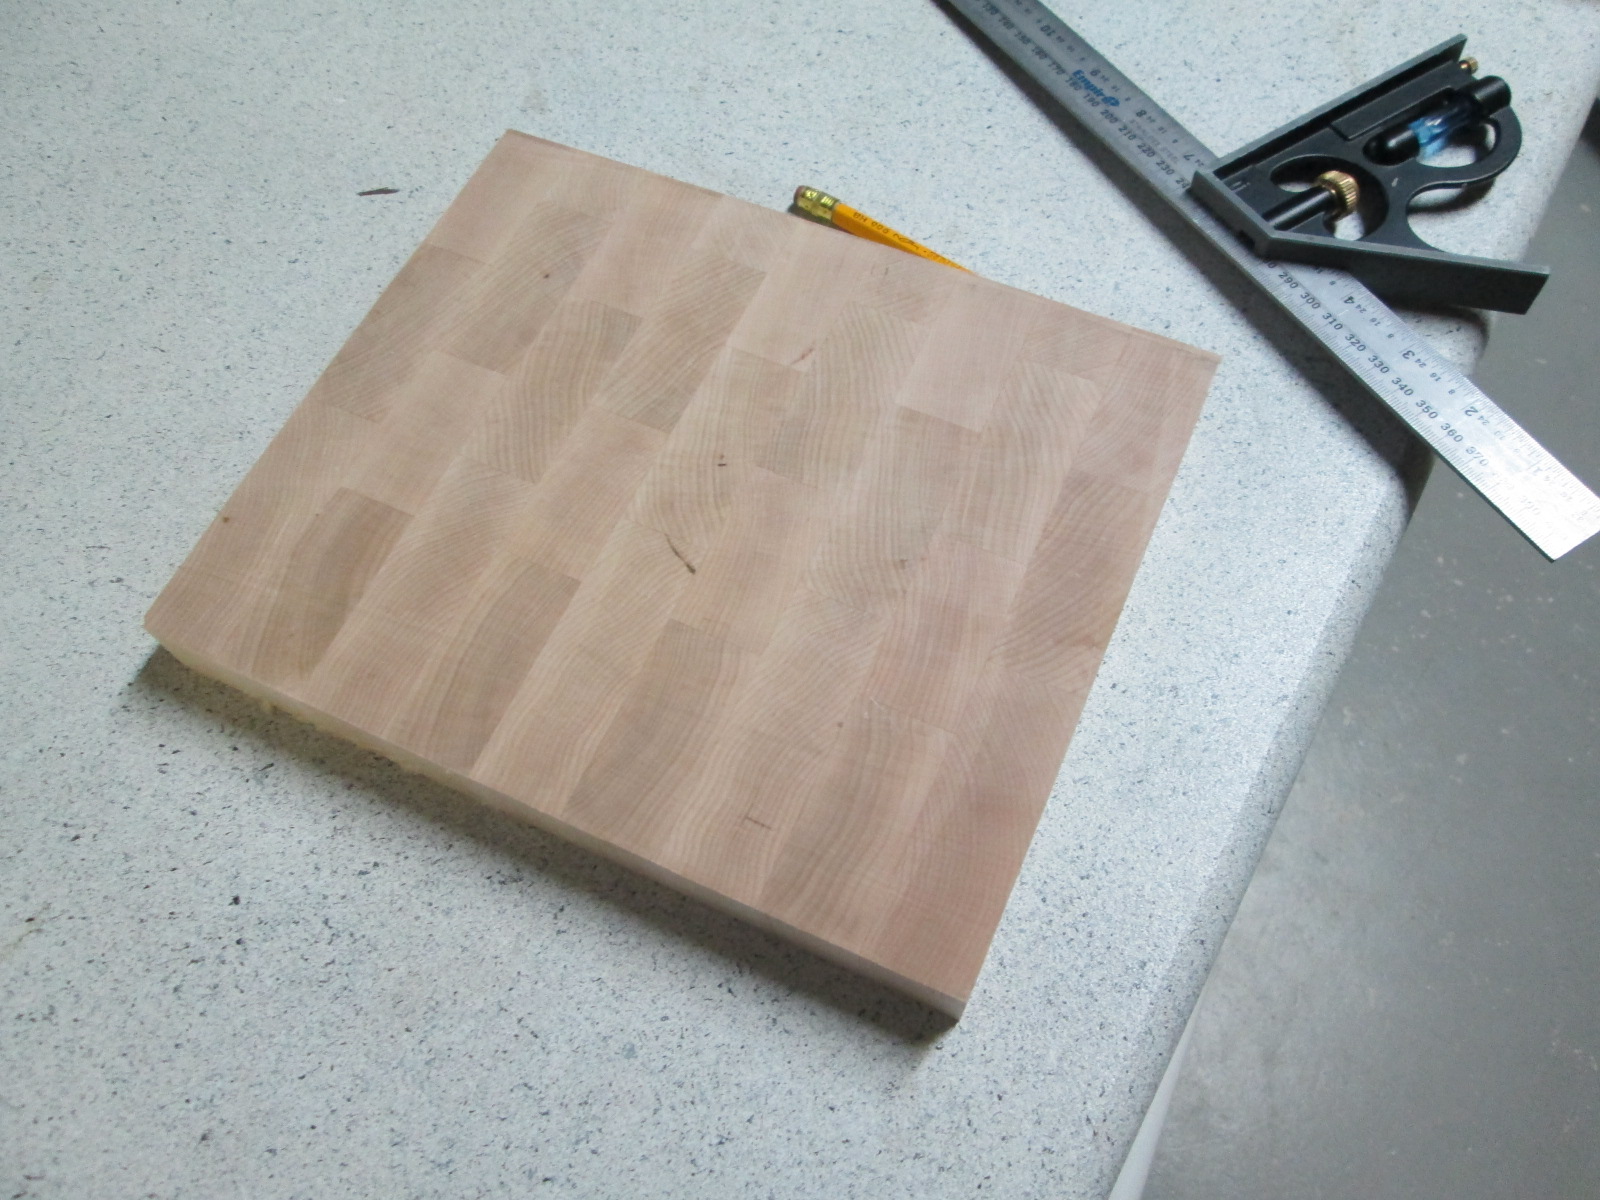
Unfinished cutting board
Next comes the sanding of the cutting surface and the edges but before that, decorations should be added to make the board stand apart from the ones you can get at Ikea. It can be a nice bevel, and asymmetric cut, handles, or like I did, inserts using a different type of wood.
Finally, seal the board by wiping a couple times it with your favorite product. What I had handy was heavy mineral oil but I know other solutions exist on the market. Sealing is primordial as it will prevent any organic matter into getting inside the board, rotting and contaminating food down the road. This is especially important with end-grain cutting board as end-grain, having been evolved by nature to conduct sap up the trunk to the leaves, is very absorbent and efficient at conducting liquids. So much so that completely saturating it with oil might take a few passes over some days, once every use for a week, once a week for a month, monthly for a year and then as needed. You will know when the board is saturated when the board stops absorbing the oil altogether and see drips on the underside. Better finishes do exist, such as a mix of paraffin and oil, food-safe vanishes, etc, google them or check this very instructing video by the Wood Whisperer.
Enjoy the giving of a gift anyone will appreciate and do make it a requirement that you will come over to their place for a meal in exchange. Buying something for someone is nice but thankfully, most can still appreciate the much higher value of a present that was hand-made.
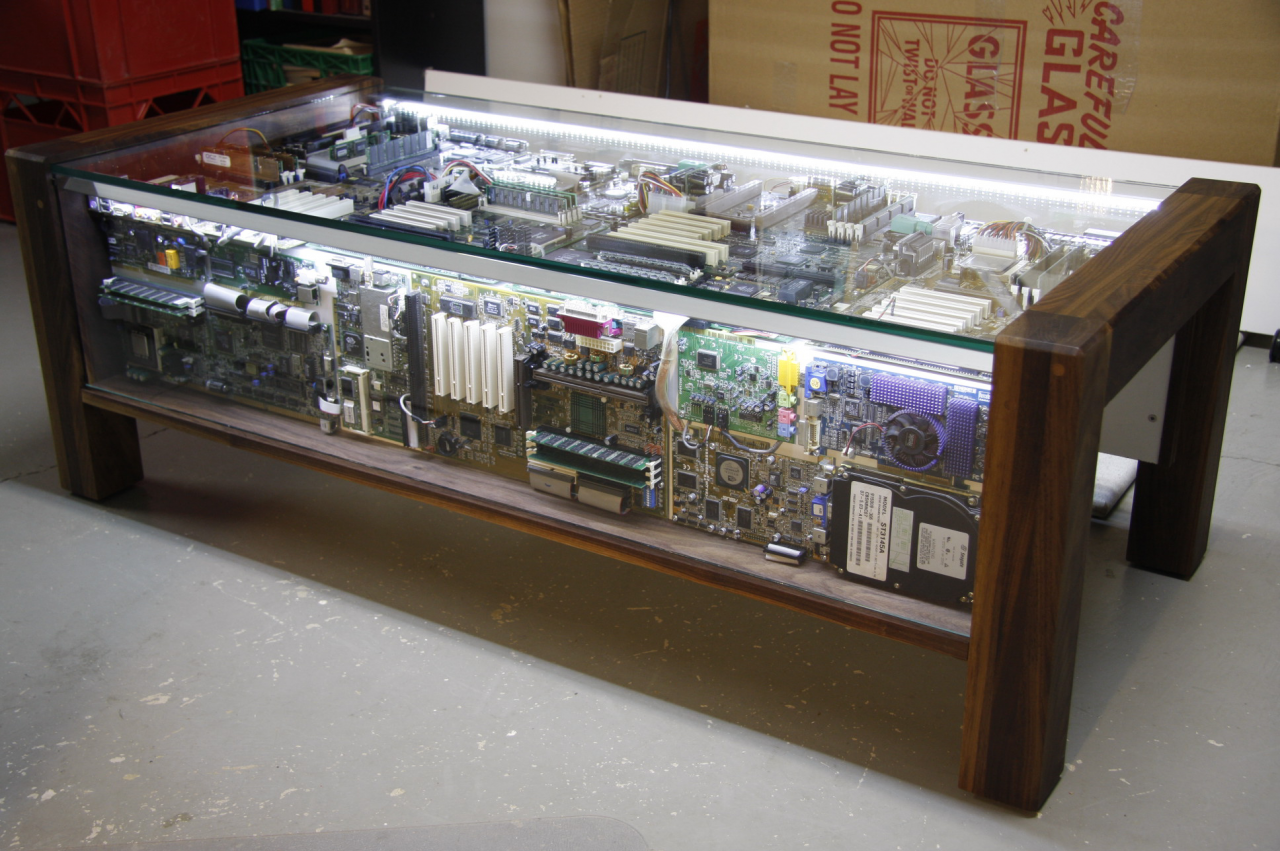
A close up of the finished table with its lighting on.
I’ll admit I’m a bit of a hoarder when it comes to computer parts. Over the years, I have collected a fair amount of equipment with the hope than one day, some of it might come handy. Well, a GeForce 3 from 2002 is not like wood scraps or loose electric cables, the more time passes, the more it becomes useless. Standards evolve and with them connectivity; there is just no way this type of video card will fit in a modern computer (now that everyone uses laptops too). I have had a need for small servers for some projects and an old PII with linux on it would have made a perfect candidate, but then again, the power consumption of those machines are just not worth it. A small embedded computer or shared hosting would pay itself back in no time.
One day, I came across this project through Make and thought it would be a perfect way to give purpose to all that junk, especially that like the inventor of the first table, some of it was from my first machines and while it was now devoid of computational value, still retained sentimentality. Electronic circuits have a mesmerizing power for the knowledgeable and the profane likewise. While staring at an A7N8X for hours will not give the non-engineers any further understanding on how bits are turned into pretty pictures on a monitor, it could nonetheless spark educative discussions on the general role that it plays into this process and at least help dissipate the “black box” effect of modern personal computers. So I proceeded to file the link in my ideas folder, knowing I was then lacking the woodworking skills and tools required for this type of project, and at the time not really thinking I would ever come to have my own computerpartscoffeetable.
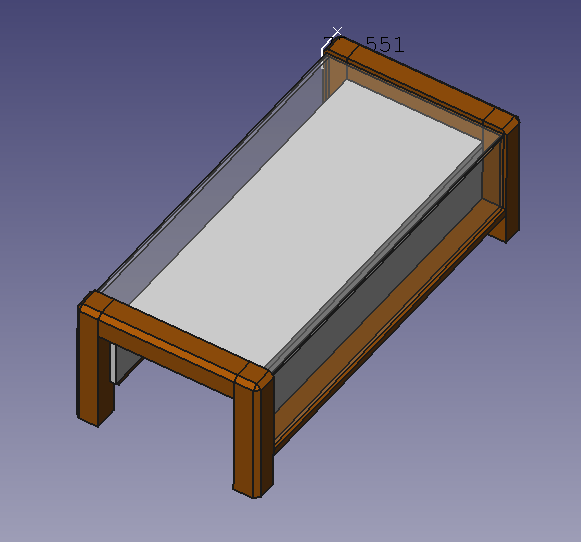
A CAD plan of the table. Save a few millimeters, the end result is the exact same.
Coming back from some time in Europe and having only worked with my brain for over a year (except for this project), the time felt right for a physical challenge. Drawing inspiration from this other computer parts table, I opened FreeCAD, got drawing and in an evening came up with a design of my own: something less imposing, with more modern lines, all without sacrificing the “sarcophagus” effect.
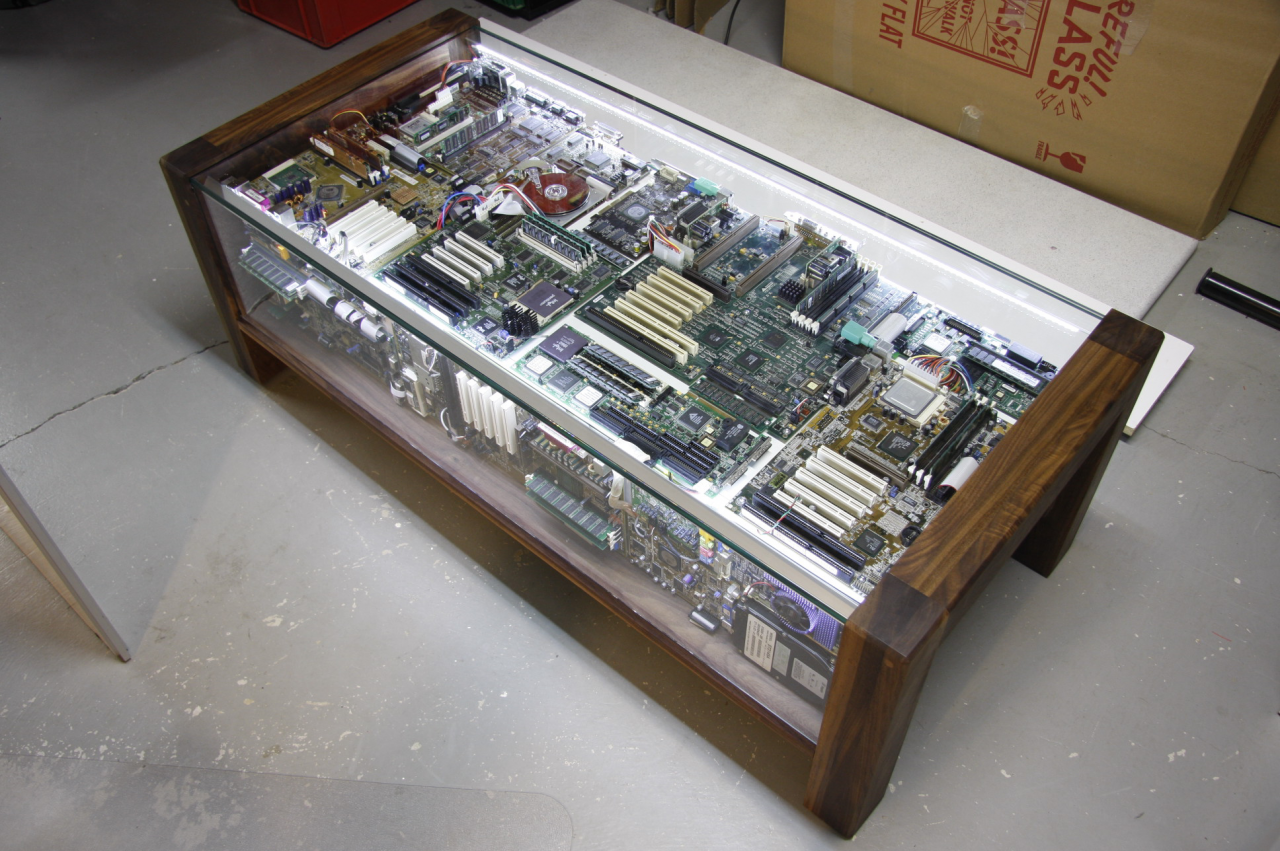
This is not a how-to so I will spare the building details but for those that are interested, feel free to download the CAD file, leave a comment or write me. Basically, the table is build around a frame of particle board which also serves as the bed for the parts. At both ends of the frame are two dark walnut glue-ups with some chamfering all finished with several coats danish oil. Frankly I was not expecting the end-result to be so stunning, the images do not do it justice. The panes of glass fit in a grove carved in the leg members and with the top glass being 10mm (3/8), this makes one solid and stiff piece of furniture. It takes two fully gown men to move it around.
The table is lit up from two led strips at a 45 degree so they can illuminate both the top and their respective side. Powering the strip is the actual only functional circuit of the whole display: a switching power supply I built for the occasion (also something that had been sitting on a shelf for a couple of years).
Money-wise, the project was a bit on the expensive side. I did maximize reuse and recycling, but as every woodworker will confirm, precious wood will cost you, in fact a lot more that what is normally found in hardware stores. Add to the total the price of thick custom cut glass panels and the addition is somewhere around 400$. A coffee table at Ikea is a tenth of that price, but the commonalities ends with function: there is nothing like the quality, craftsmanship, the beauty of a solid piece of wood furniture.
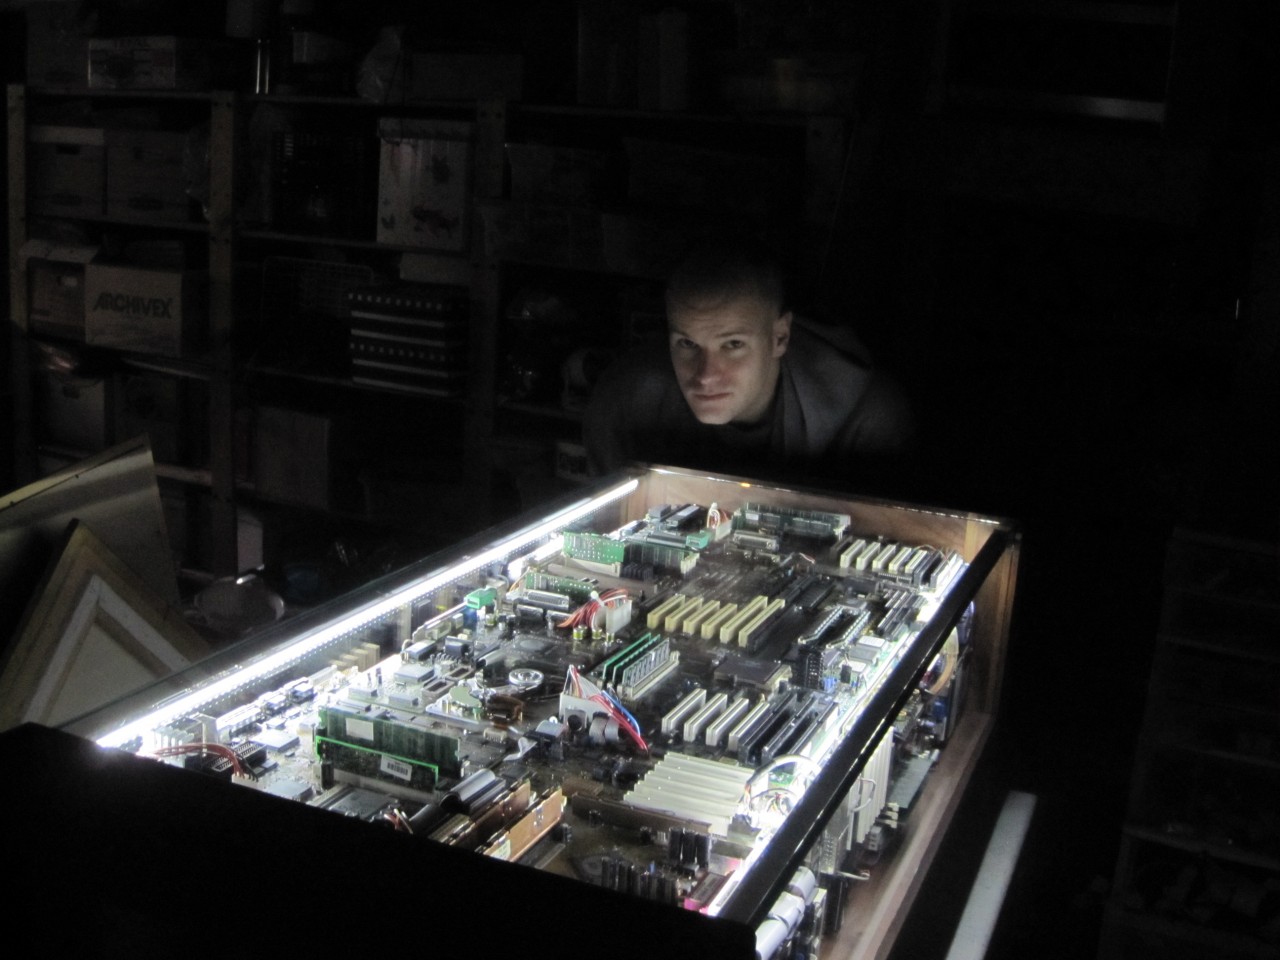
Since I am travelling again and did the finishing touches the day before my departure, I cannot provide a picture with a few happy people around some empties. For now, it is quietly sitting in my workshop under a protective blanket, patiently awaiting my return for merry moments with friends or a lazy coffee the Sunday morning after.
A close up of the finished table with its lighting on.
The finished product.
The look of a satisfied maker.
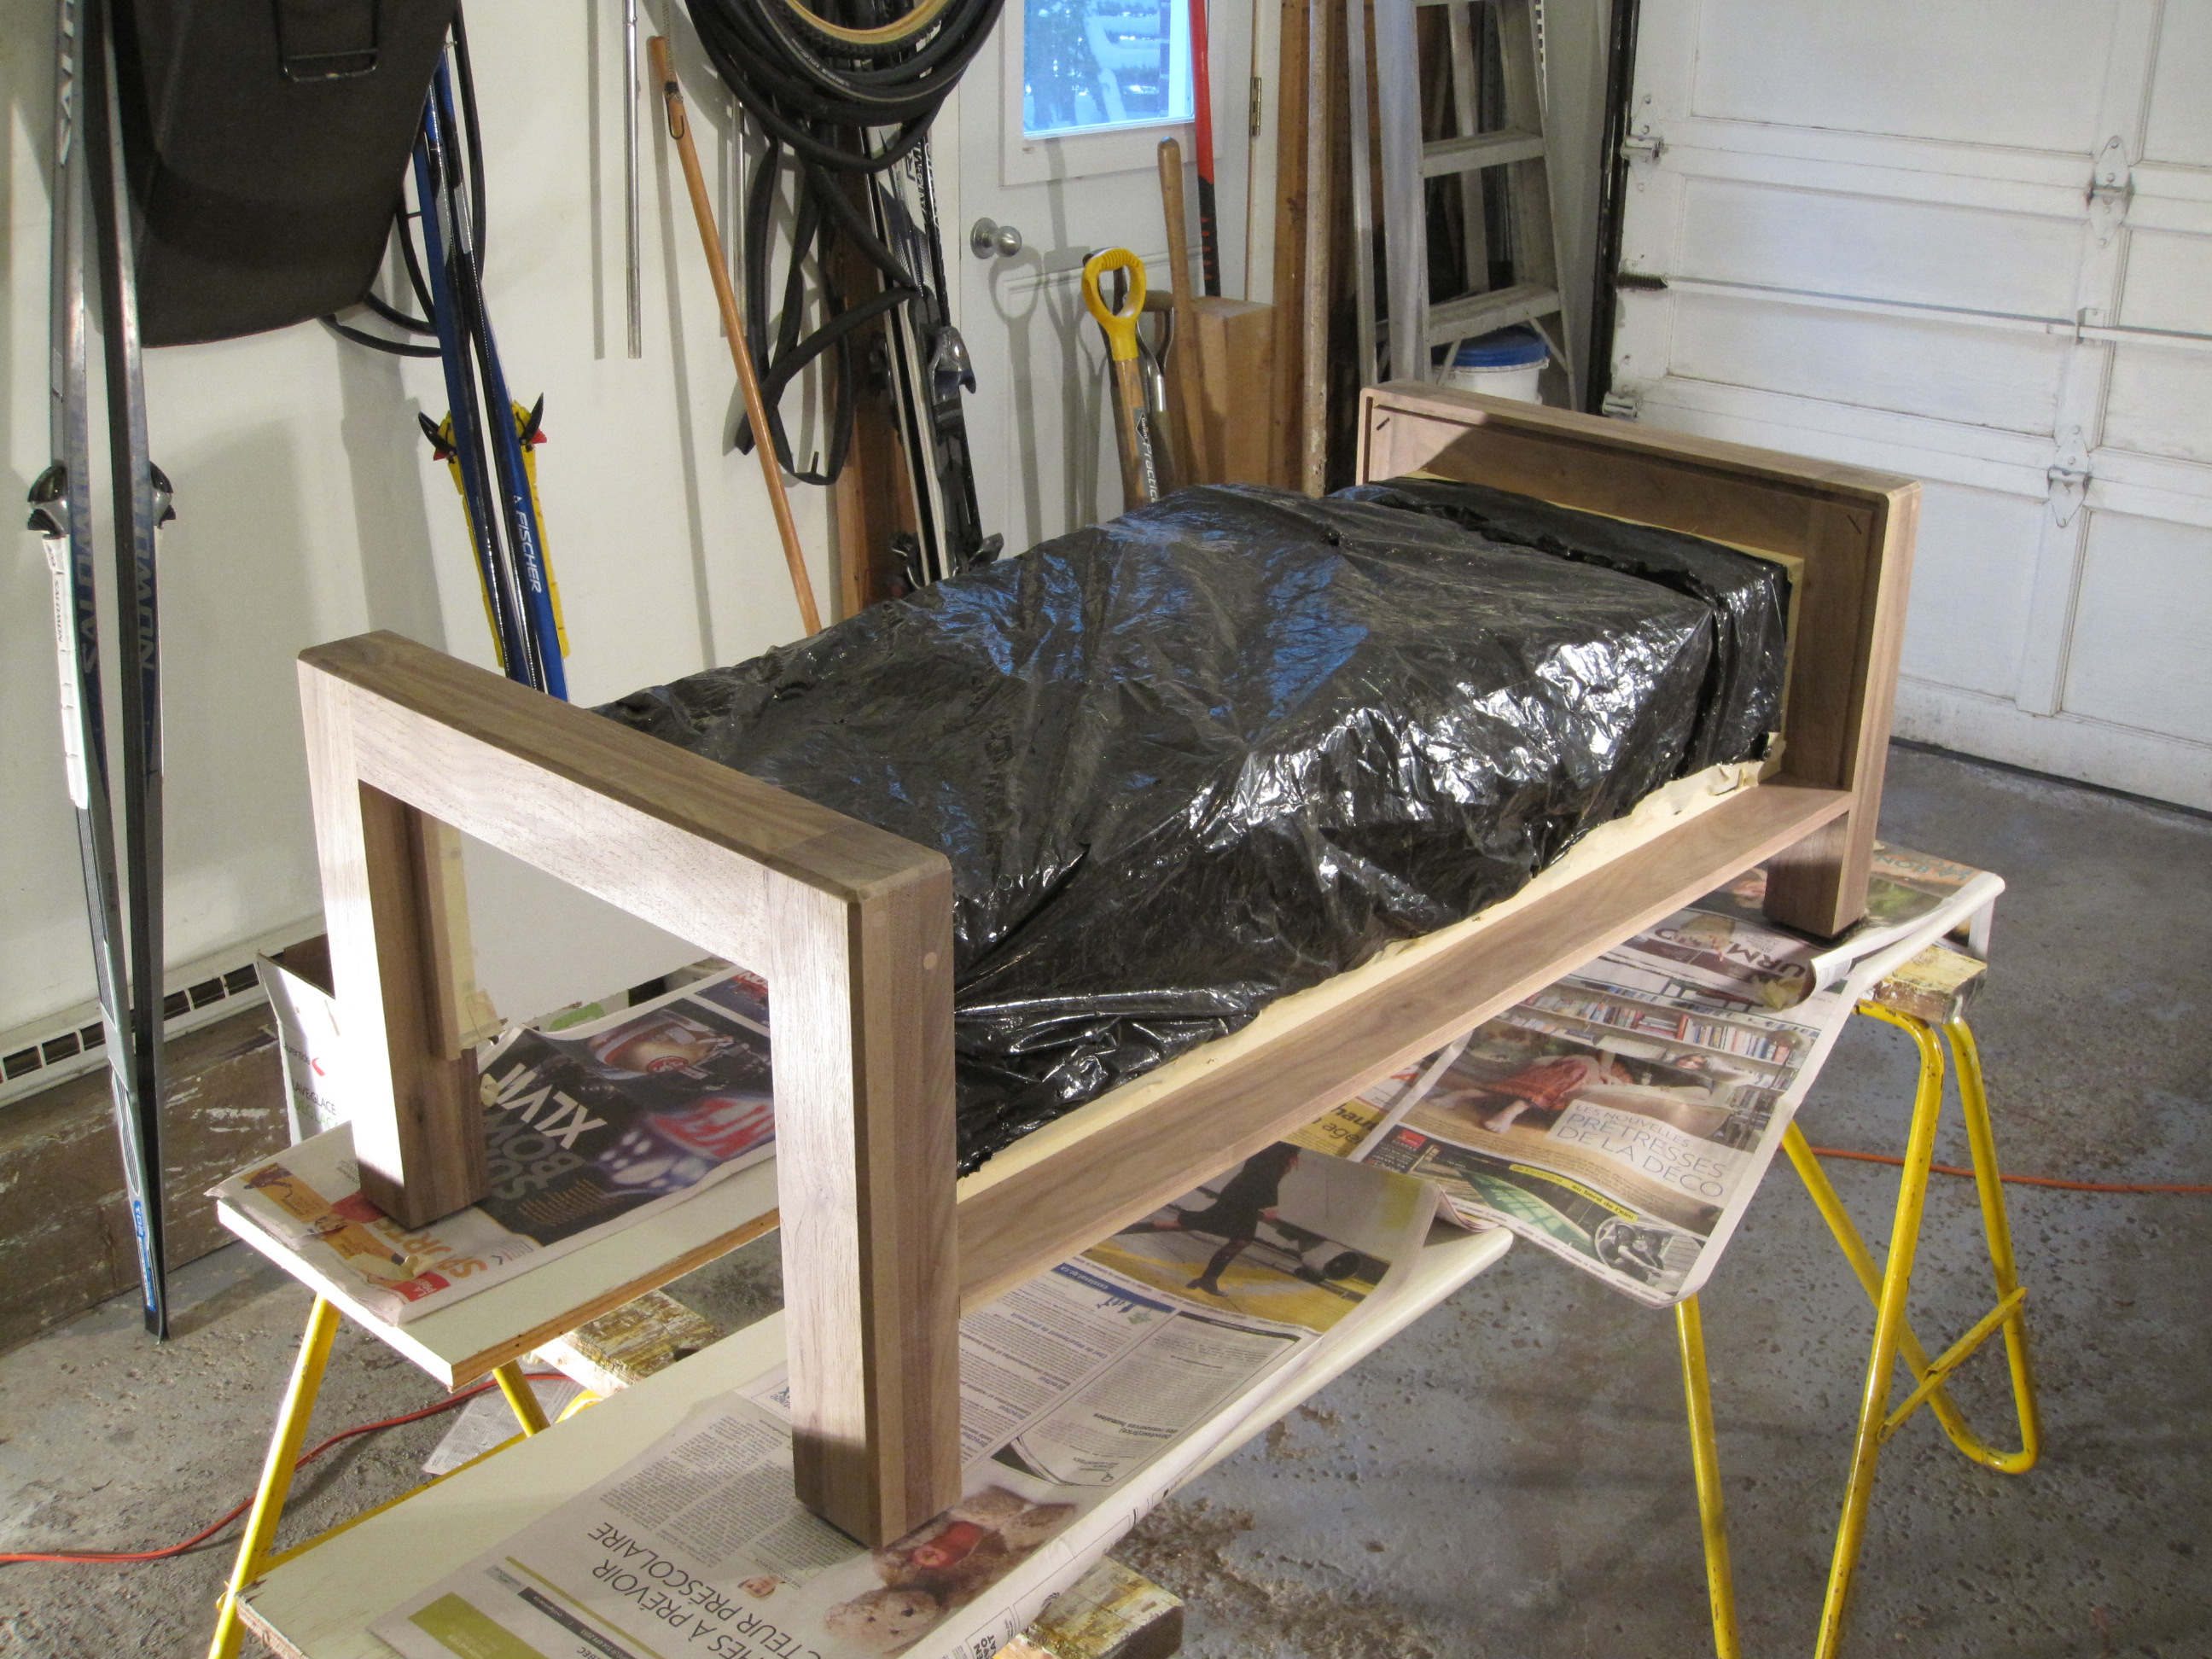
Giving the table coats of danish oil.
Making sure everything is going to fit together.
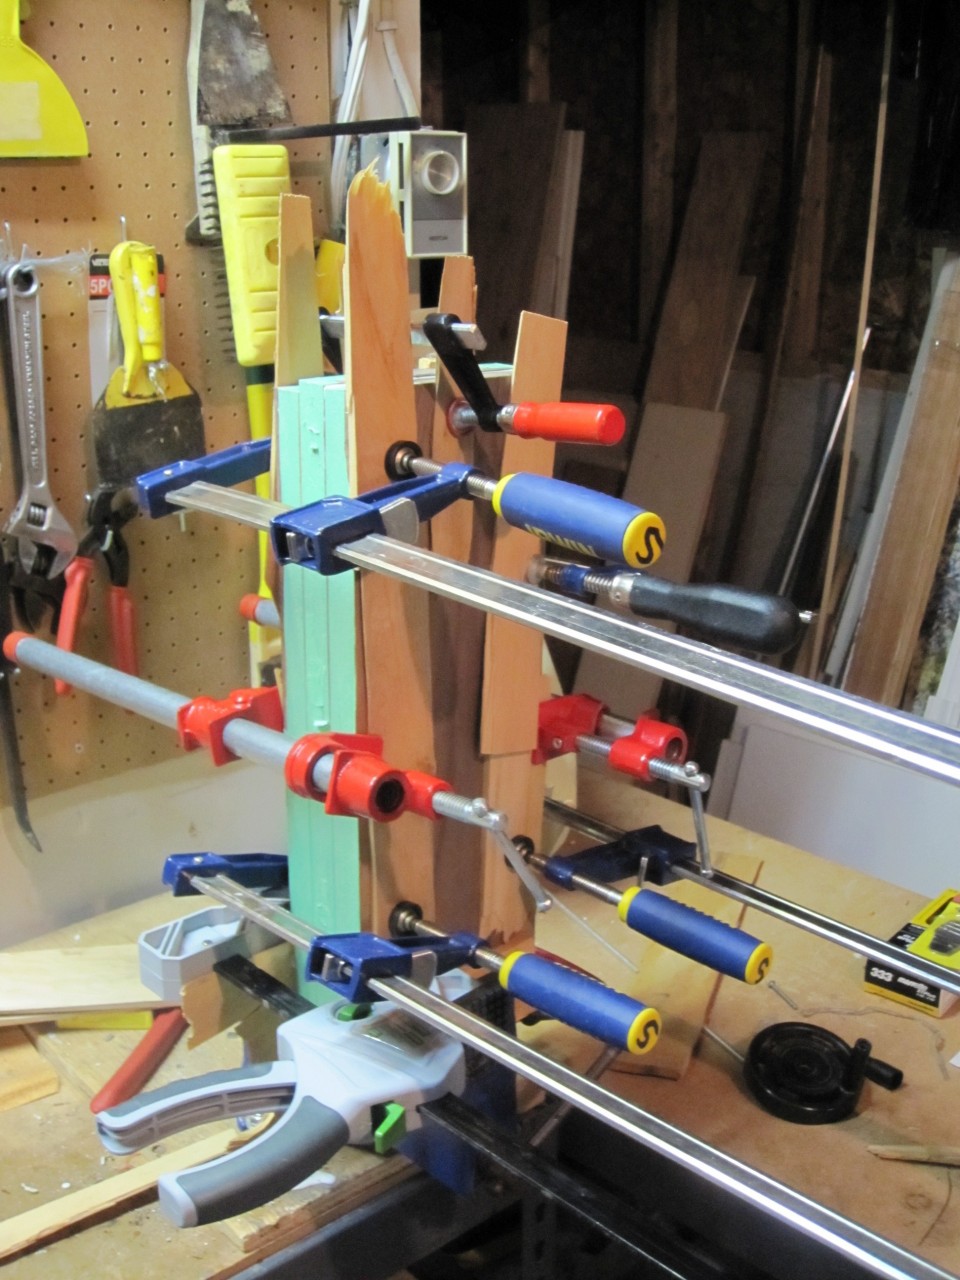
Gluing up the boards together. These boards were then sawed in half to make the leg assembly members.
A CAD plan of the table. Save a few millimeters, the end result is the exact same.
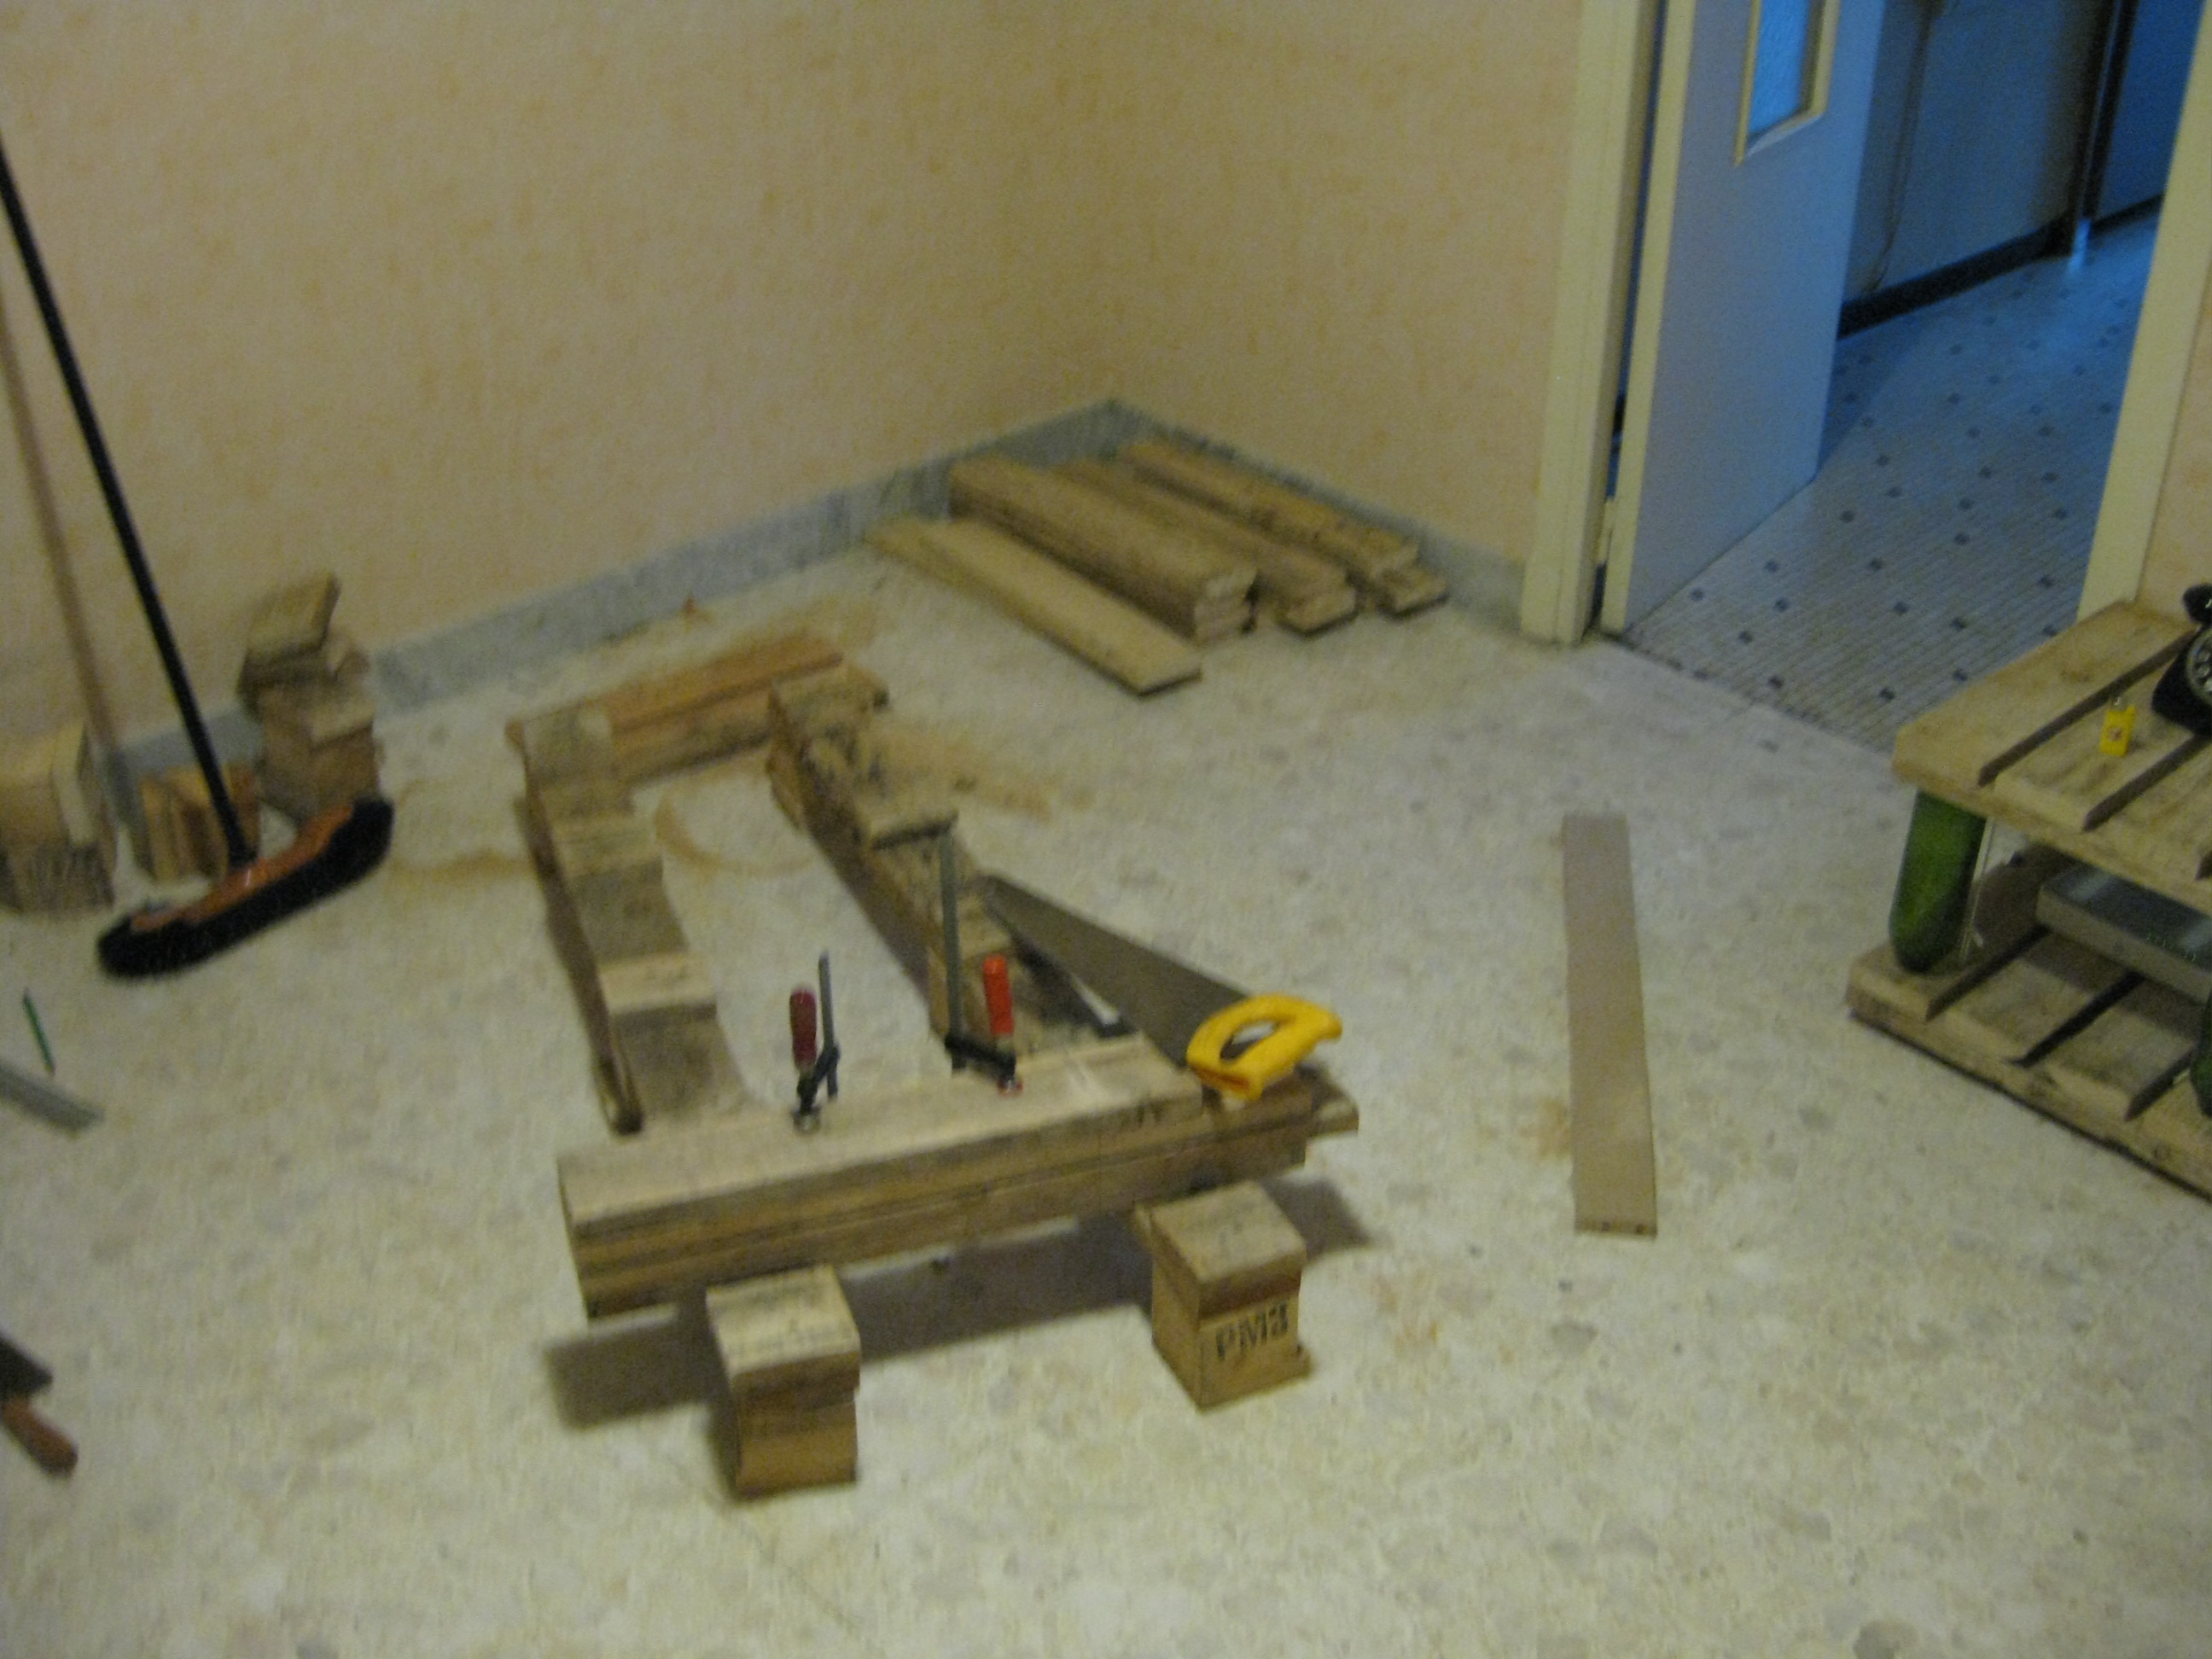
My friend’s apartment in Toulouse, France, was really lacking furniture so I challenged myself to find a design I could build with whatever materials I could reclaim from the garbage, a budget of 10€ and nothing for tools but a saw, some sanding paper, a drill (or the kind of stuff not-so-manual people keep in their toolboxes).
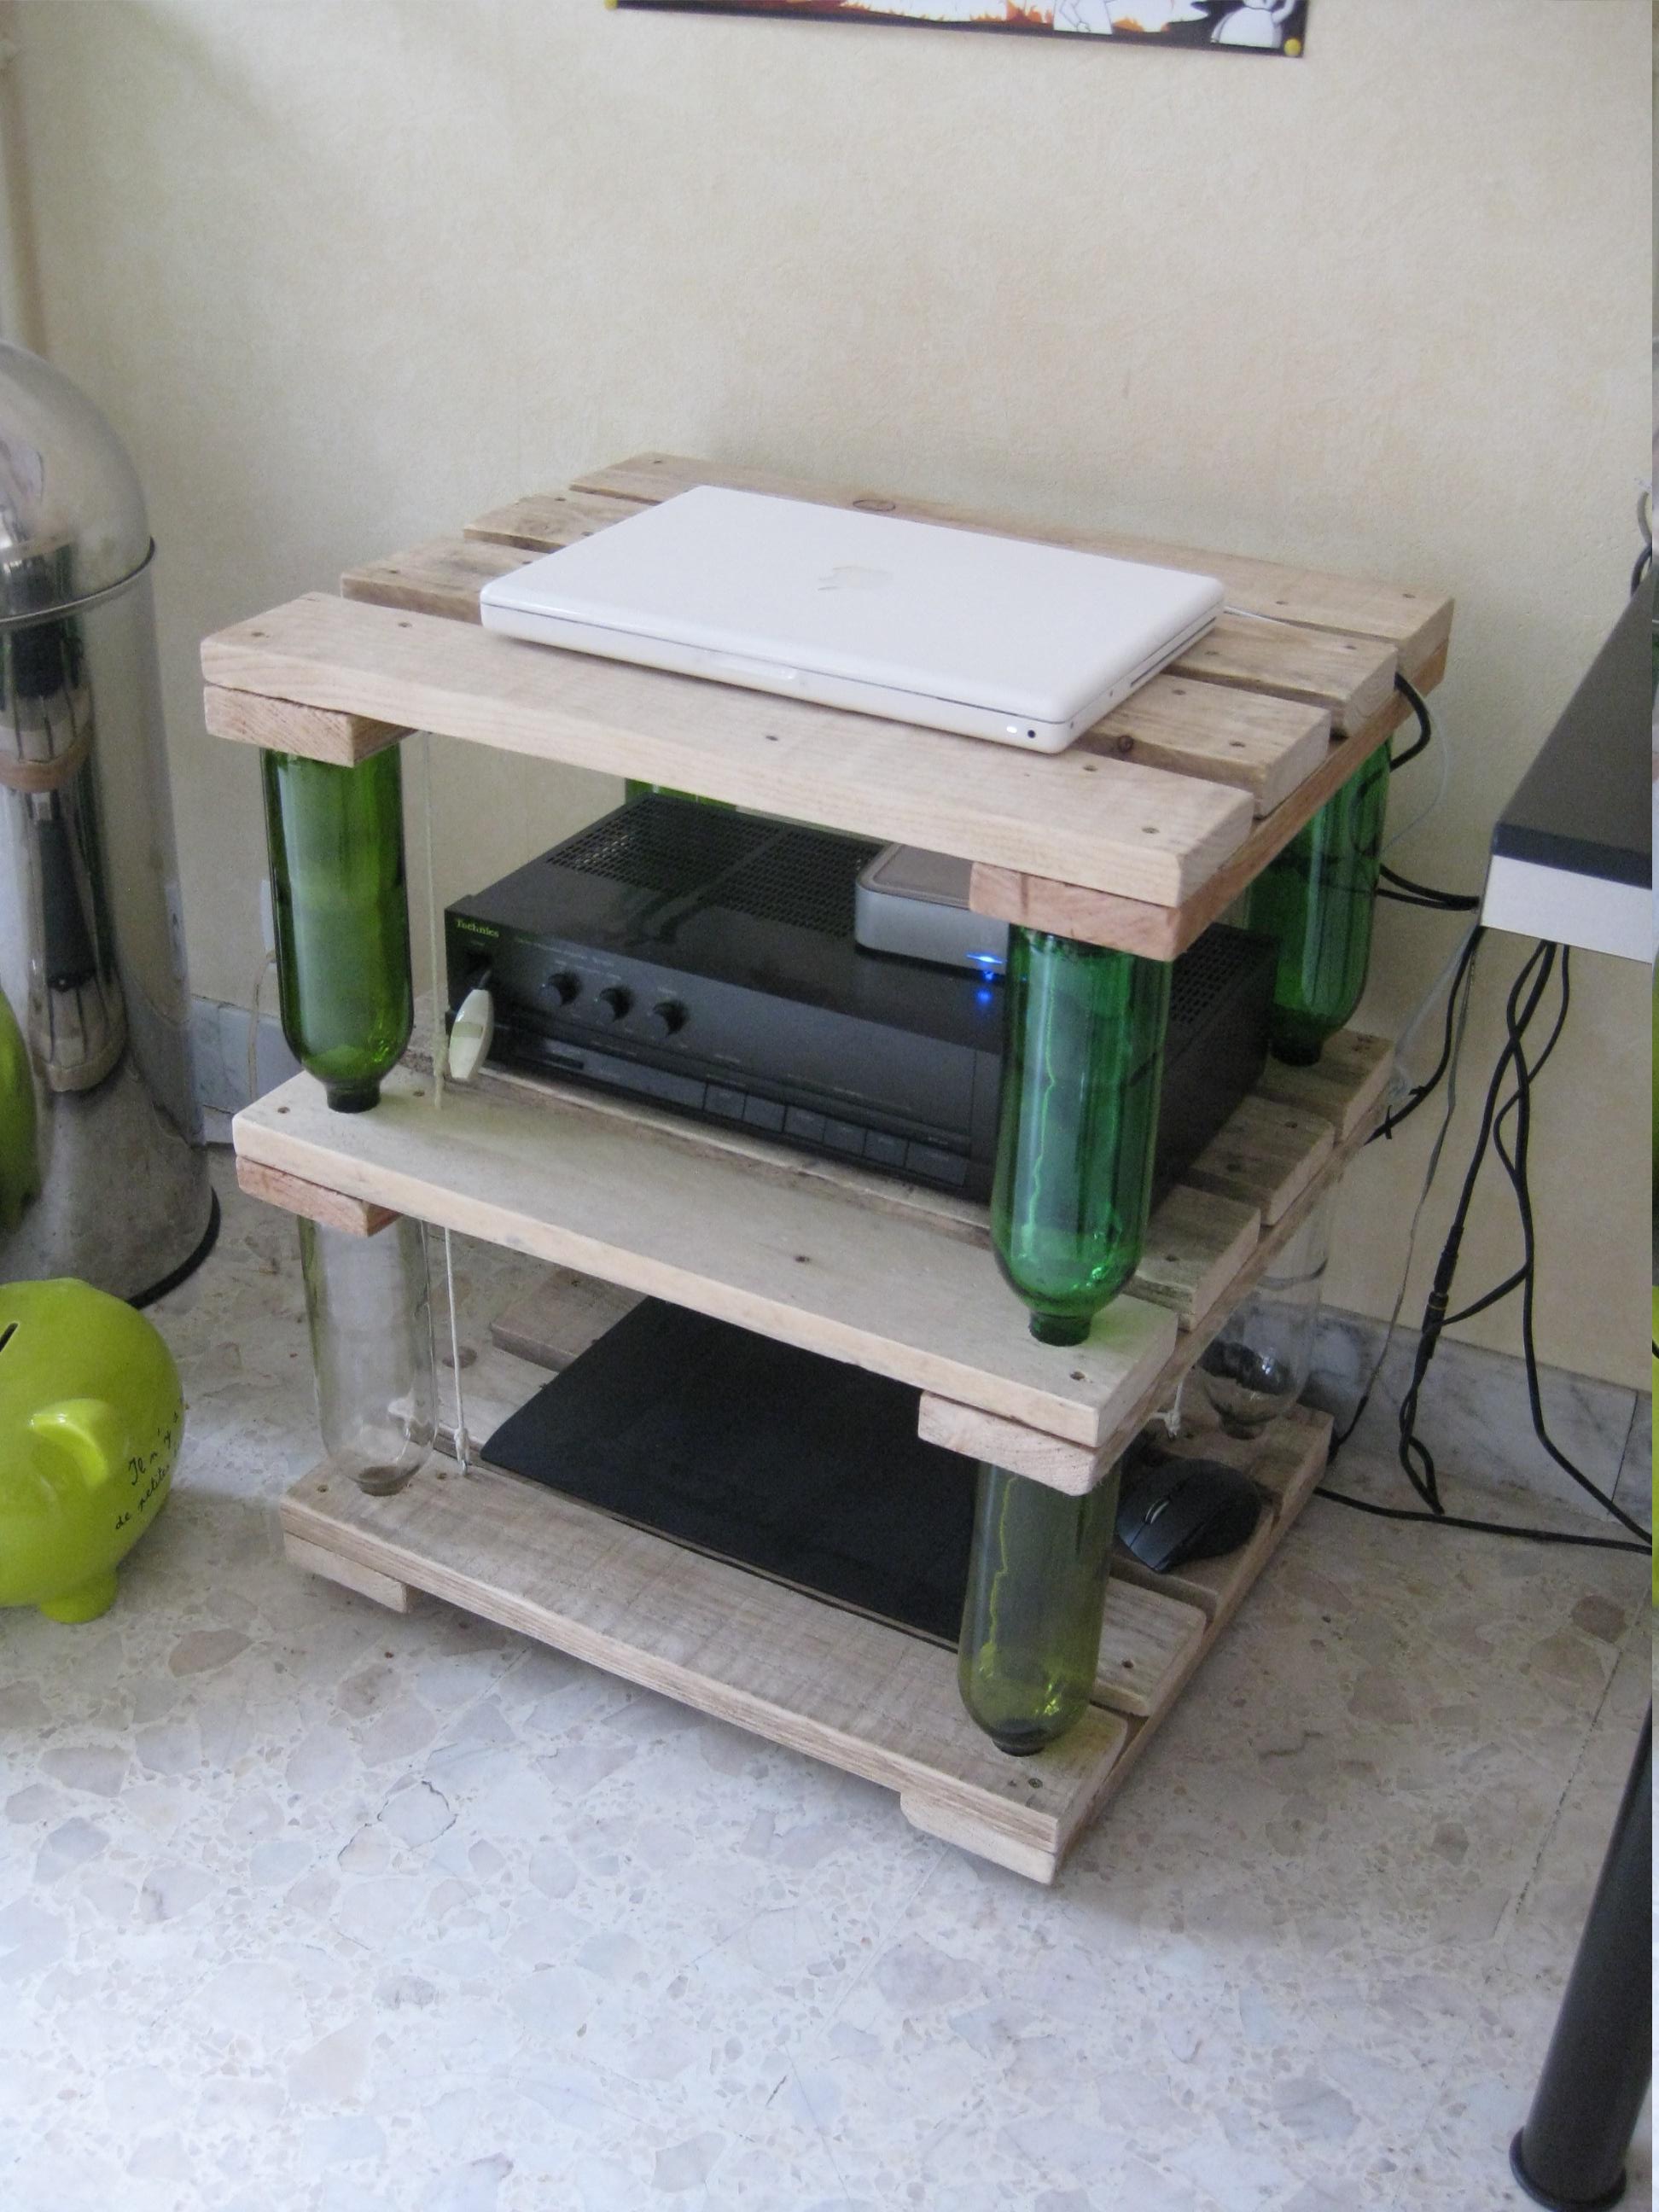
While browsing instructables, I came upon what I felt was the most promising design, the Ten Green coffee table by Zero-Waste. It is built with easy to come by materials (wine bottles and wood), but what I found problematic was the hardware used for the tensioning system, which for the three levels of tables would have costed me at least 50€. While it certainly looks great, it was totally over my budget so upon realization of that fact at the hardware store, I got my brain to work and stated walking up and down the alleys for inspiration and quickly came to figure out a more economical solution with nothing but screw eyes and strings.
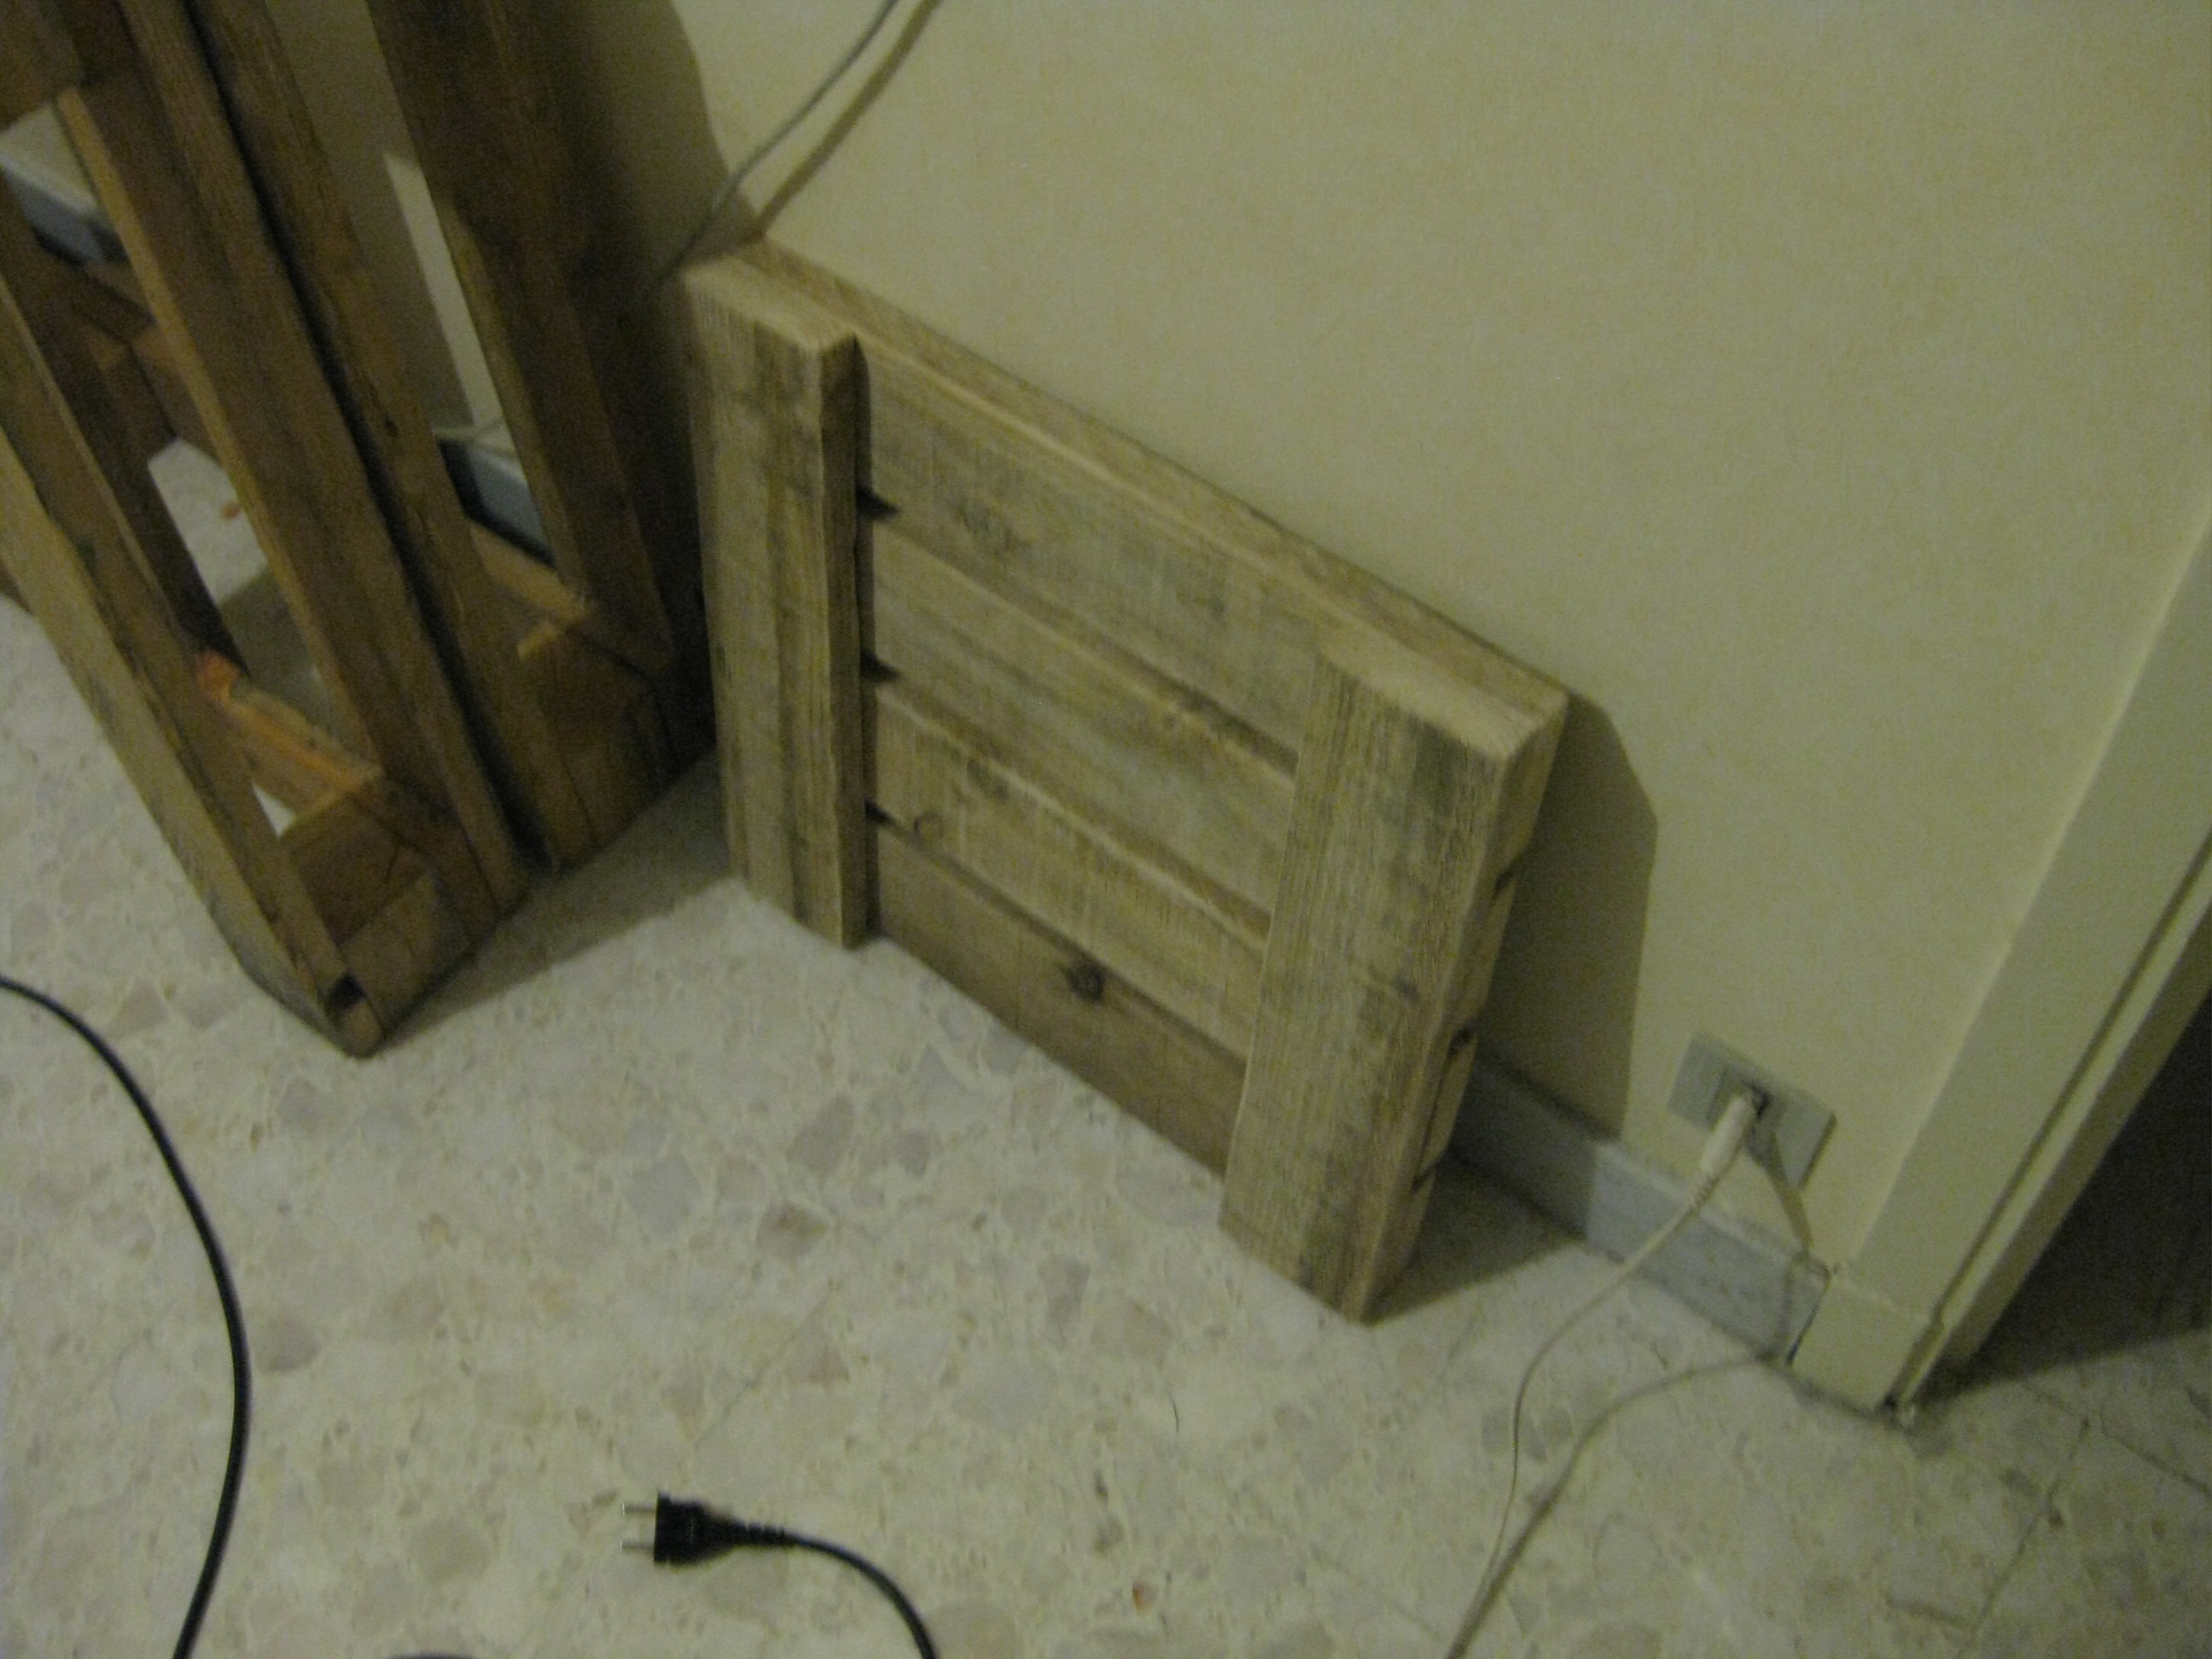
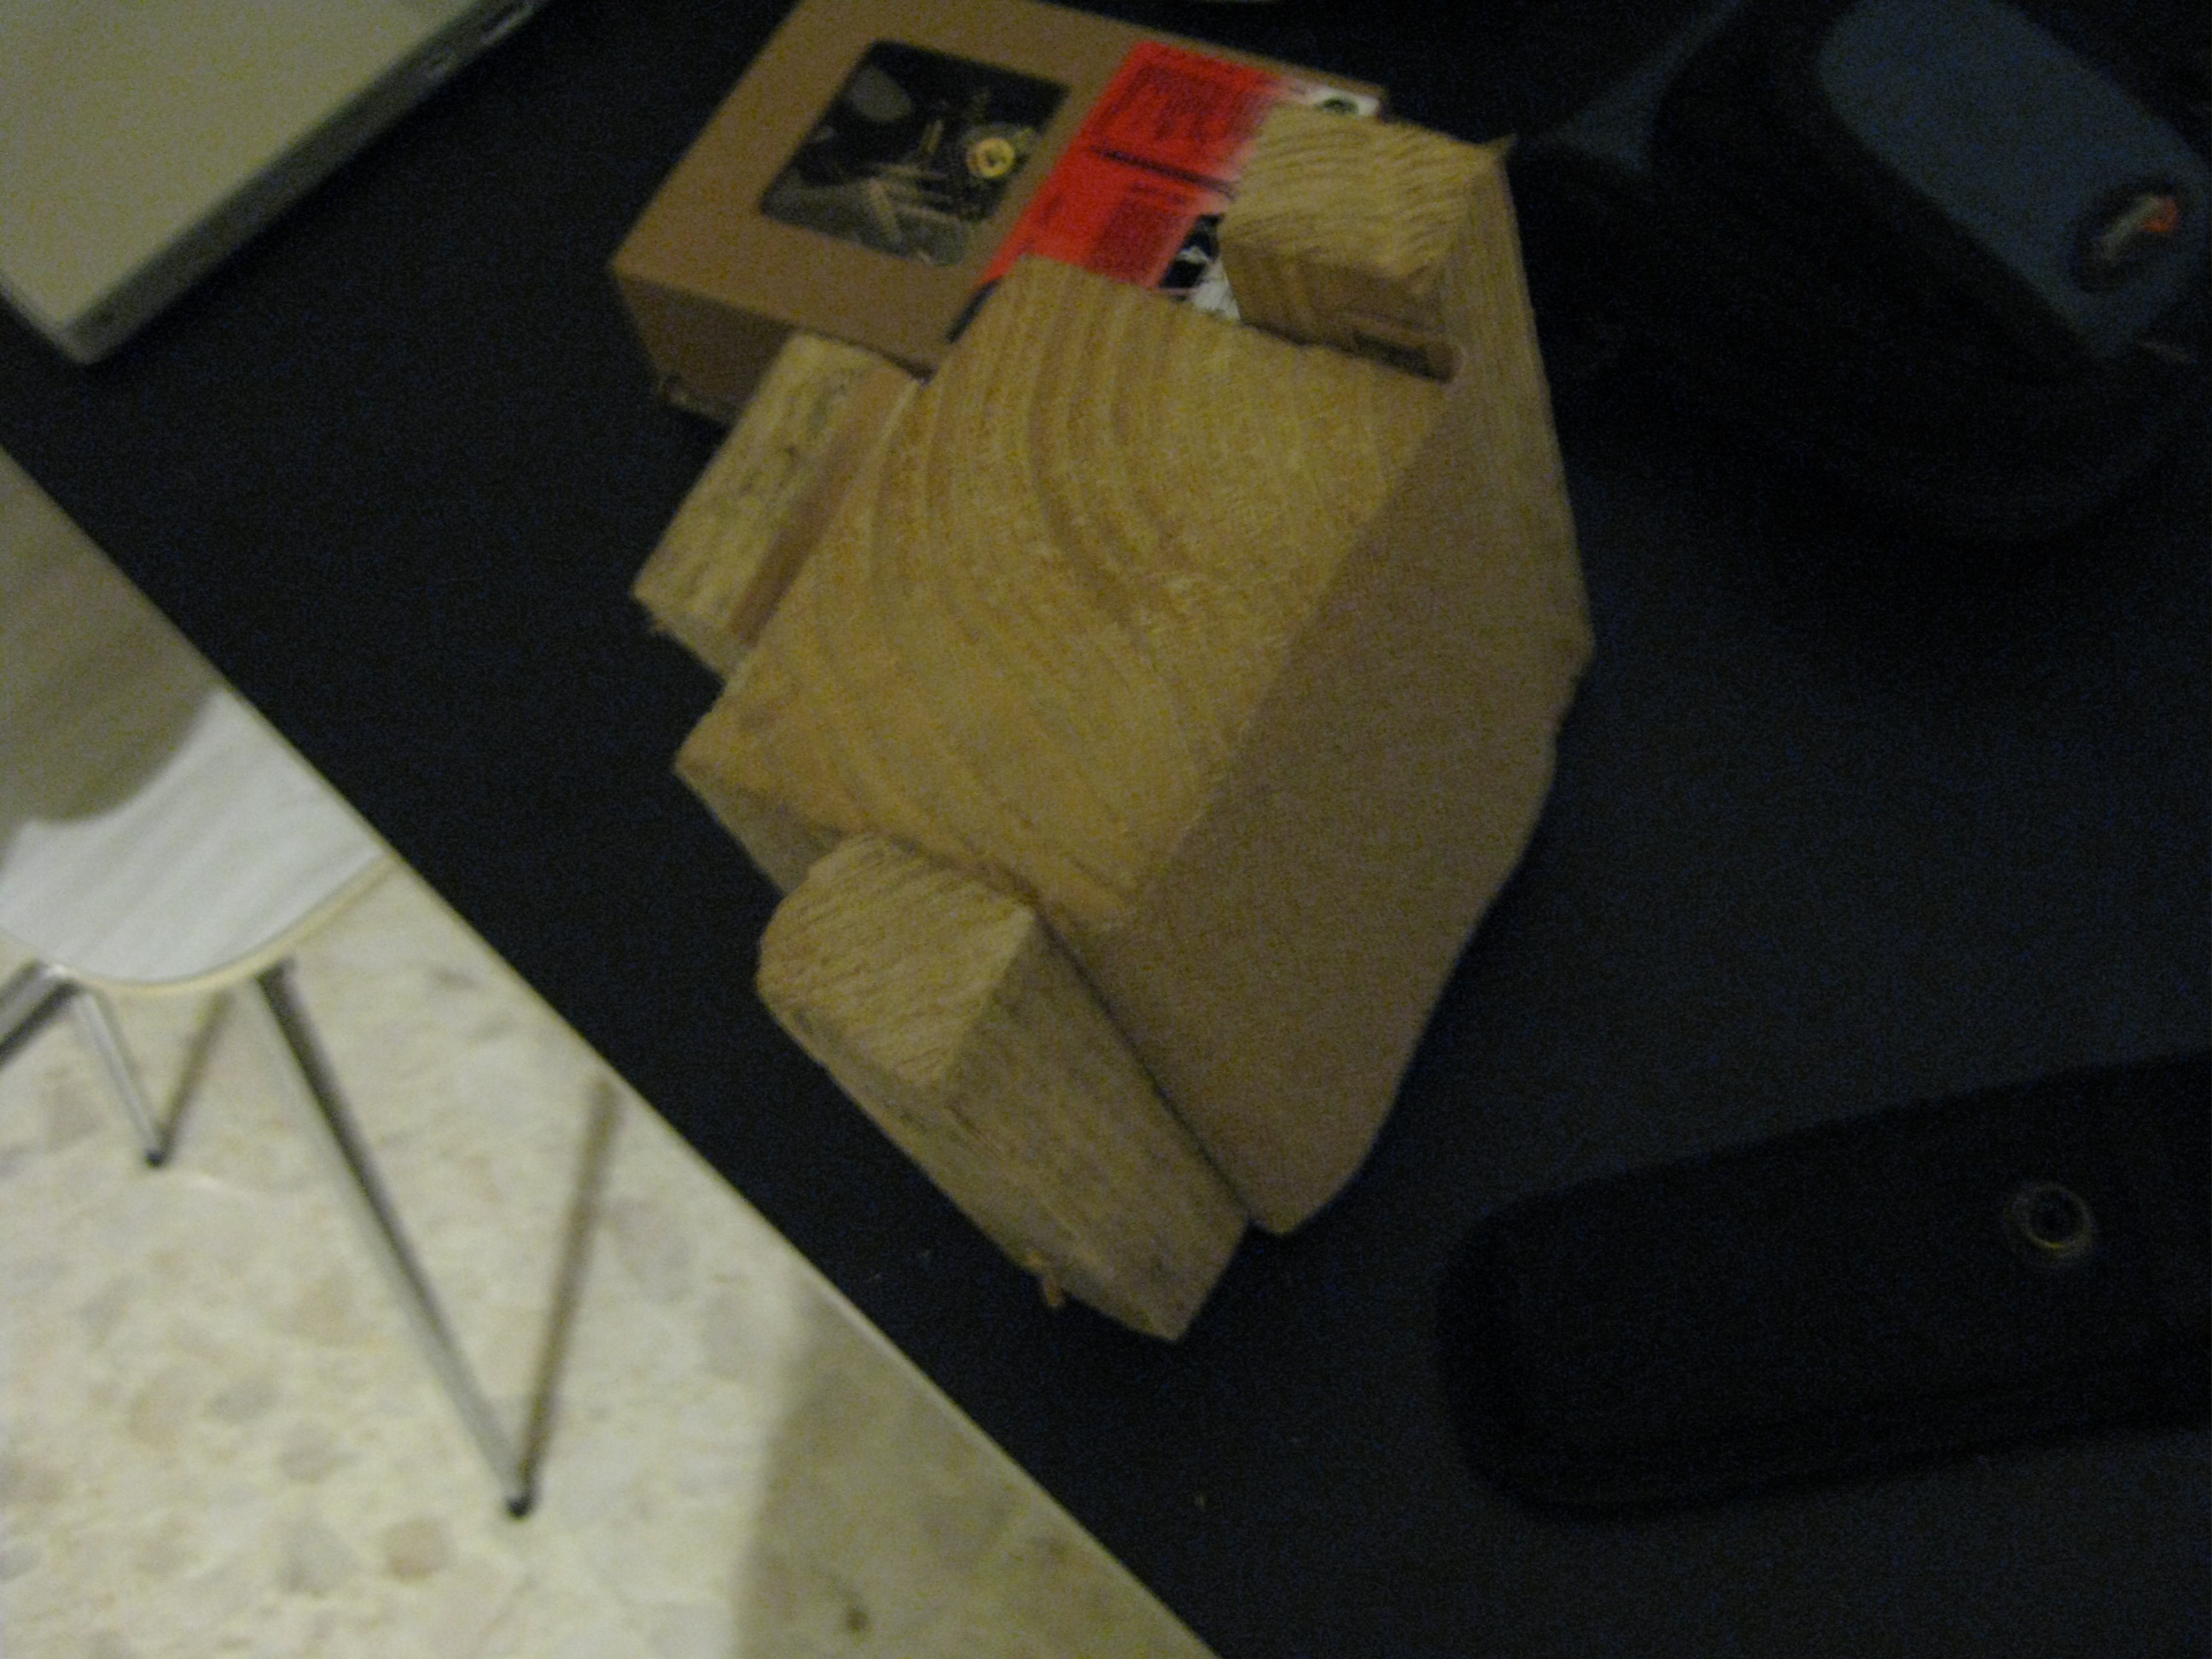
The wood: a pallet
The pallet
Finding wine bottles is trivial (especially in France), but cheap wood is another story. There were plenty of discarded pallets in the streets, but it took me a while to find a suitable one. It had to be large enough, clean (ie: mostly free of dirt, cement and/or paint) and built with decent quality wood which for pallets is very uncommon. I forgot to take a picture of the whole pallet so this one does not quite do it justice. It was a pain to carry across the city, back-breaking work cutting it and immensely tedious to sand the pieces manually but I managed to build my two tables out of it.
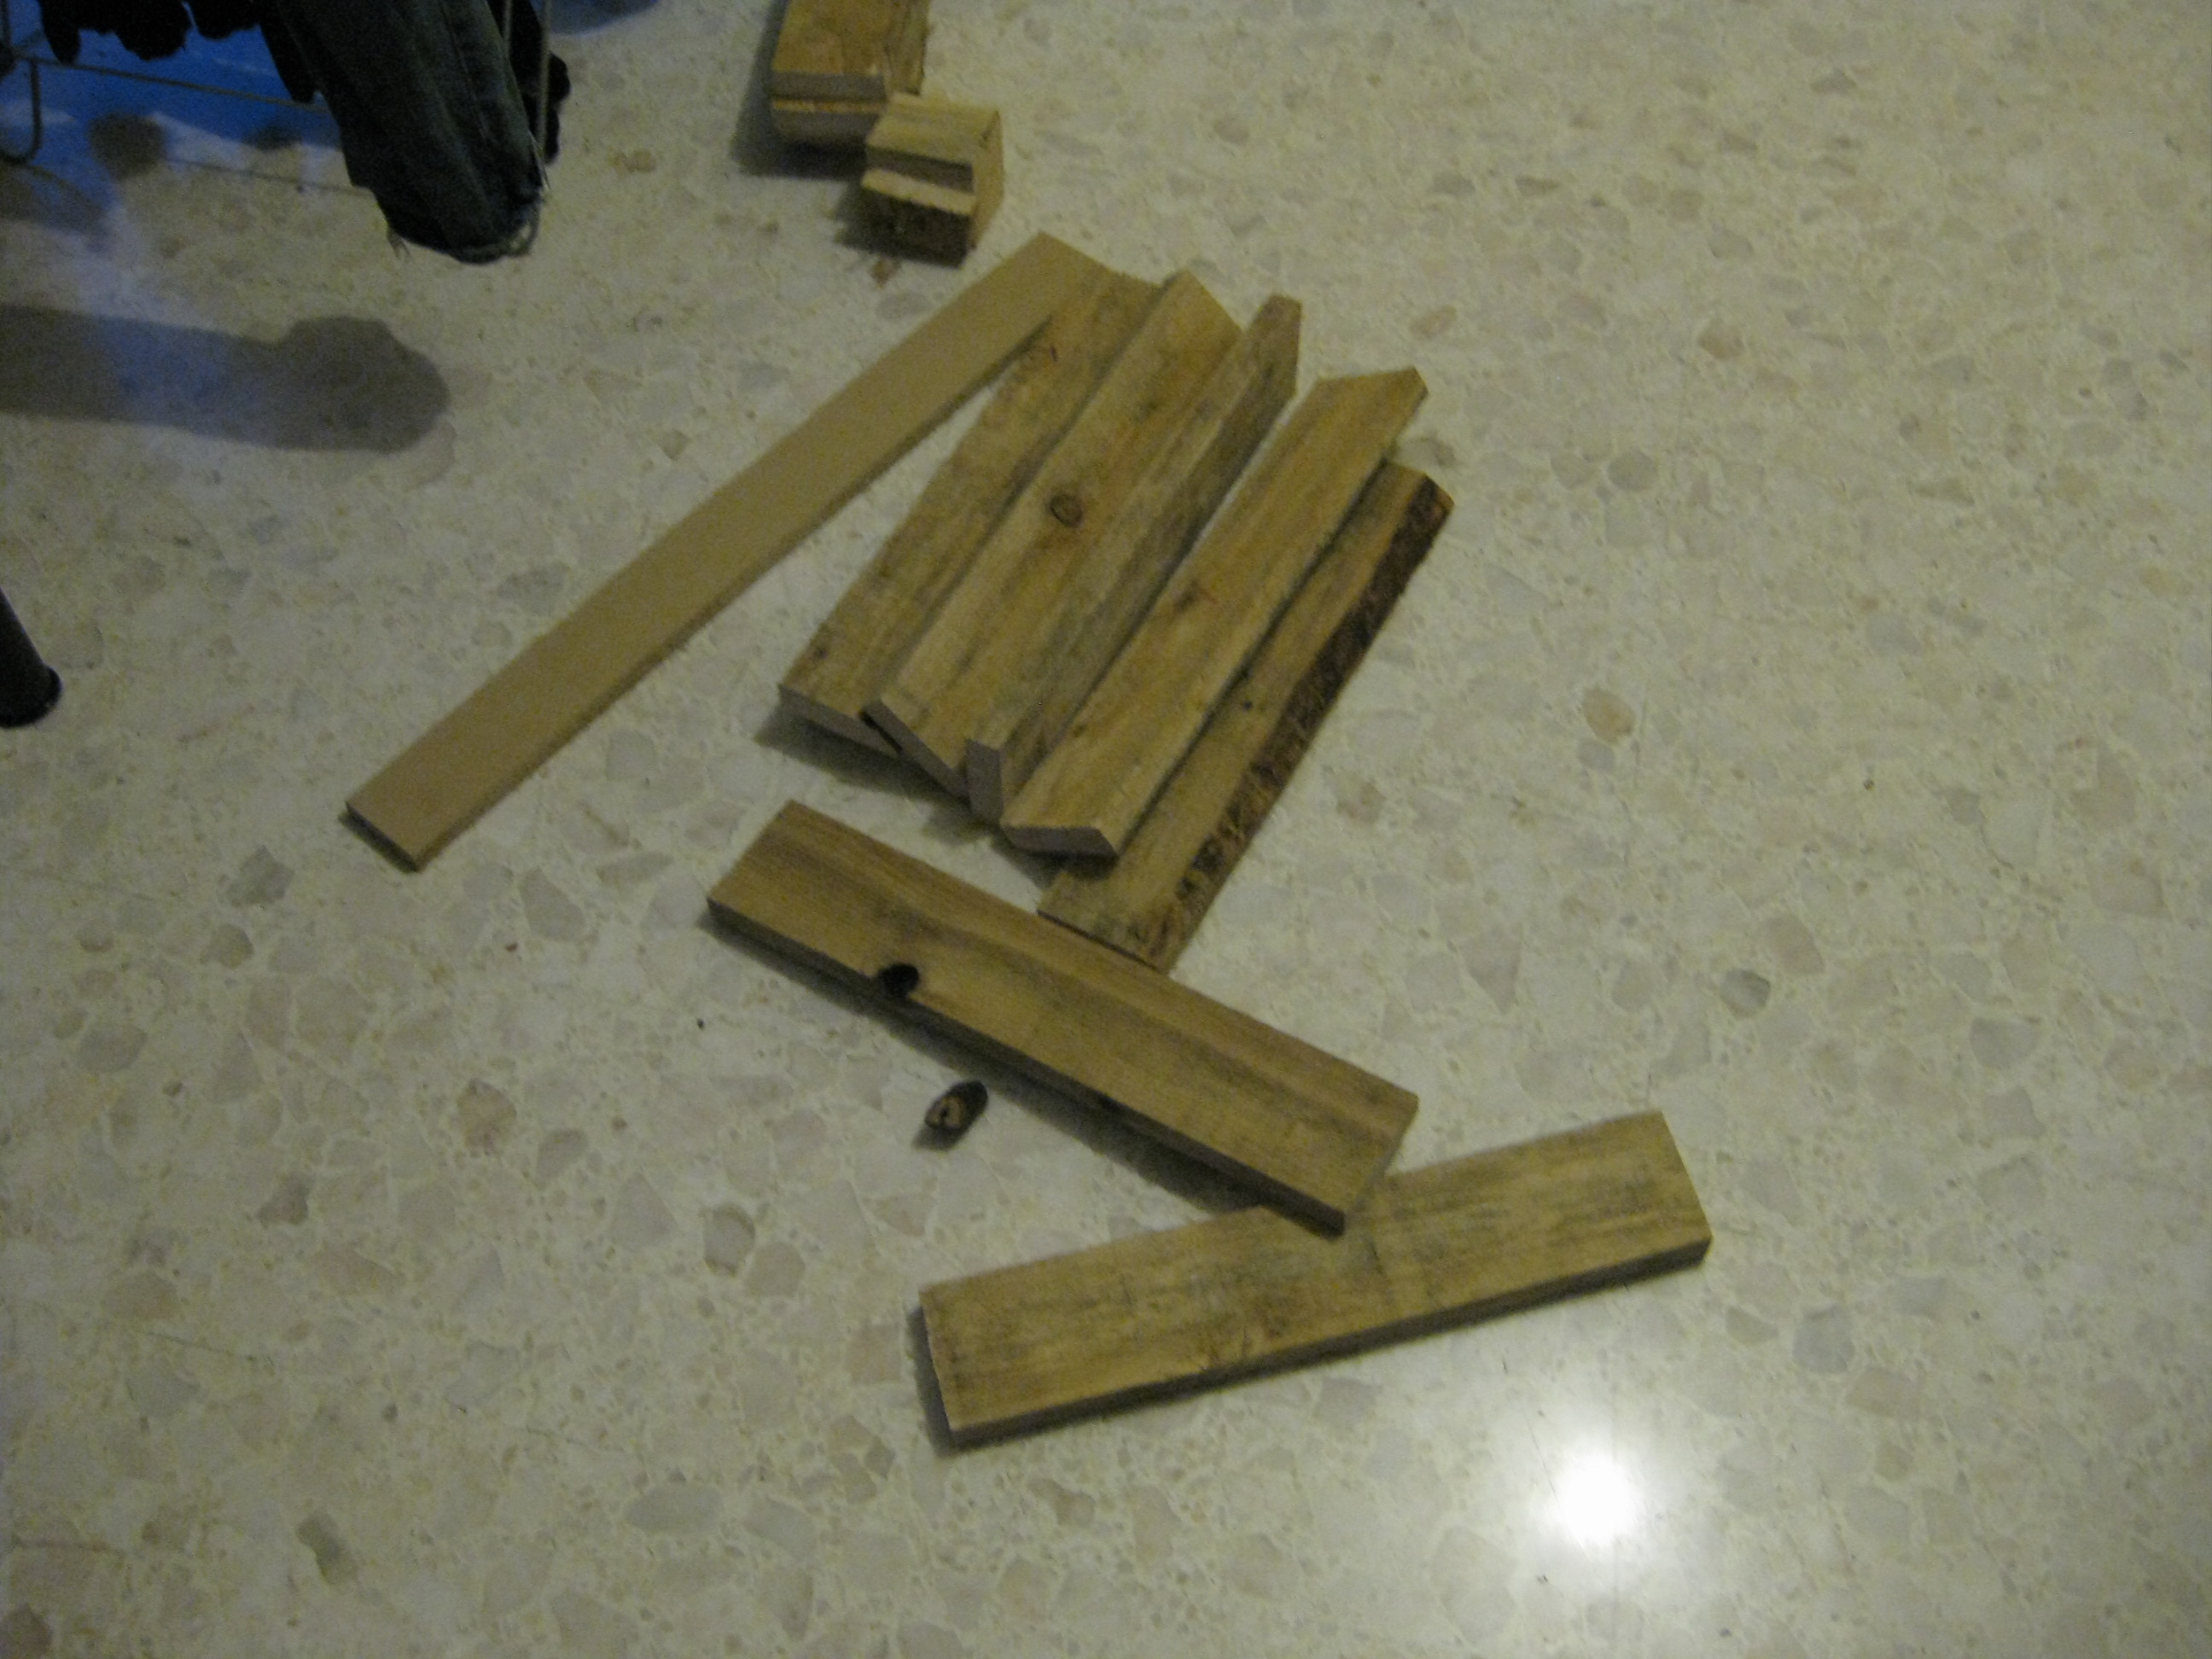
The two surfaces of the first table
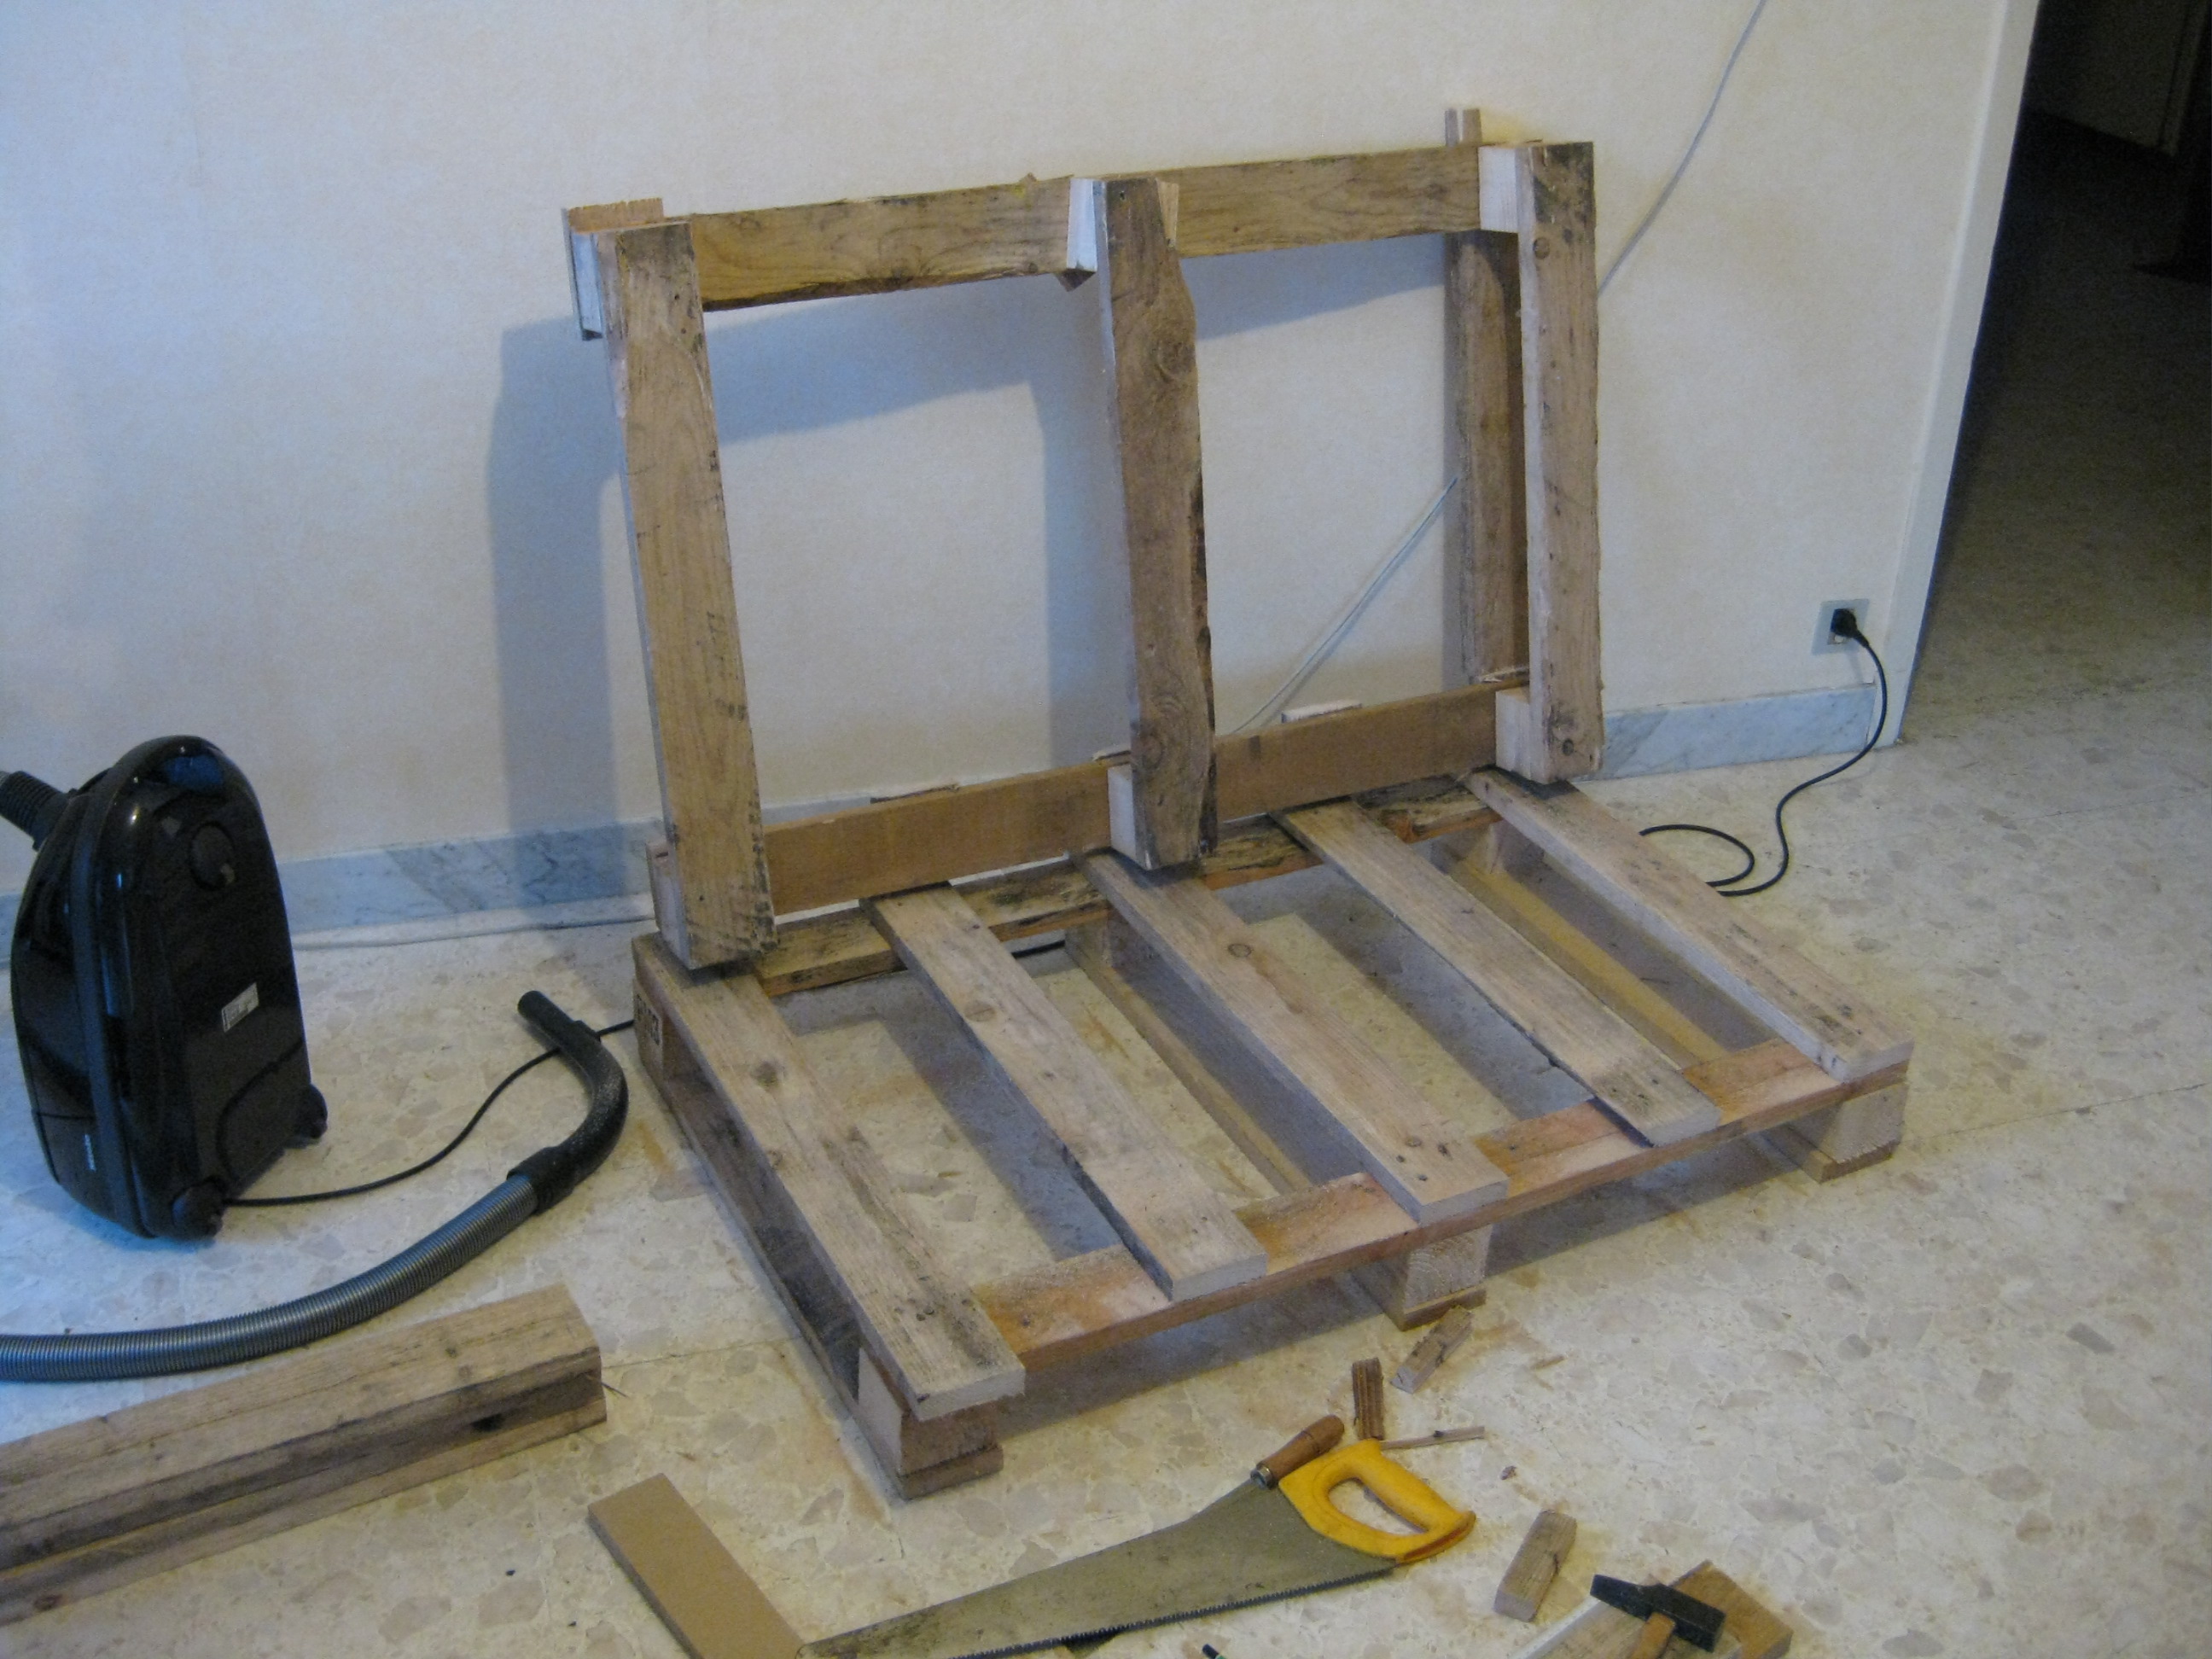
Apart from the physical hardships of working without power tools processing the pallet into decent looking surfaces was a piece of cake. I cut up the pallet in even size planks (which numbered 30) and then sanded them down to remove some coarseness (they use very low grade timber). I then assembled them into levels and drilled the four corners of the bottom levels with a hole large enough for the neck of a bottle to fit in.
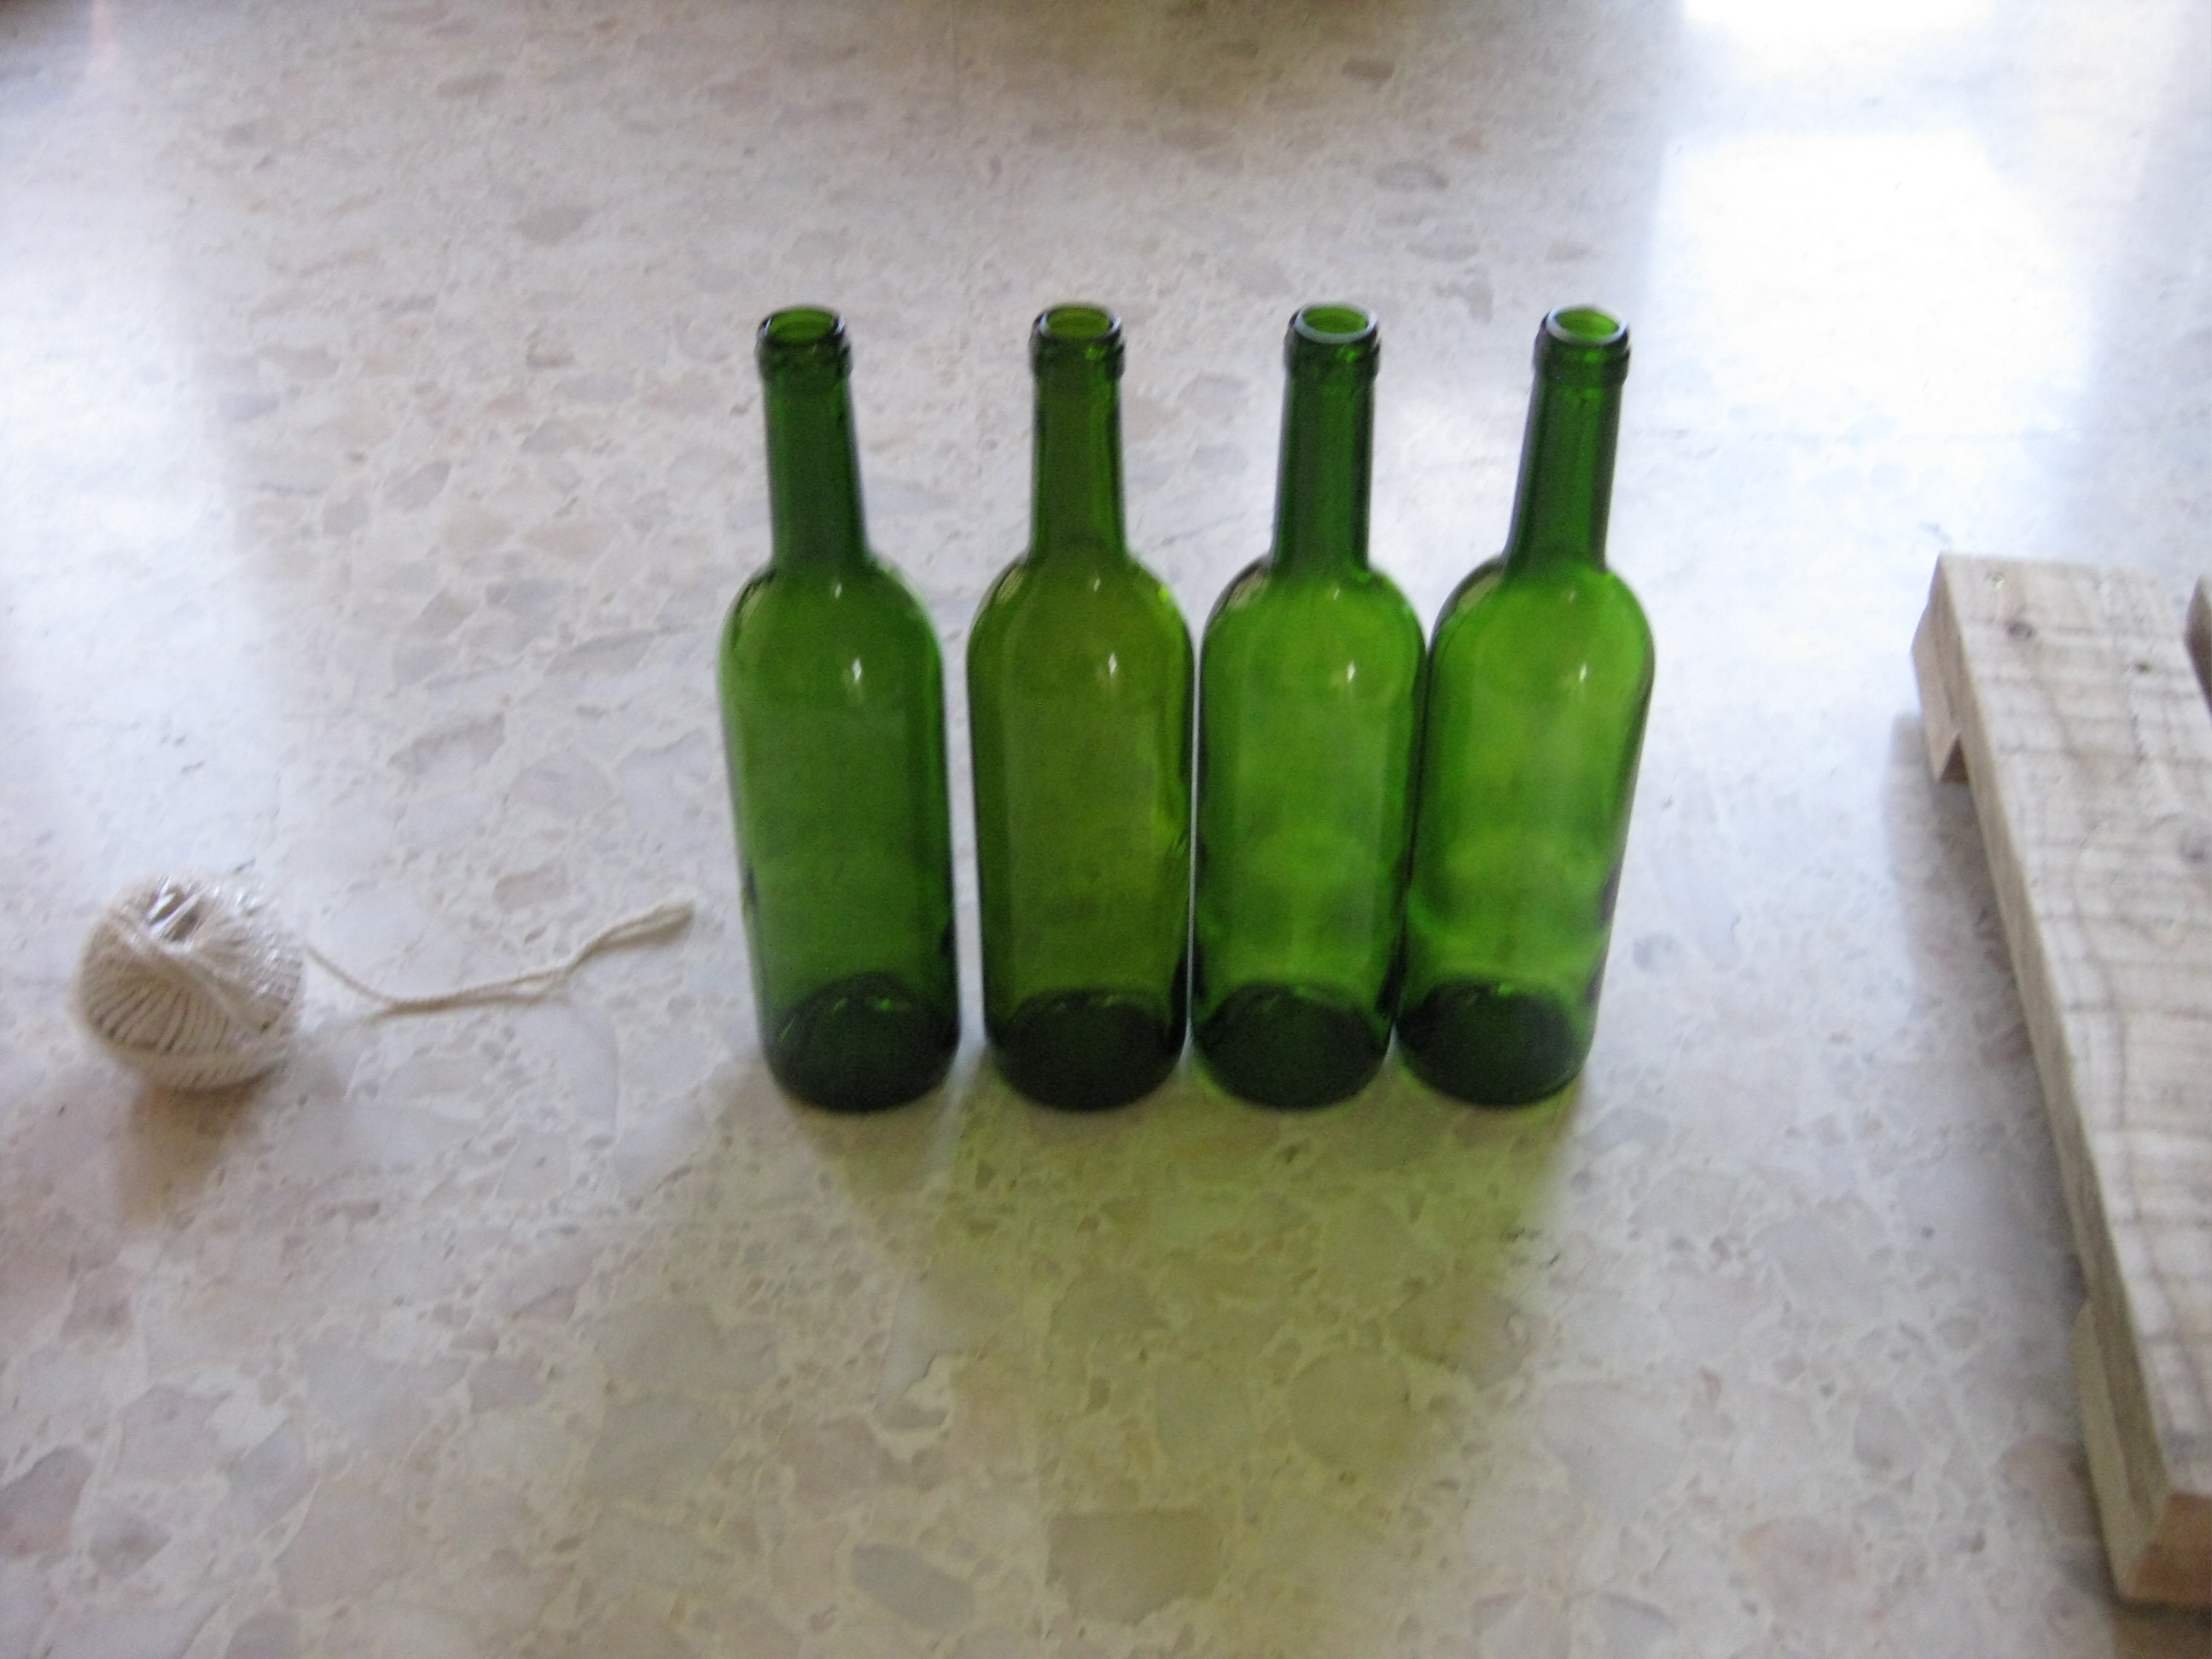
The wine bottles: Cabernet-Sauvigon, Shiraz, etc.
The part most will enjoyed the most. Be careful though, wine bottles vary in shape between brands so you should buy bottles in four. If you want bottles very quickly ask a nearby restaurant if he can put them away for you and come pick them up after a service.
Assembly
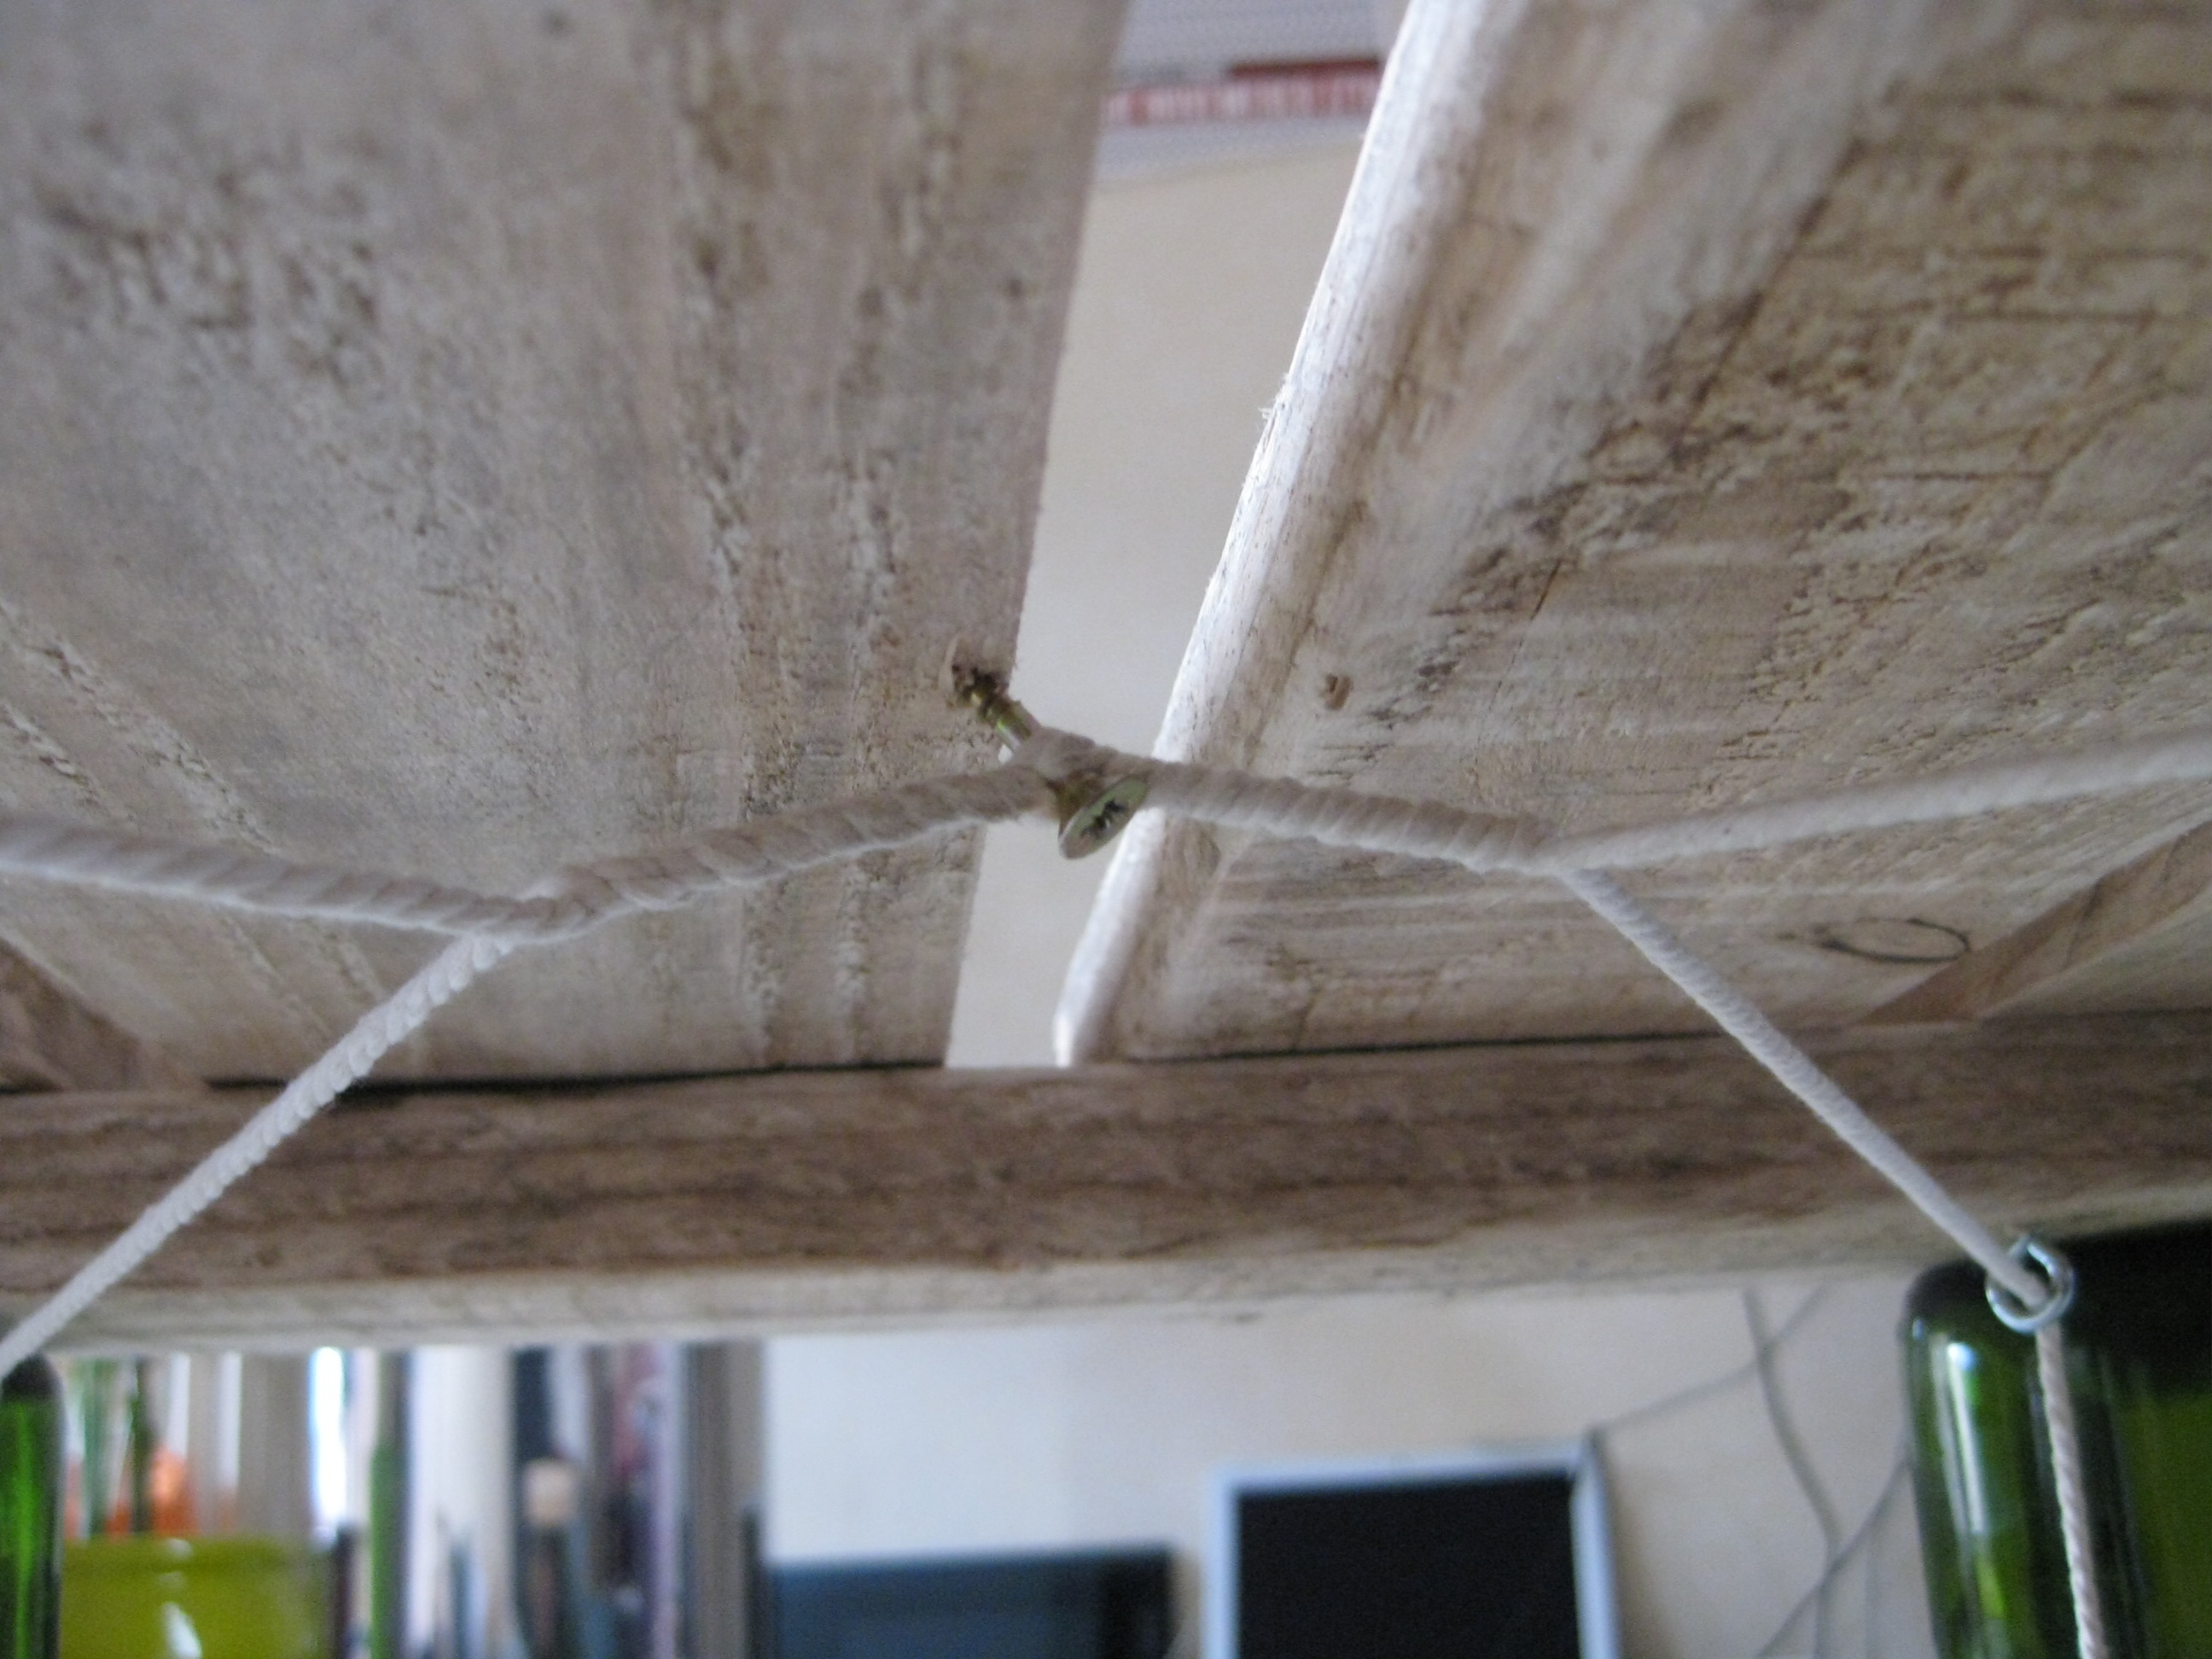
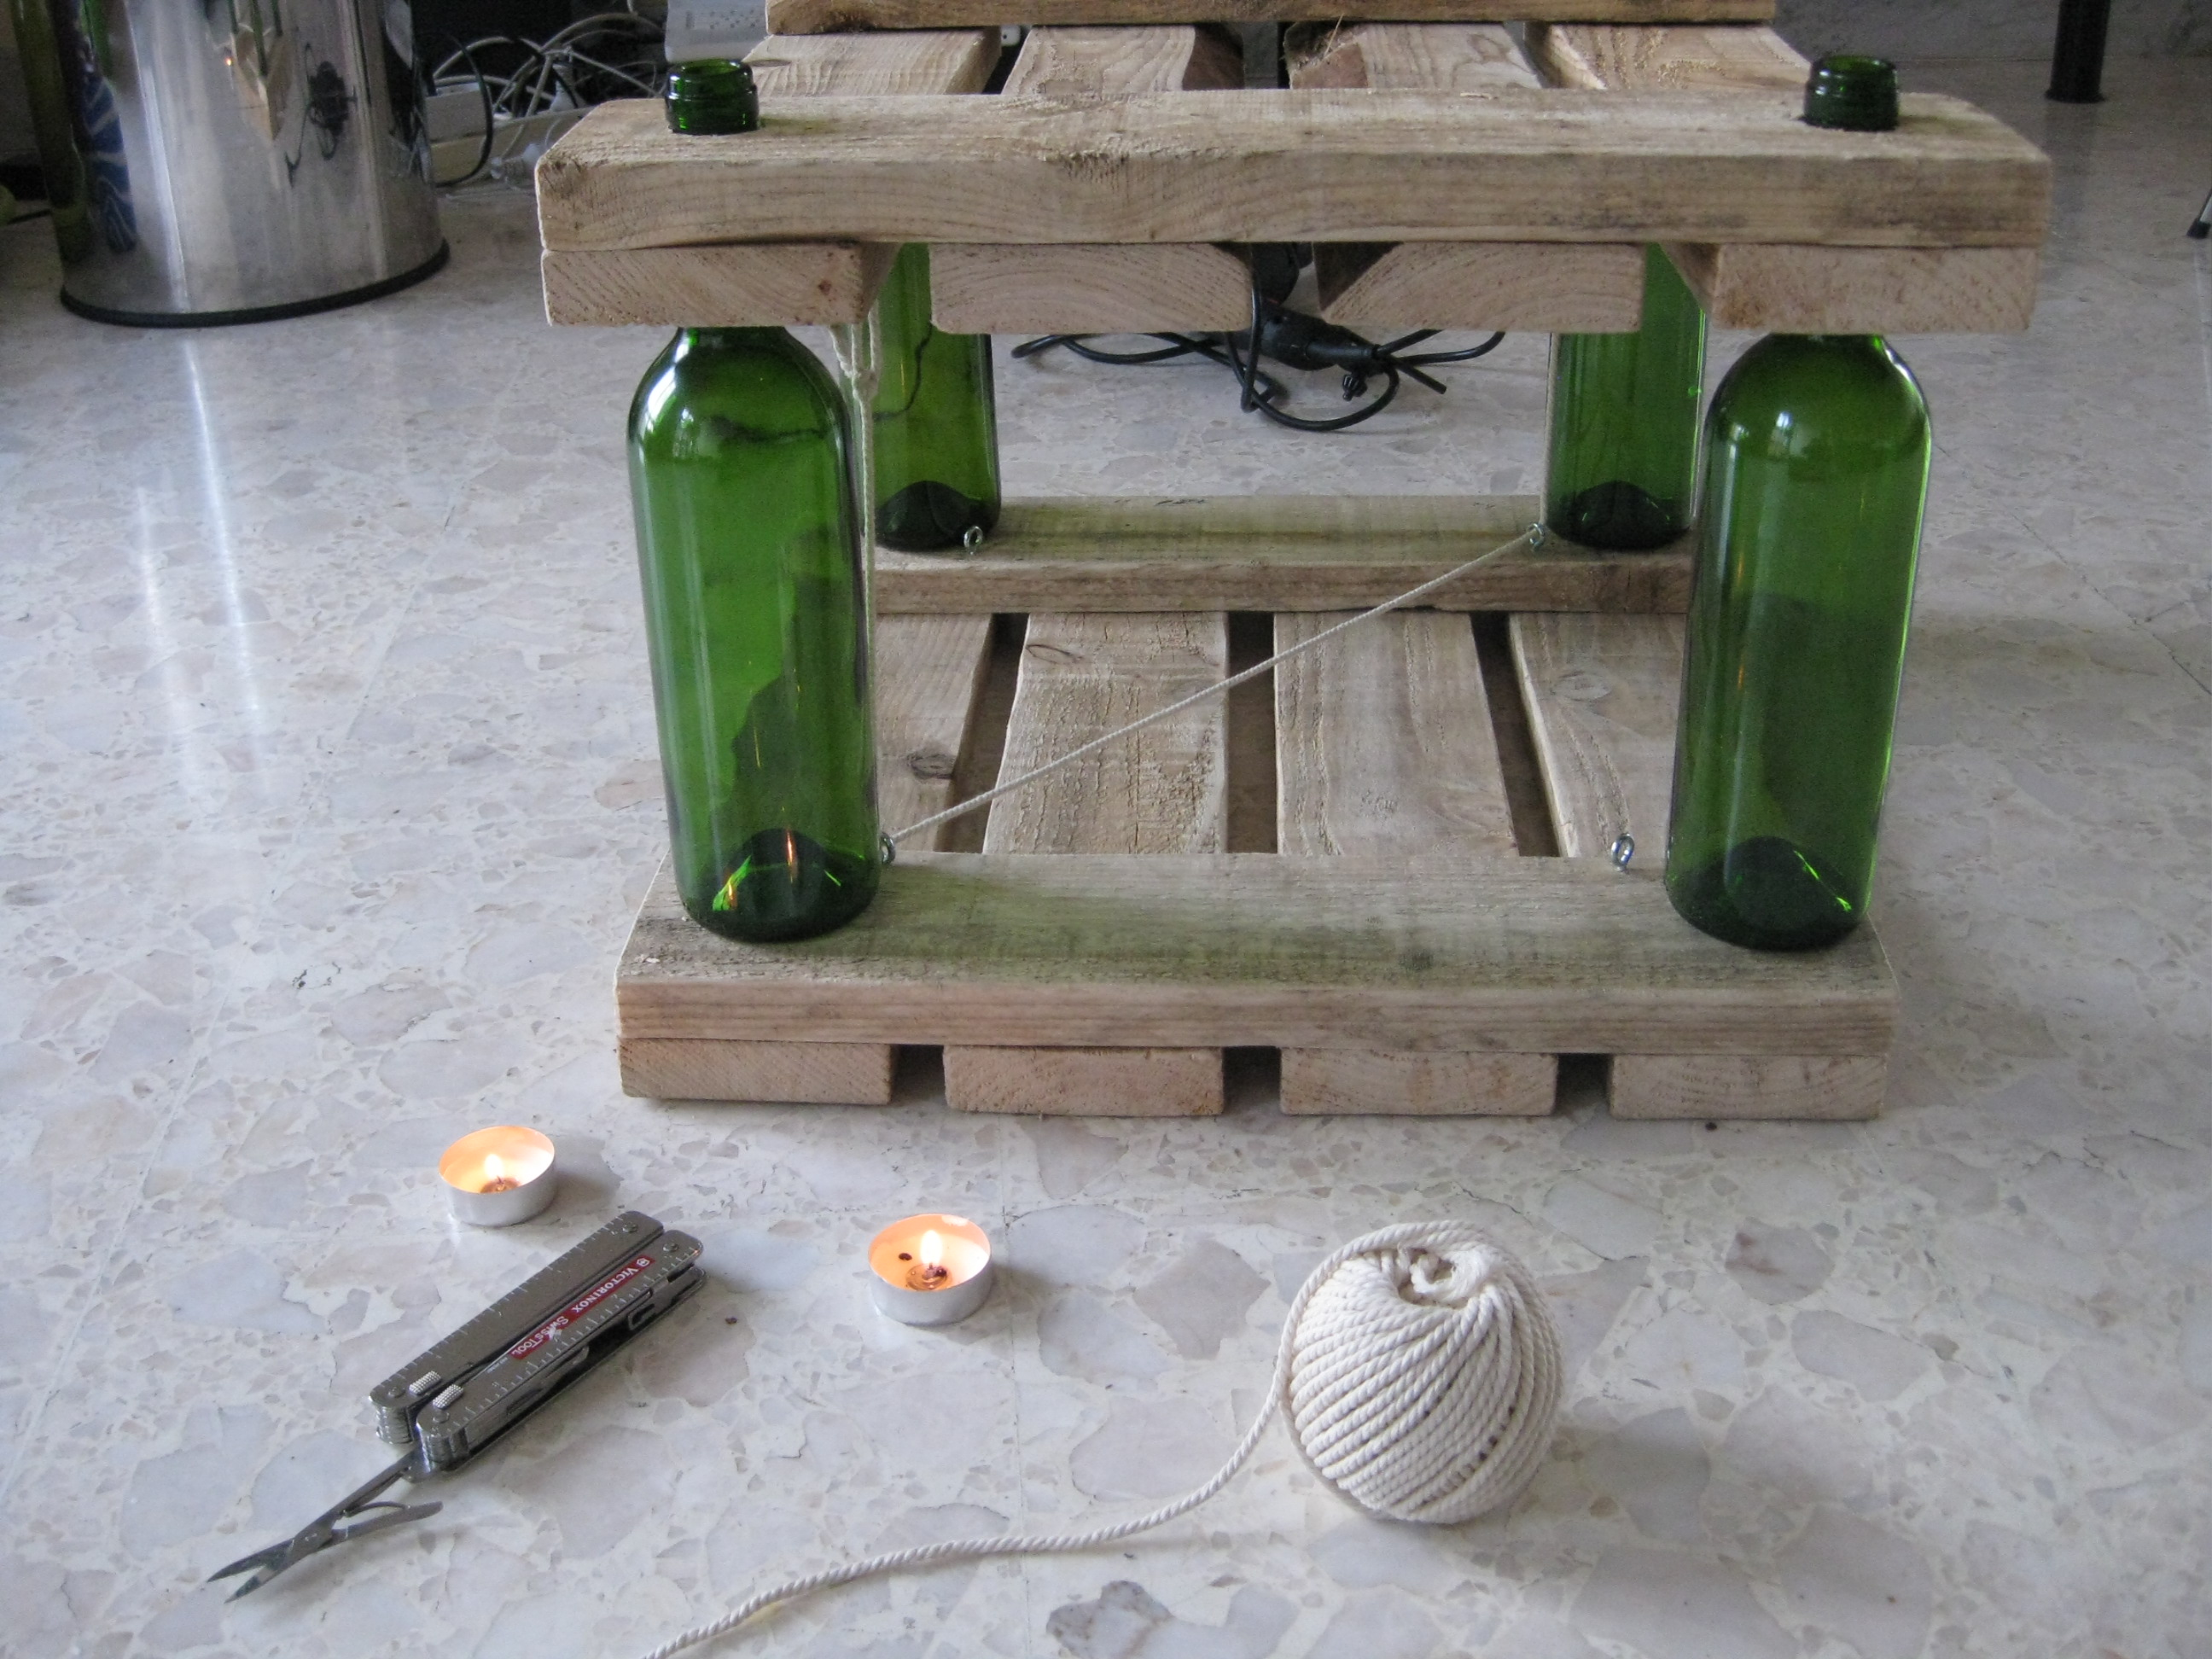
Half of the tensioning system in placeA detailed view of how the rope is kept under tension
With two levels done, I screwed eyes at the eight inside corners of the table, inserted the wine bottles and layed the table upside down to build the tensioning system. Starting from a bottom eye, I routed the string in the upper eye and then to the opposite corner and down again; Tied both ends and repeated for the other side. To prevent the ends of the strings from fraying, I dipped them in melted candle wax. Then, all there there was left to do was to put a long enough (to give torque) wood screw with an unthreaded shank between the two strings where they met in the middle of the table and turn to tighten the rope. Once I felt there was enough tension I simply drove the screw in the surface above to lock the whole system in place. Make sure the string is able to withstand a fair amount of tension because you need some if the bottles are to be kept tightly sandwiched between the two levels.
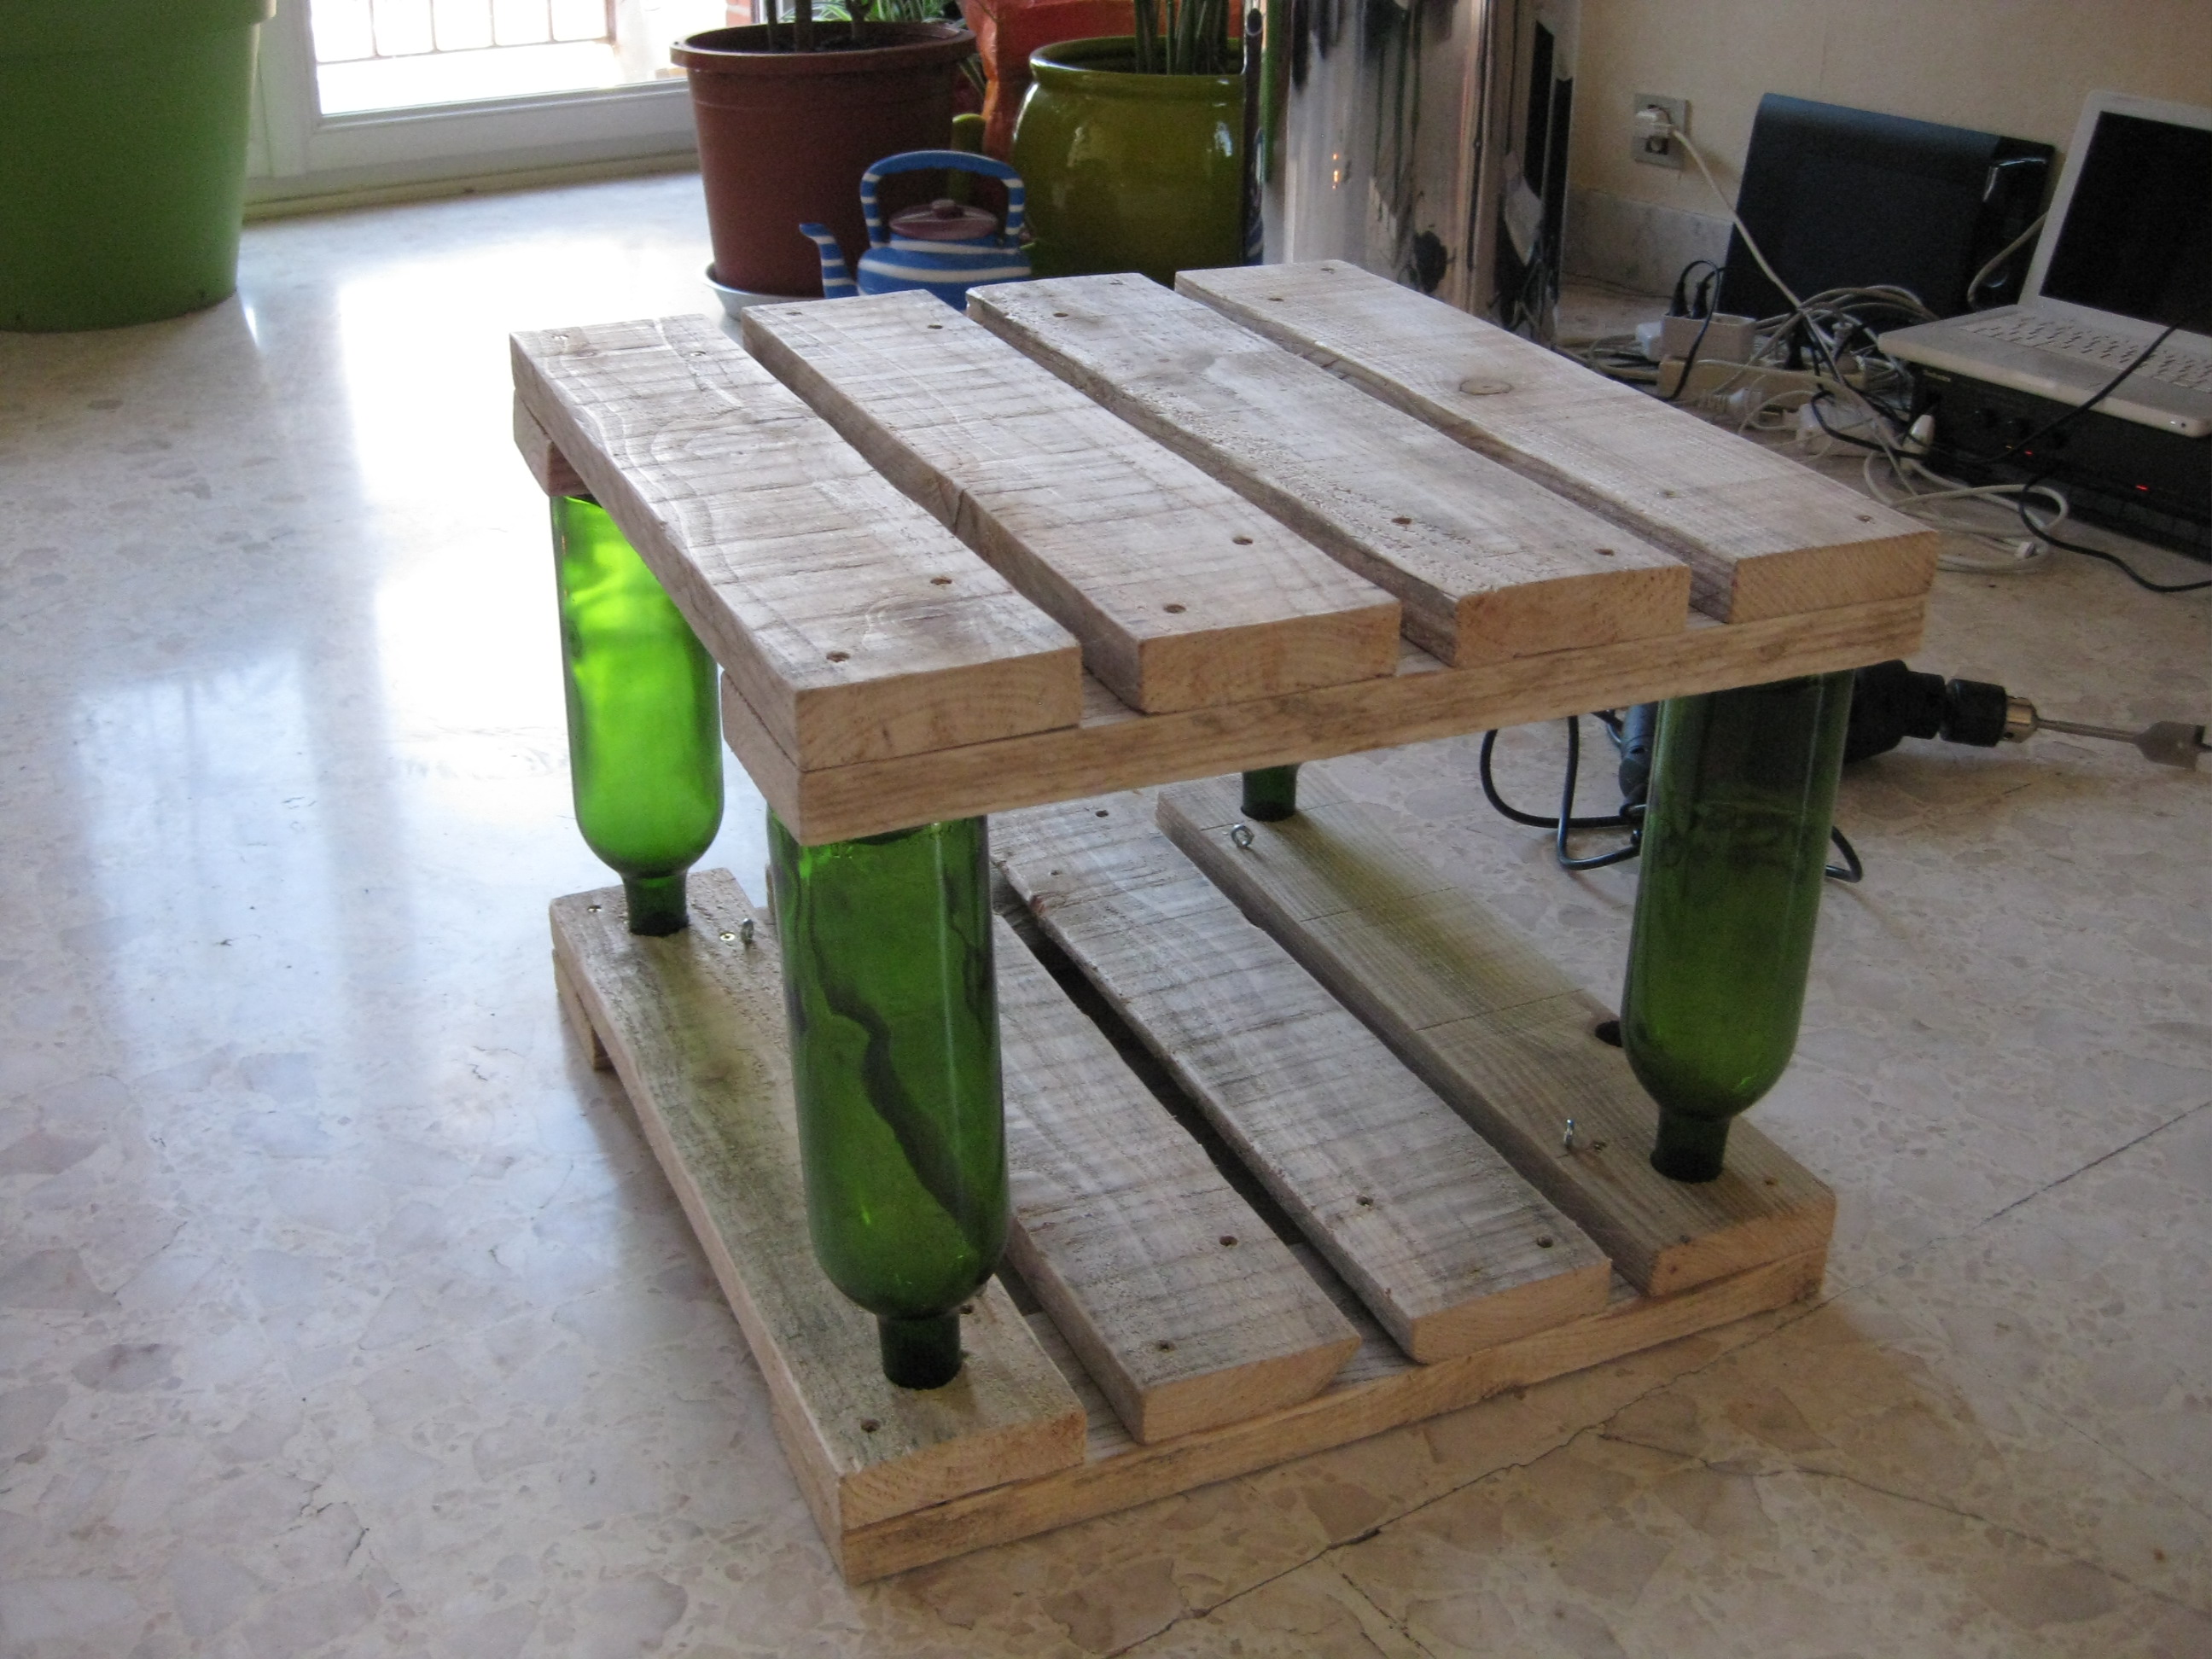
Assembling a two (or more) level table was a matter of simply repeating the process. The two level table ended up being more stable because the wood was just thick enough for the neck of the upper level bottles to lock itself inside the dip of the bottle below. The necks will make nice feet but If you want more adherence on the floor or want to protect it, you can put back corks into you bottles. Also, you are by no means limited to wine bottles, it could be beer bottles (on a good night with a few friends, you can get enough for a full shelving unit), or hard liquor bottles (but they take more time to accumulate in quantity).
The finished two level table
The coffee table
A detailed view of how the rope is kept under tension