Comme le récit sur la ville d’Astana est très long, je l’ai divisé en plusieurs parties (ça laissera plus de places pour les photos):
- Premier contact
- La Golf se refait une beauté
- Exposition universelle (partie 1)
- John
- Le musée présidentiel et l’exposition universelle (partie 2)
- Exposition universelle (partie 3)
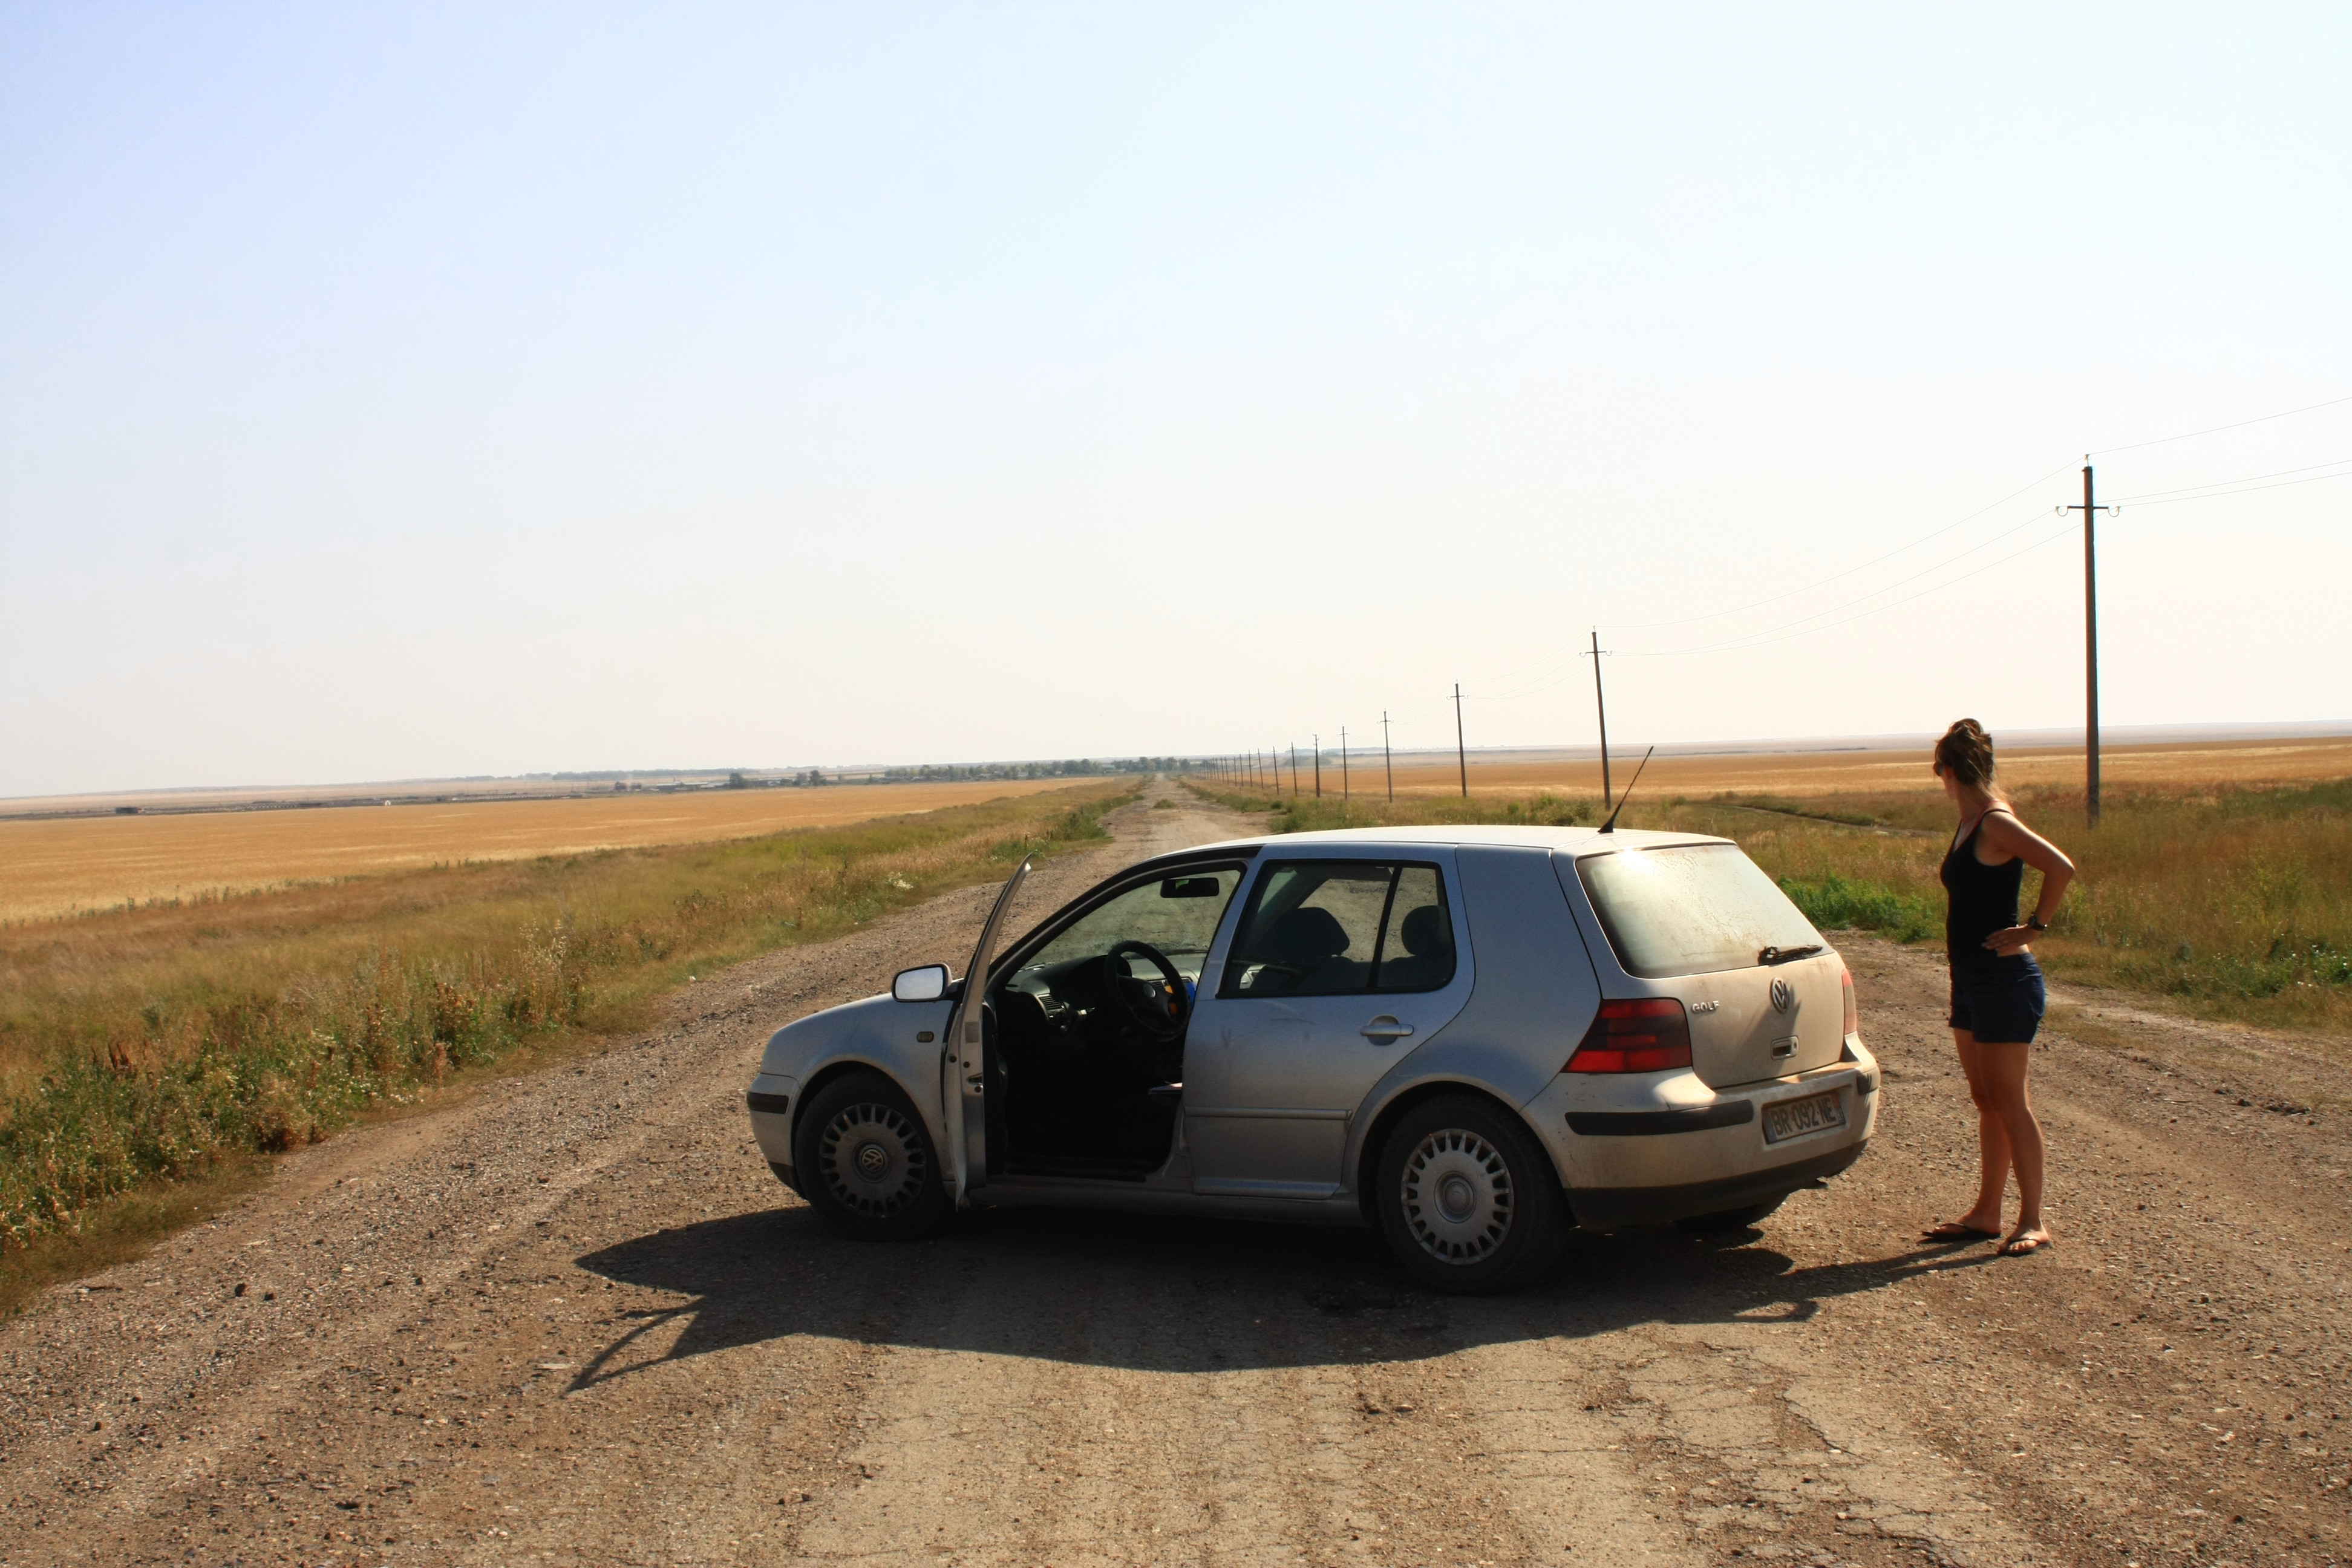
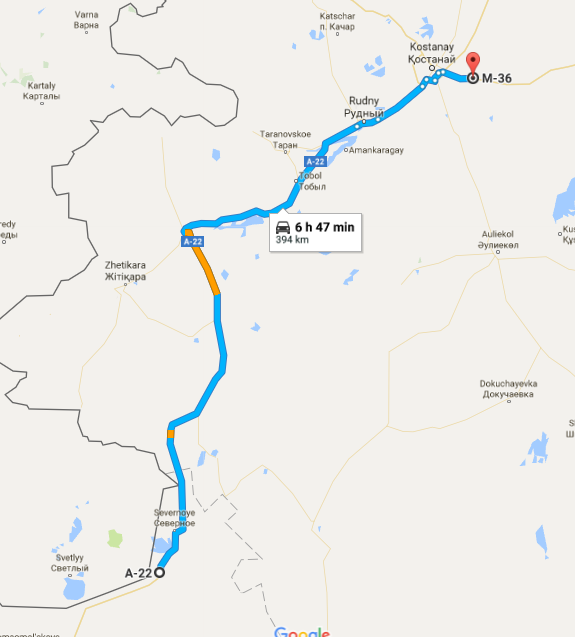
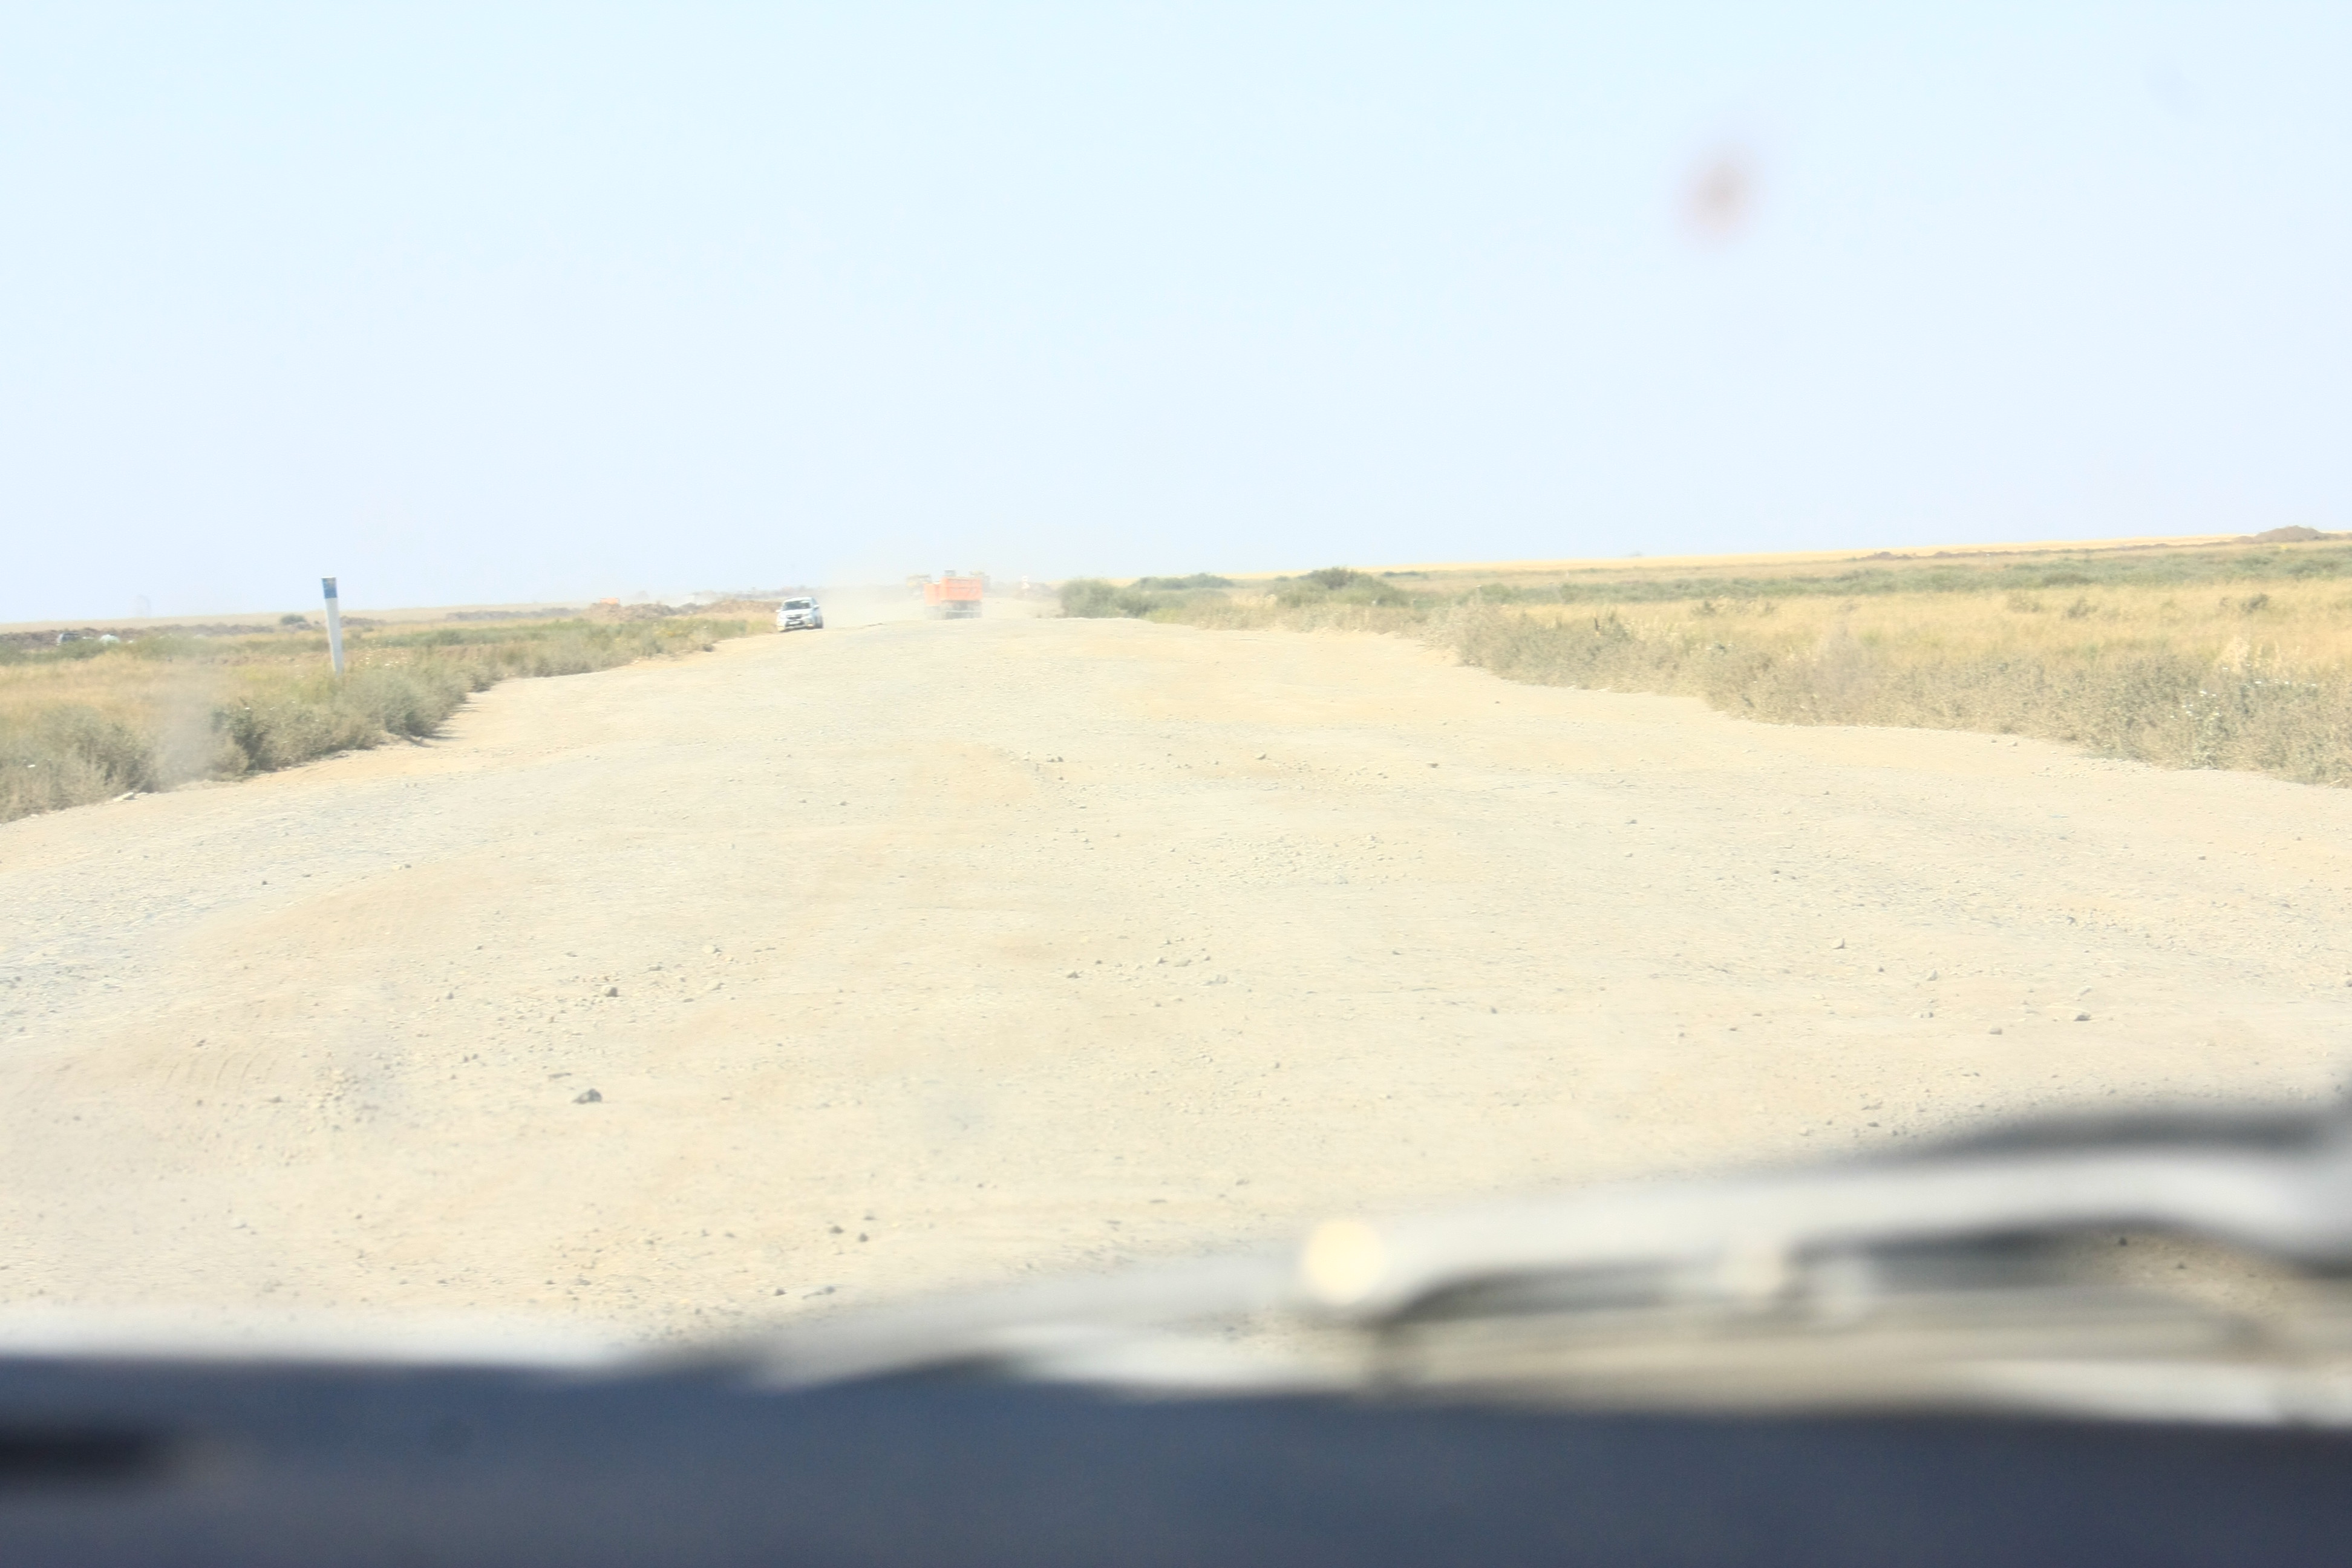
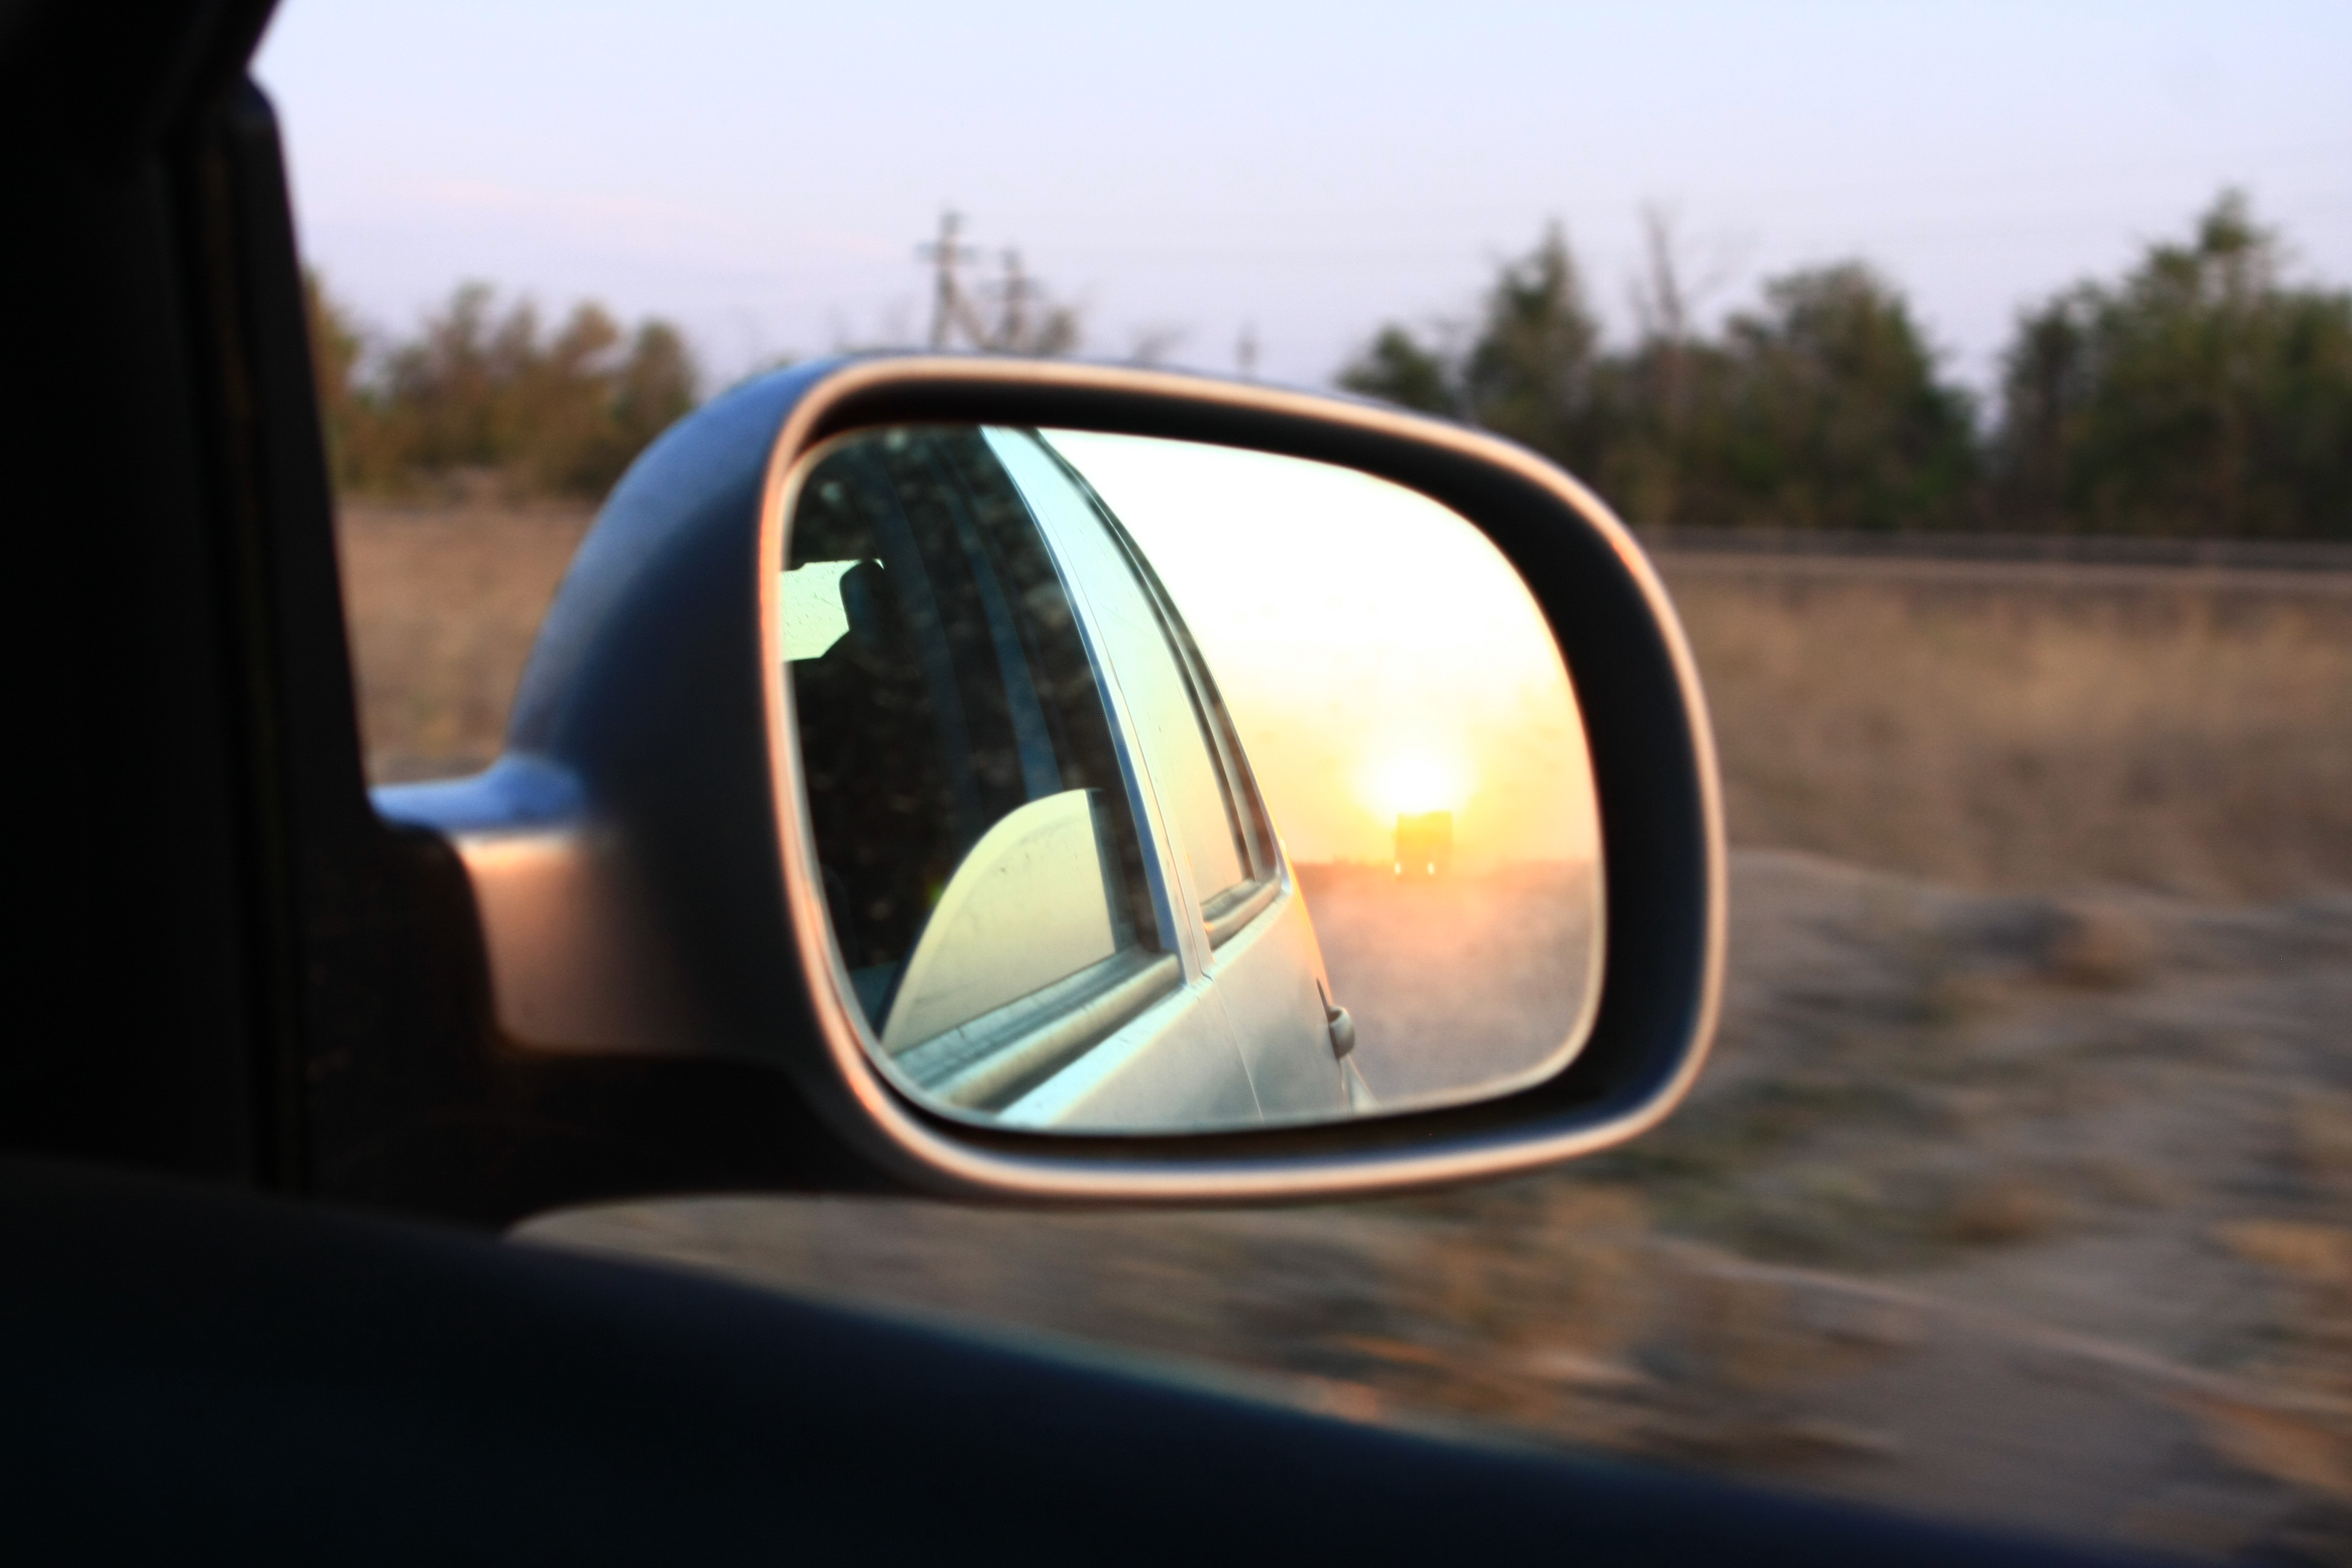
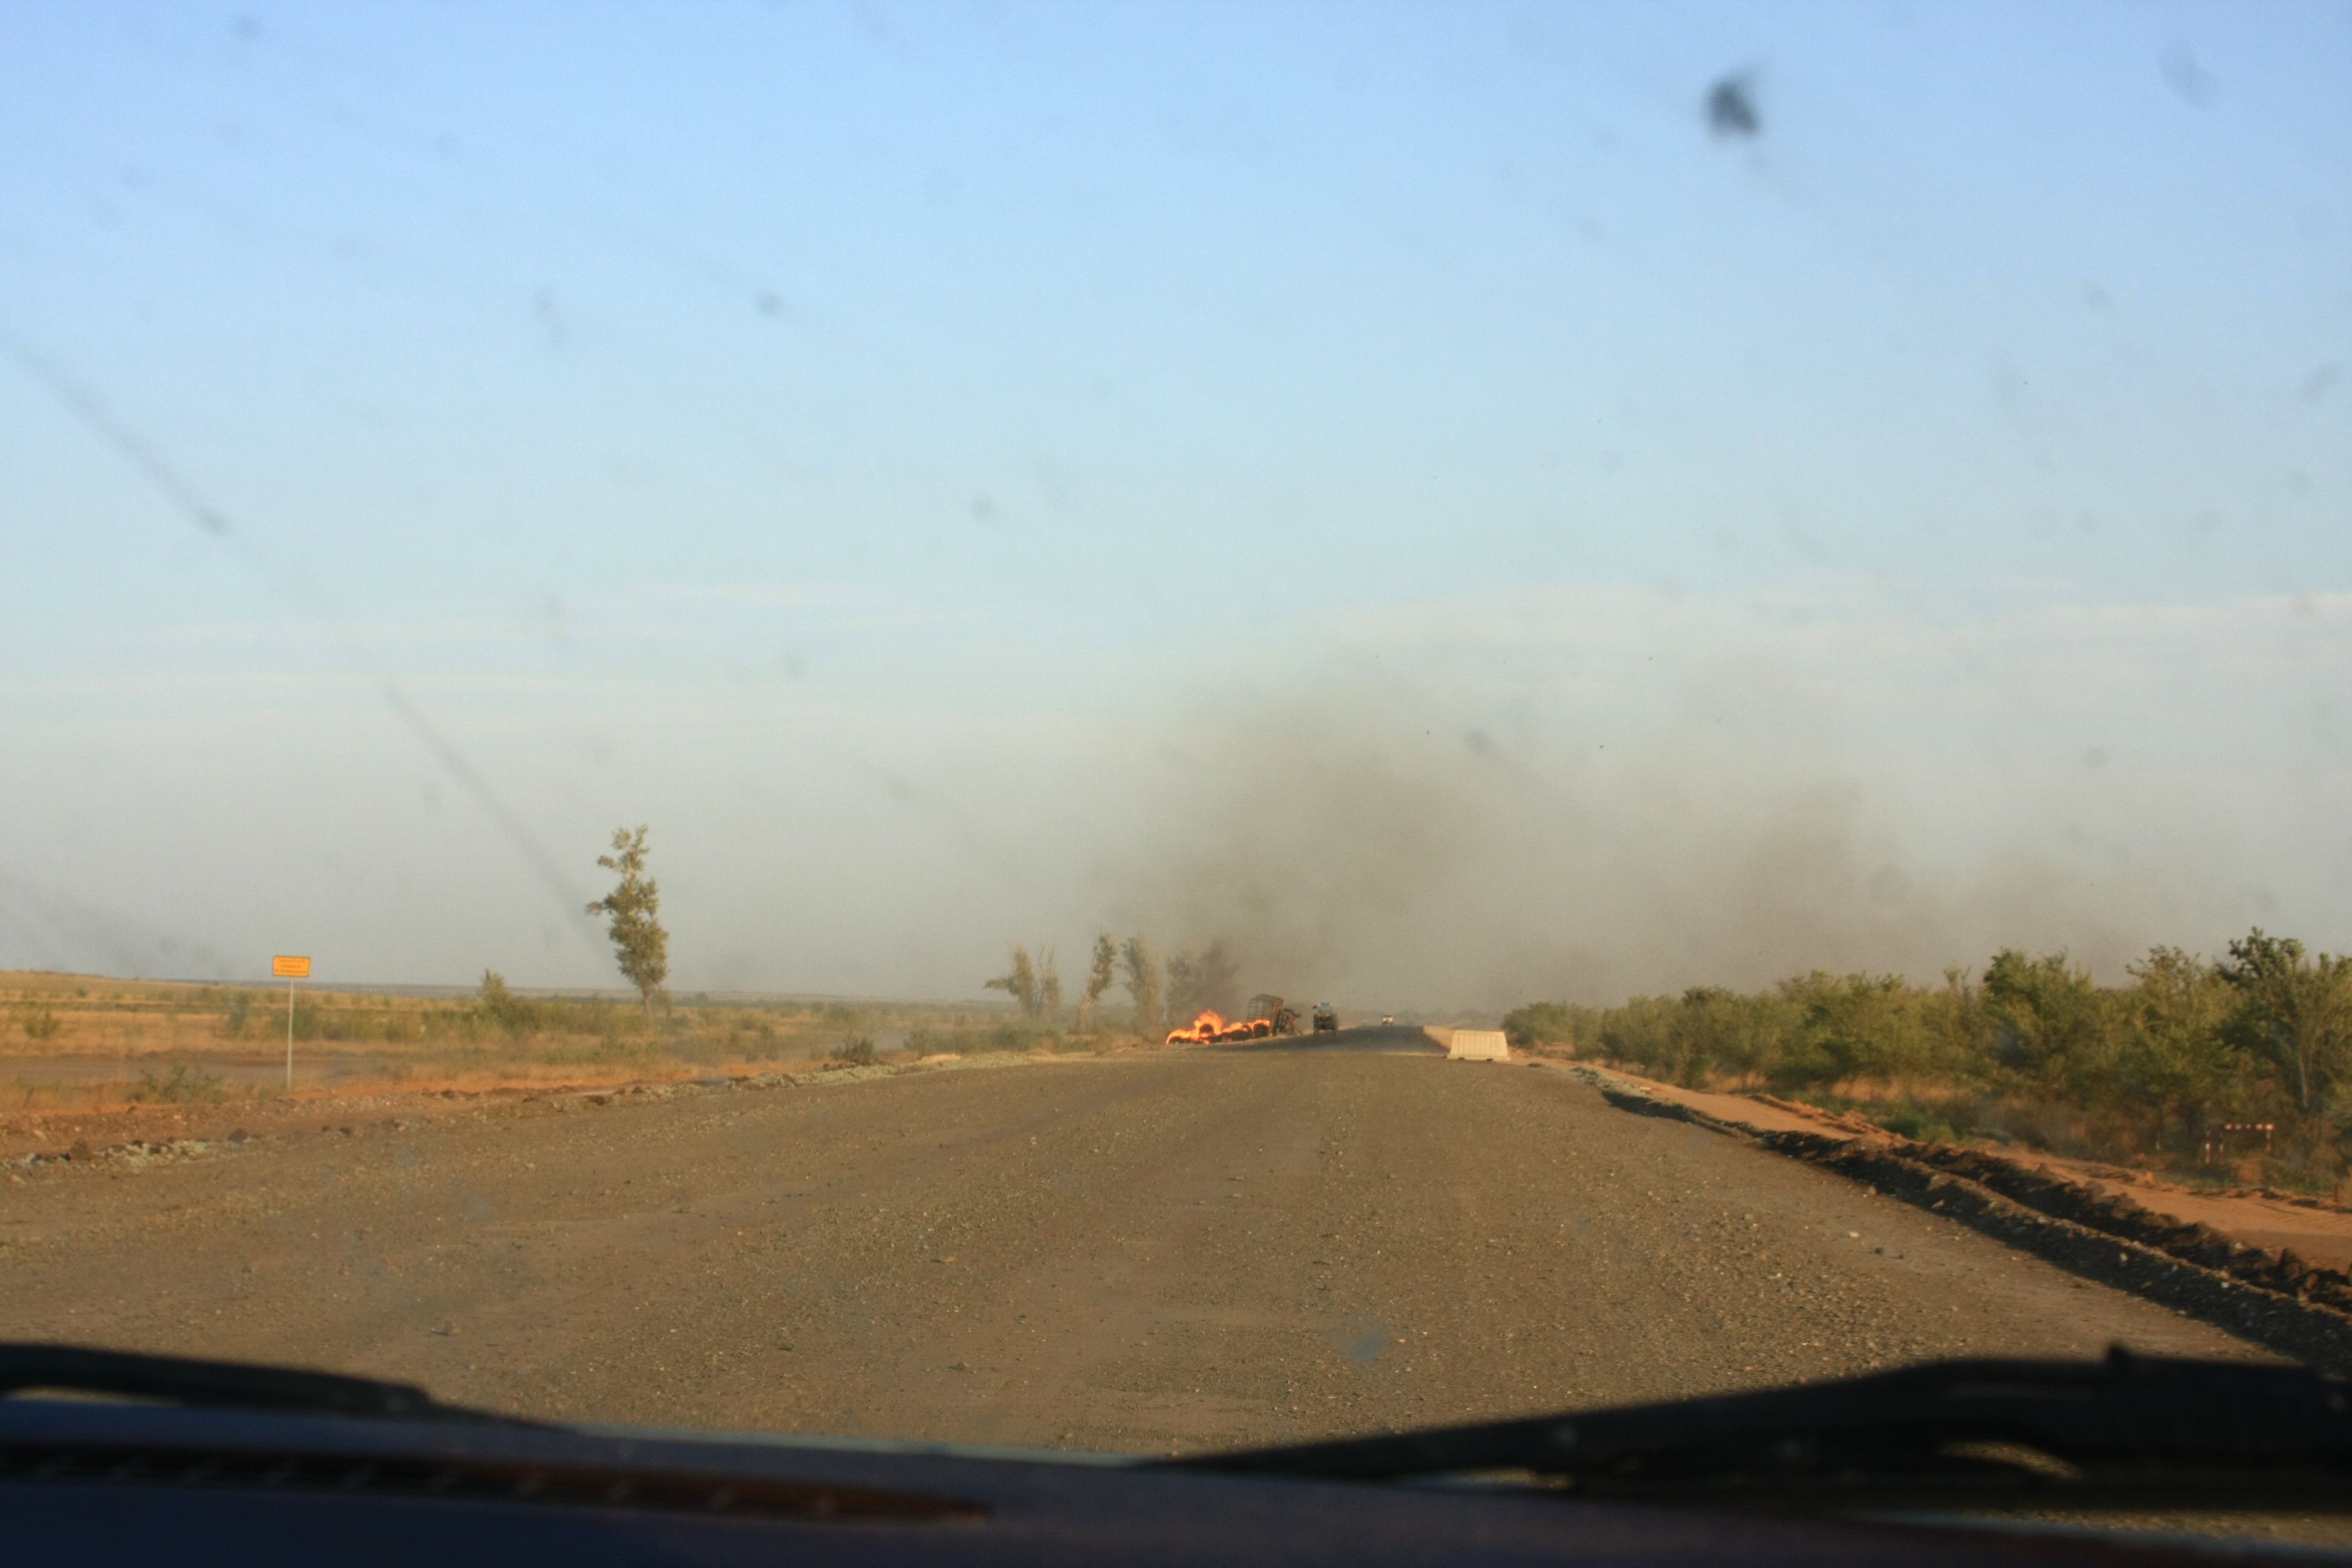
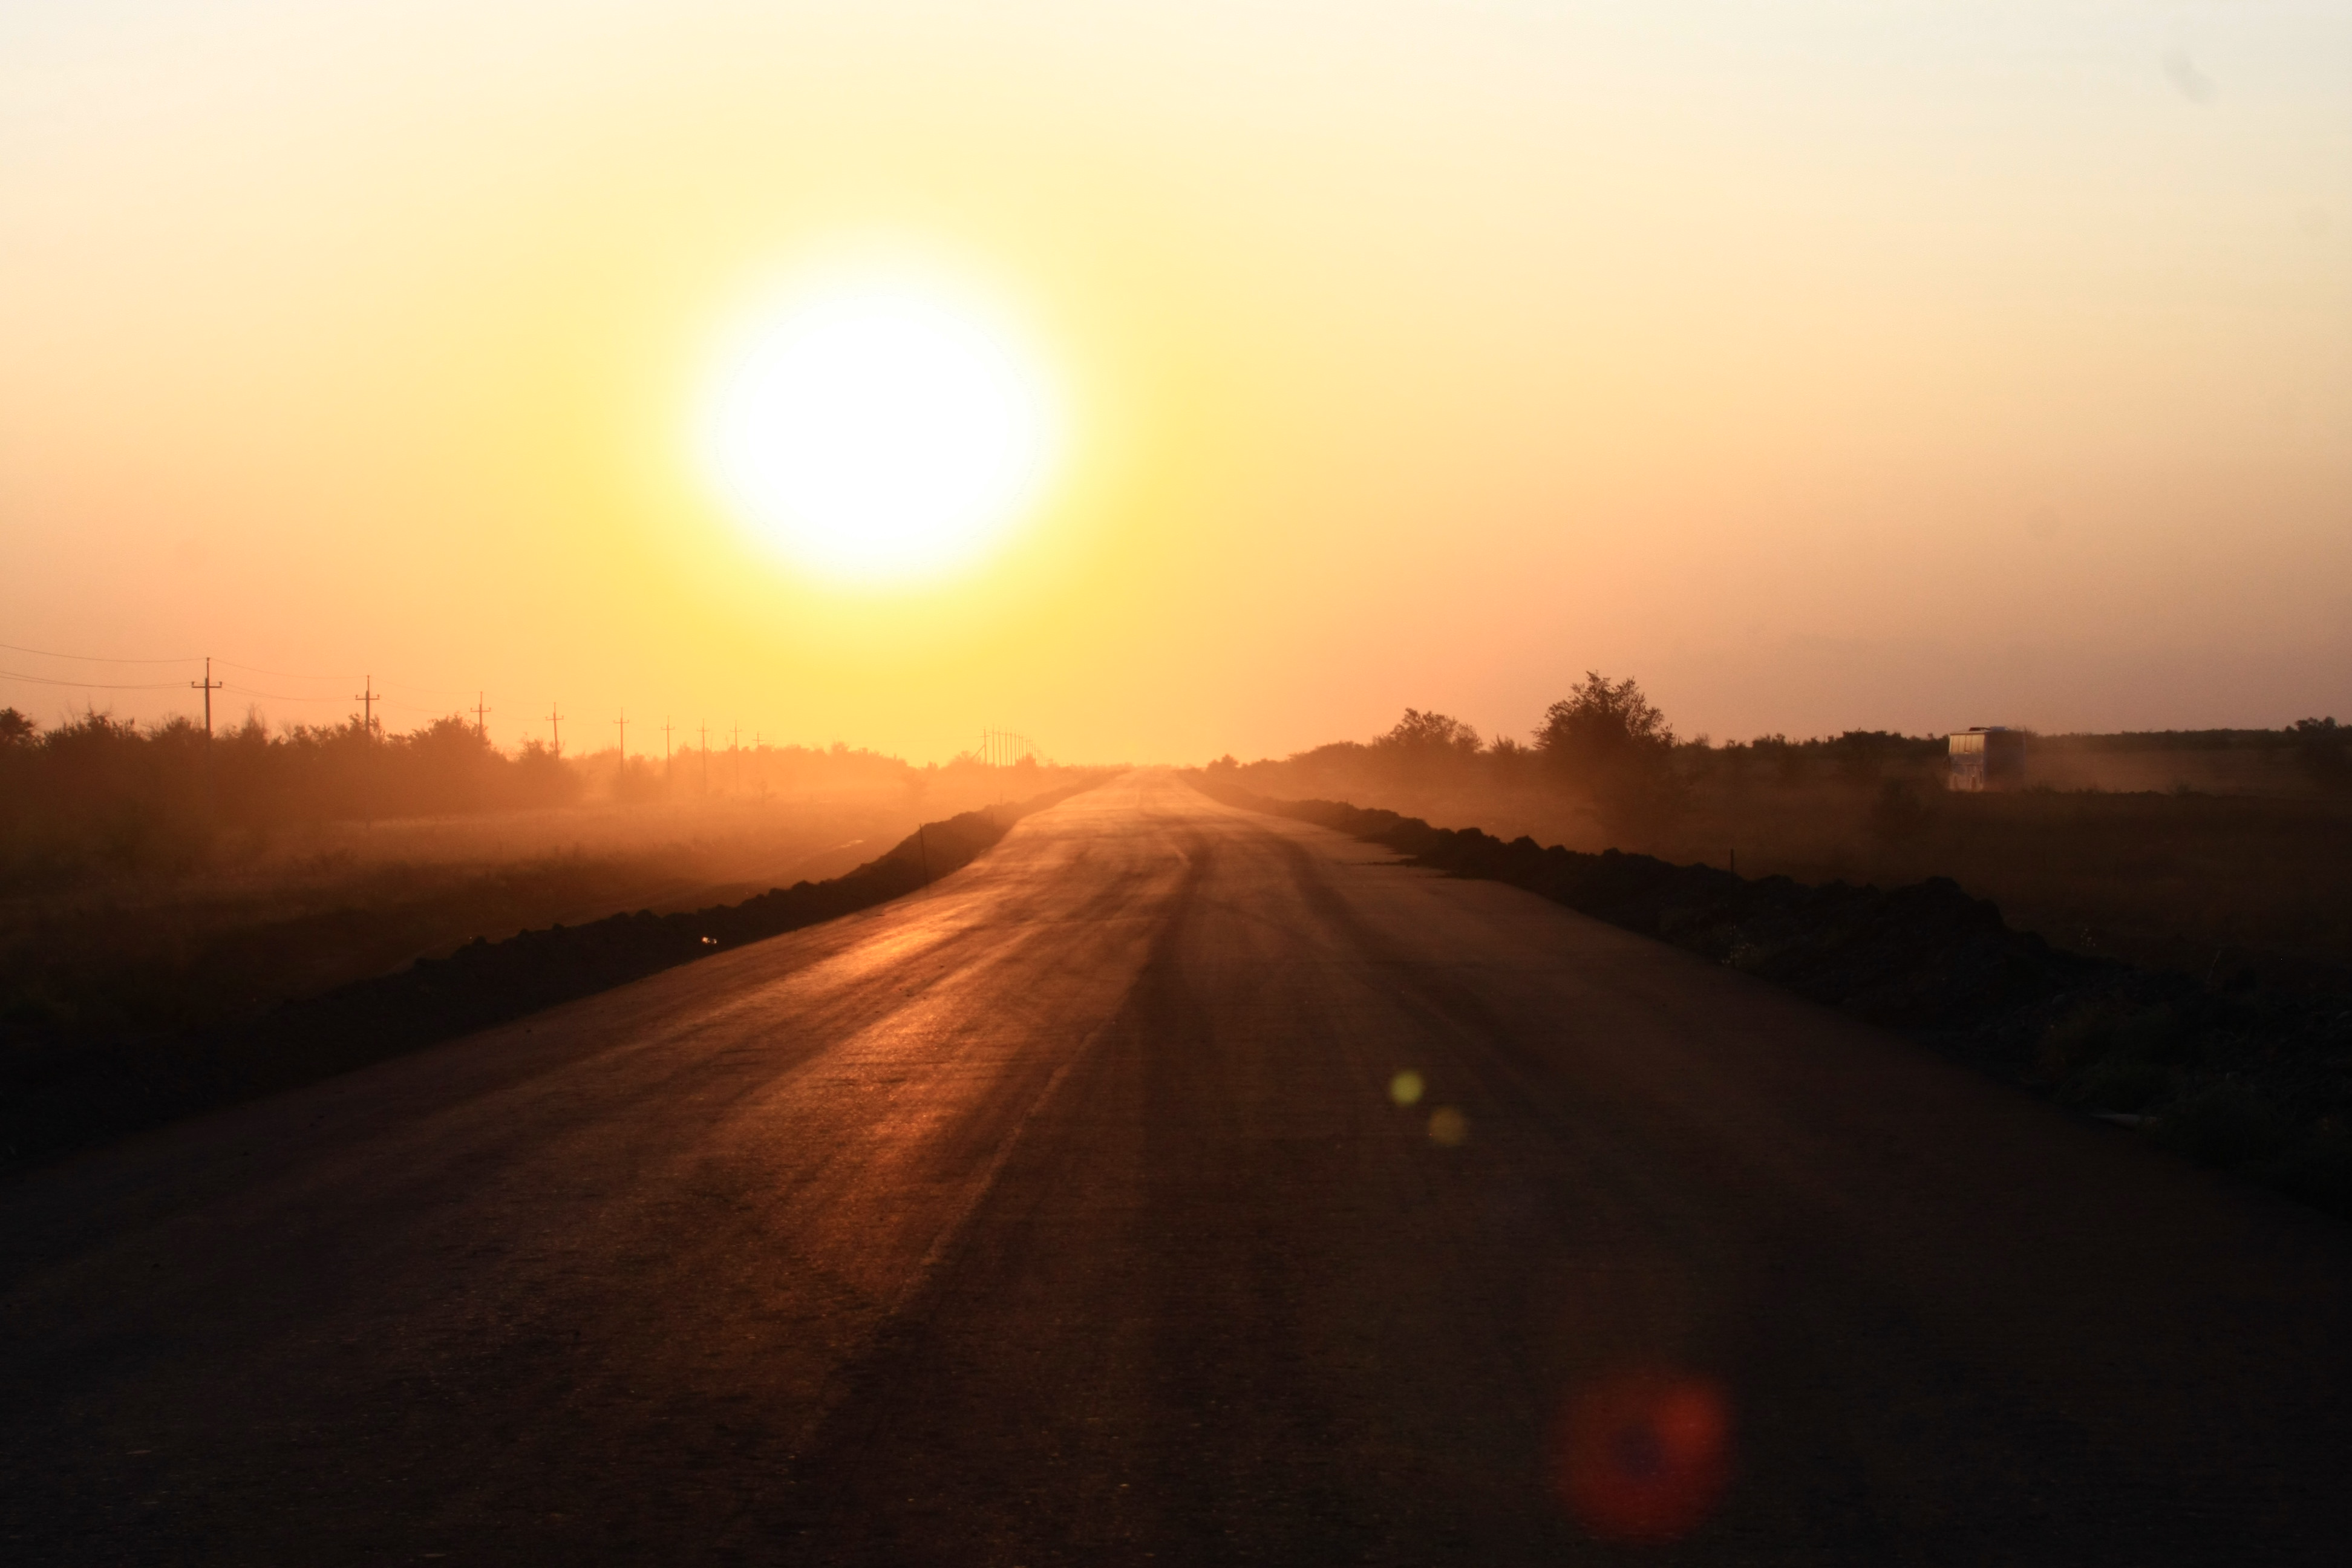
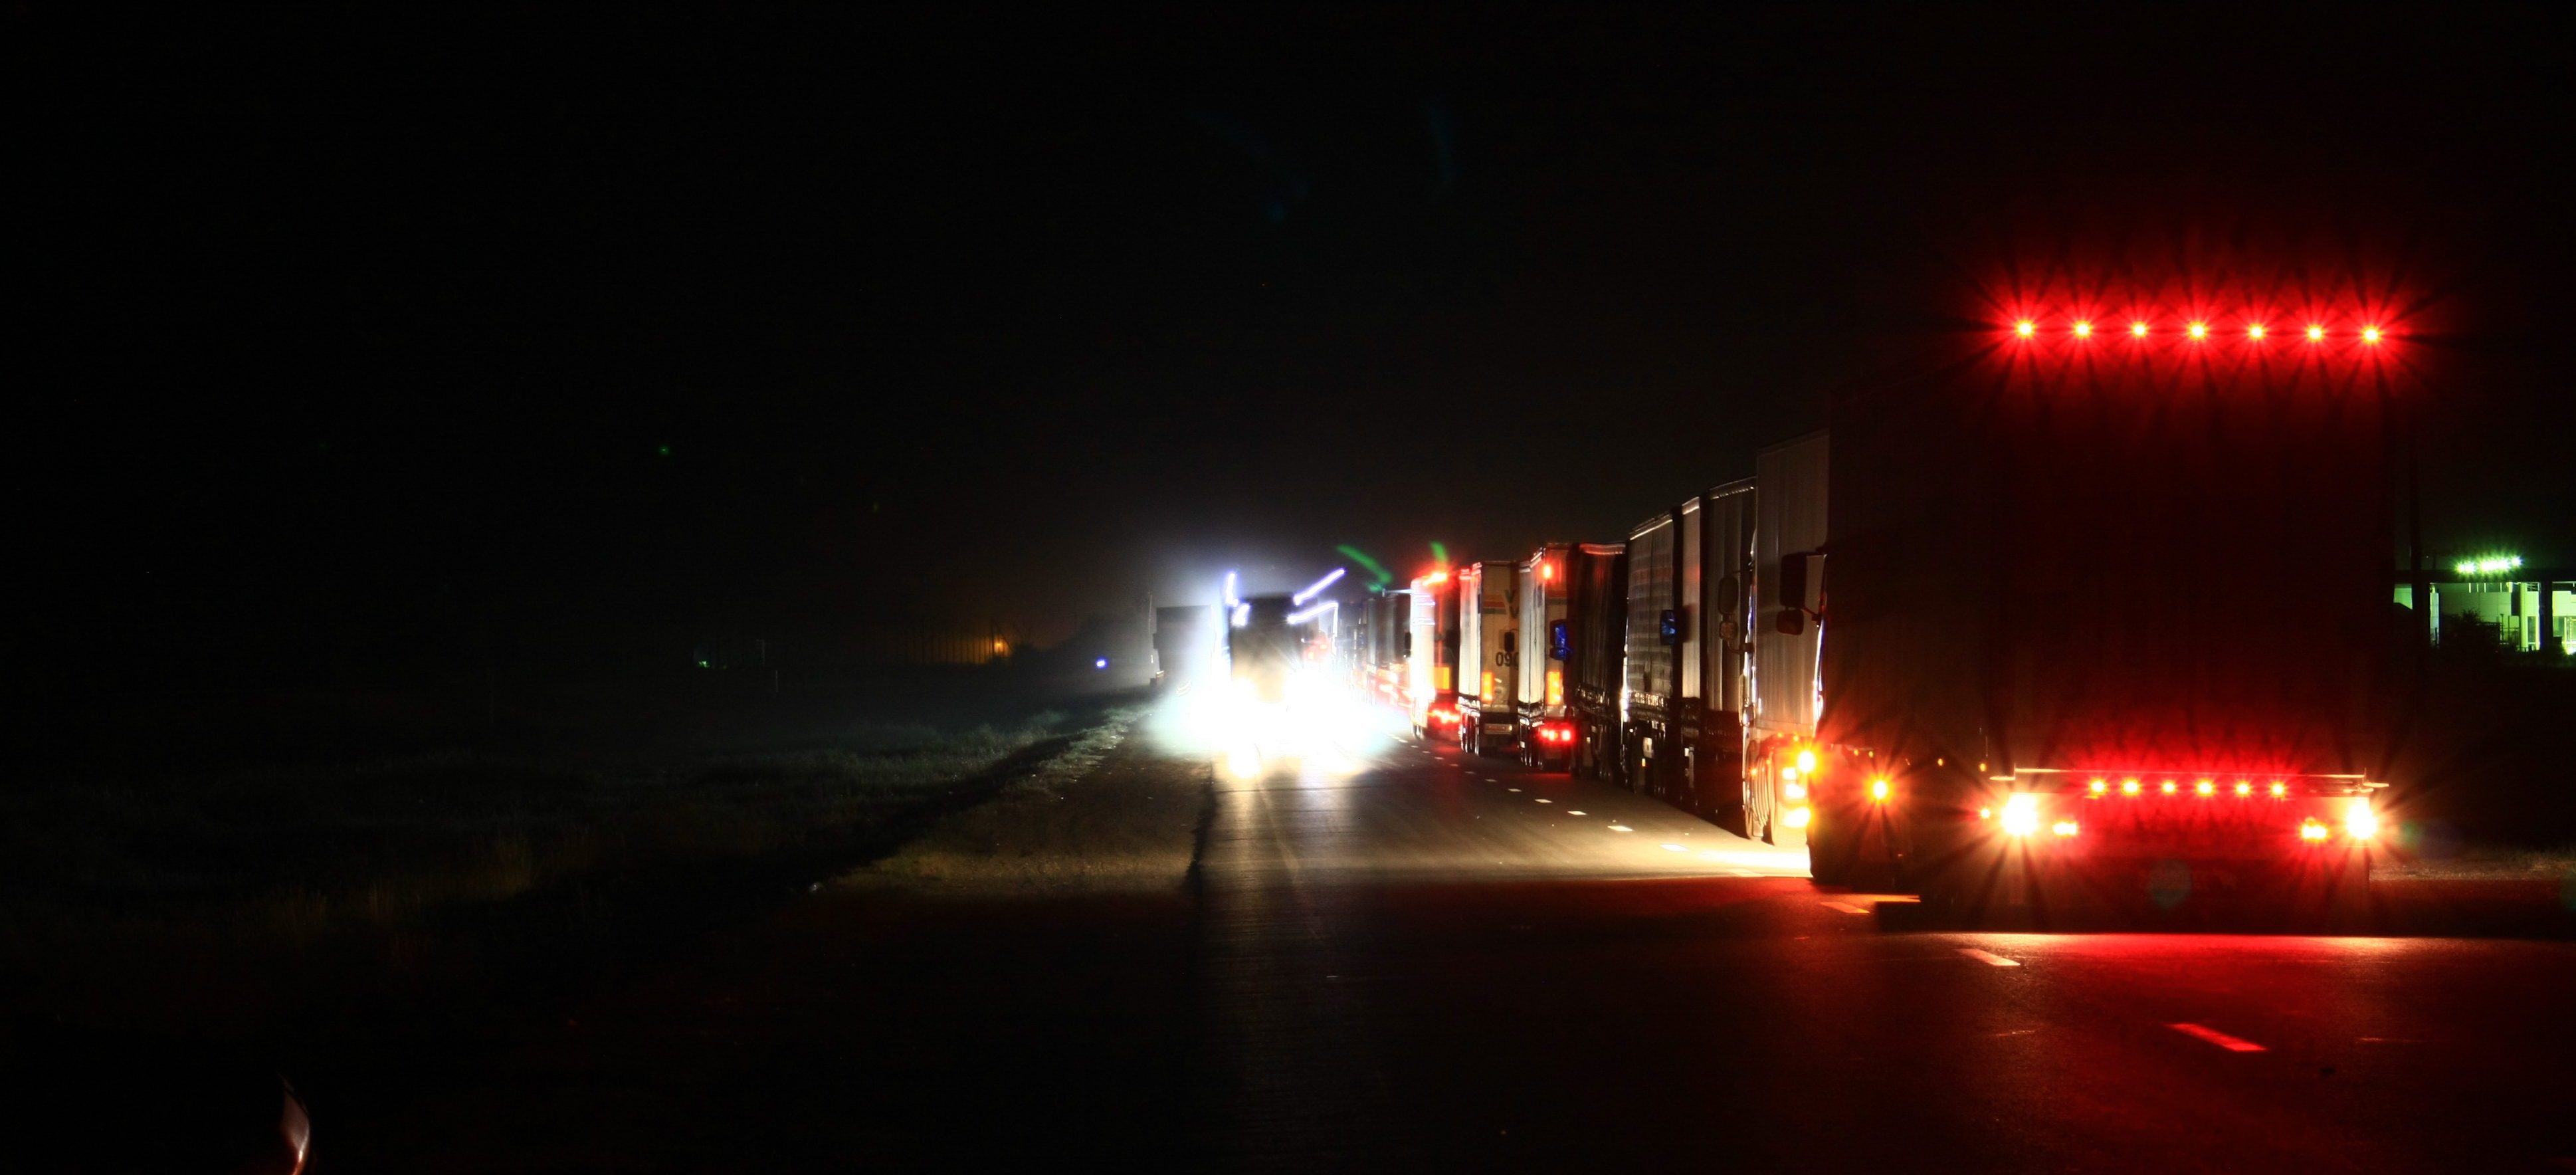
Enfin de retour dans la civilization, il nous fallait faire un peu d’entretien de matériel, notamment laver nos vêtements, souillés par plusieurs jours de camping, et trouver un moyen de régler notre problème de suspension. C’est donc à ces deux activités que le premier après-midi a été dédié (en plus de la publication de tous les articles accumulés dans les derniers jours). Rapidement, j’ai été mis en relation avec le propriétaire de l’hostel qui malgré un anglais très rudimentaire, a compris ce qui clochait avec le véhicule et nous a donné rendez-vous le lendemain pour nous conduire au garage. Chose qu’initialement j’ai eu du mal à saisir, car je m’attendais de sa part une simple adresse mais non, il s’offrait pour nous accompagner jusque là. Les Kazakhes sont un peuple très serviable.
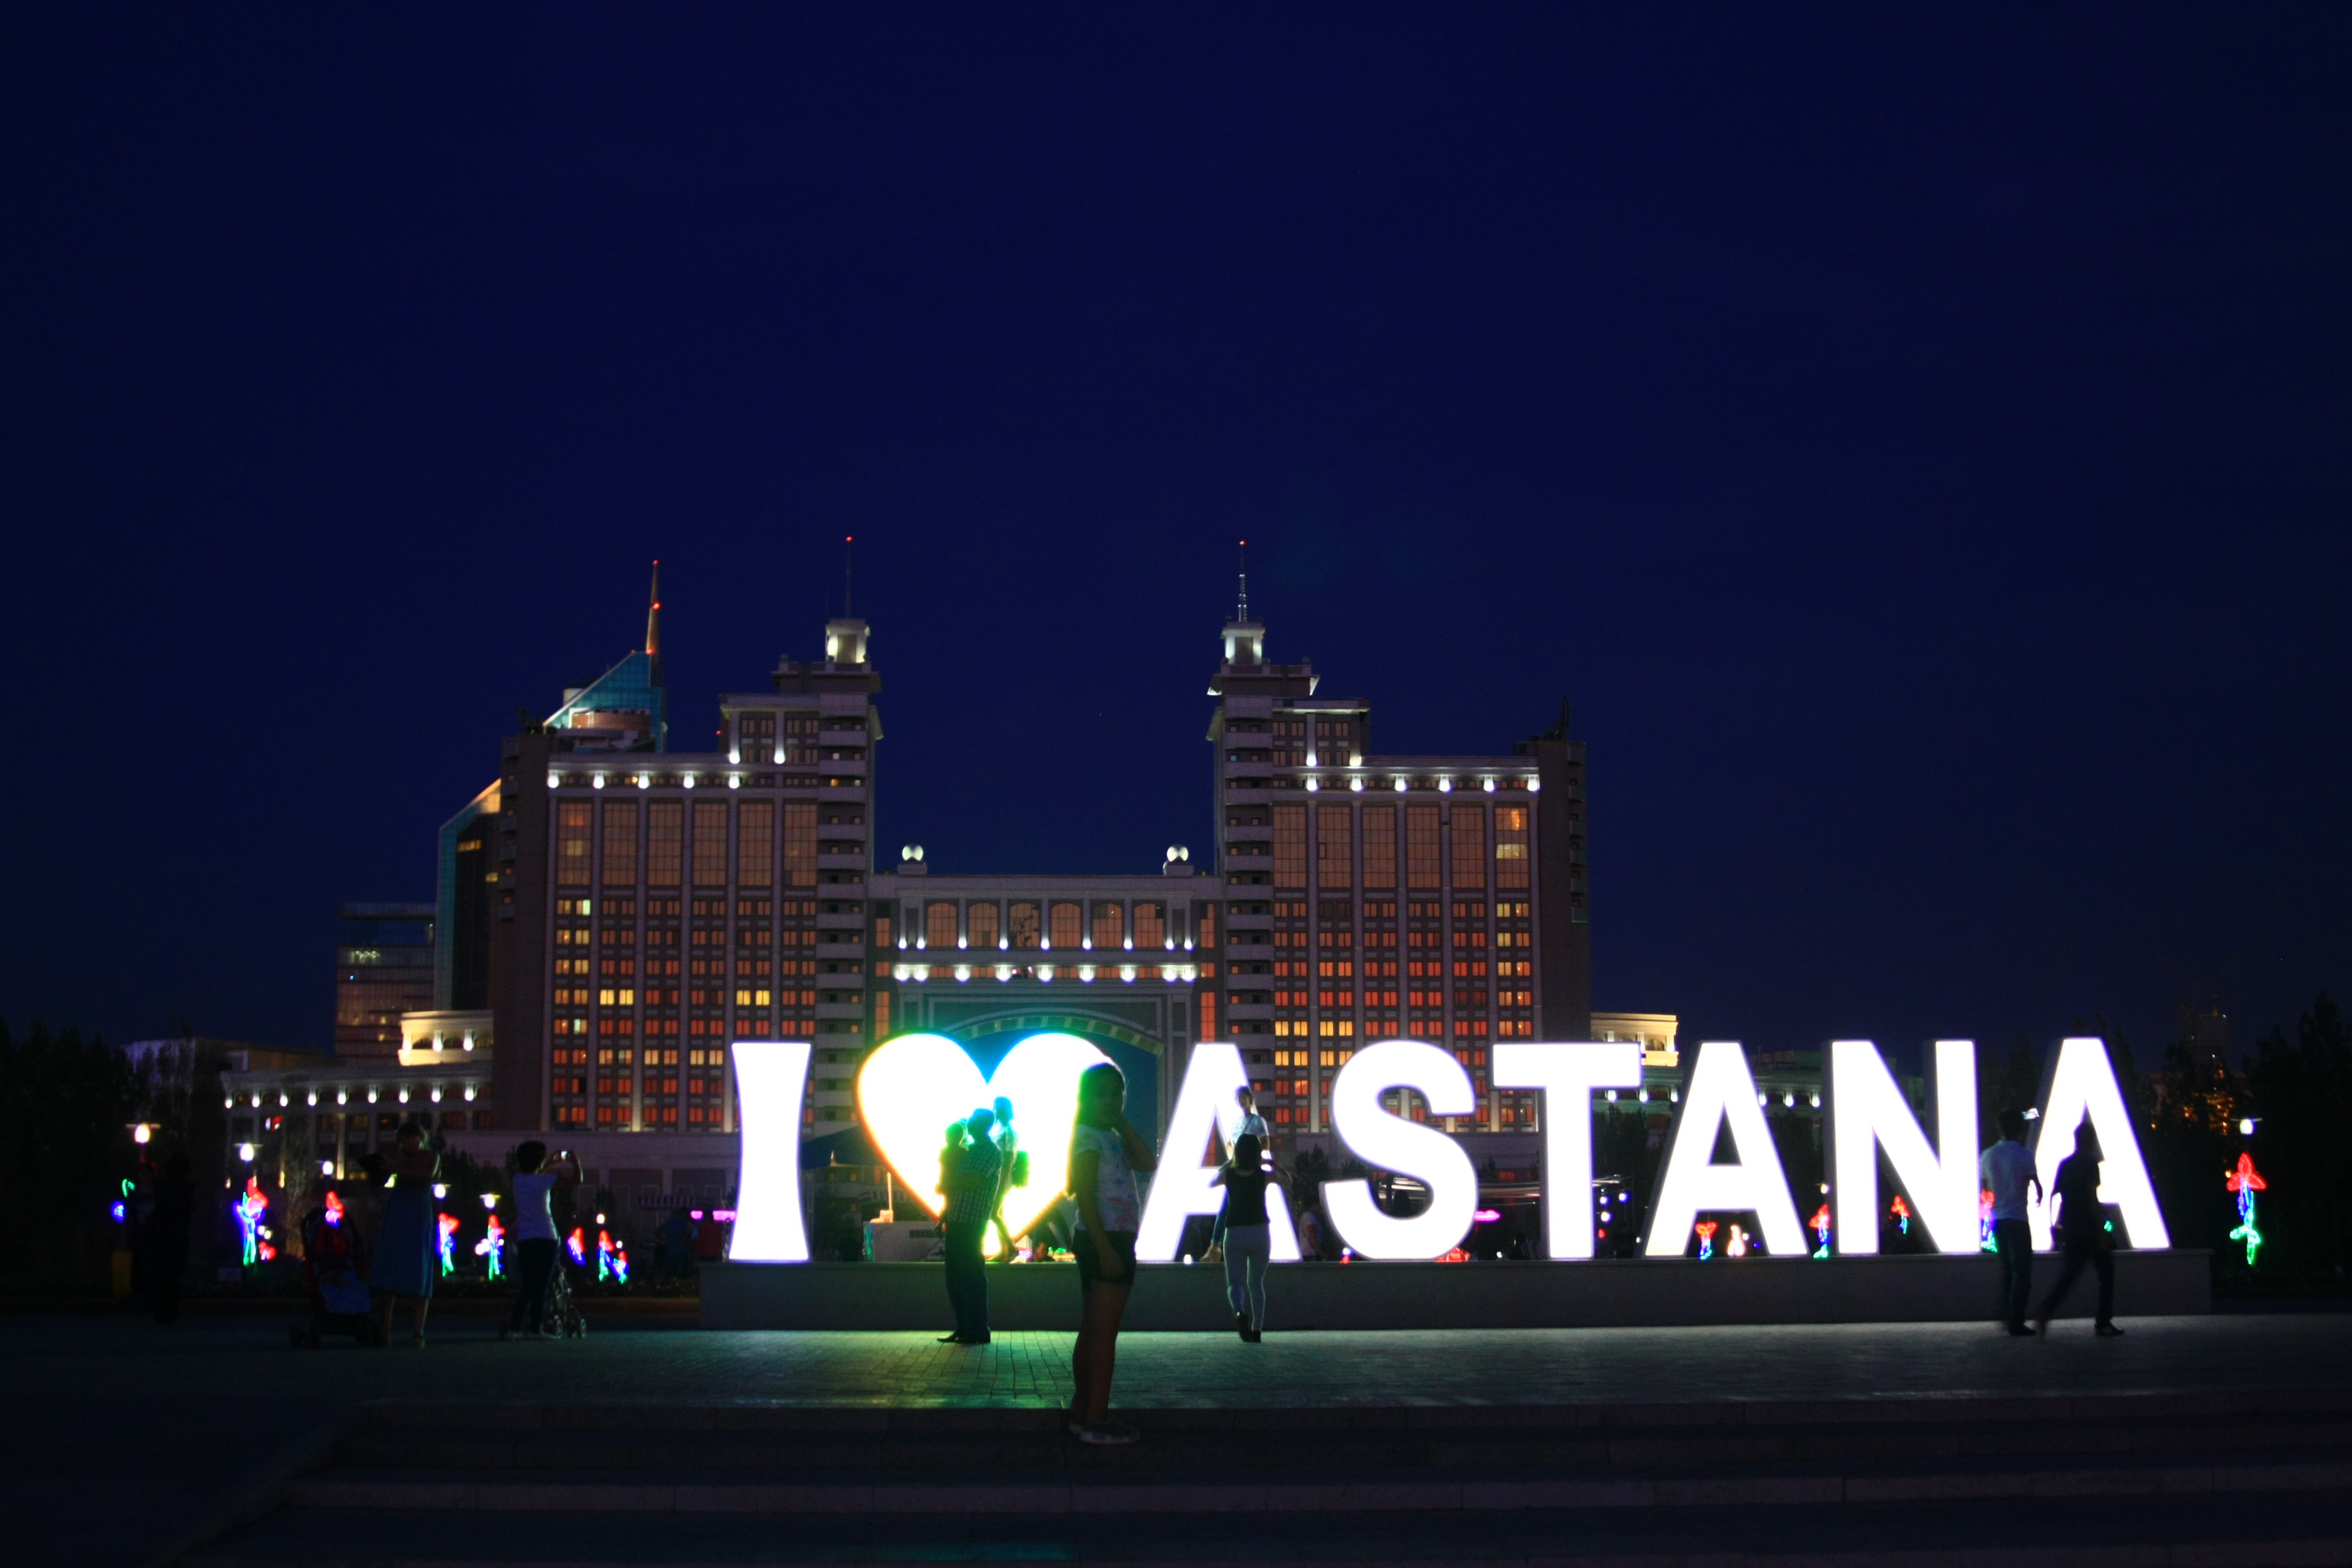
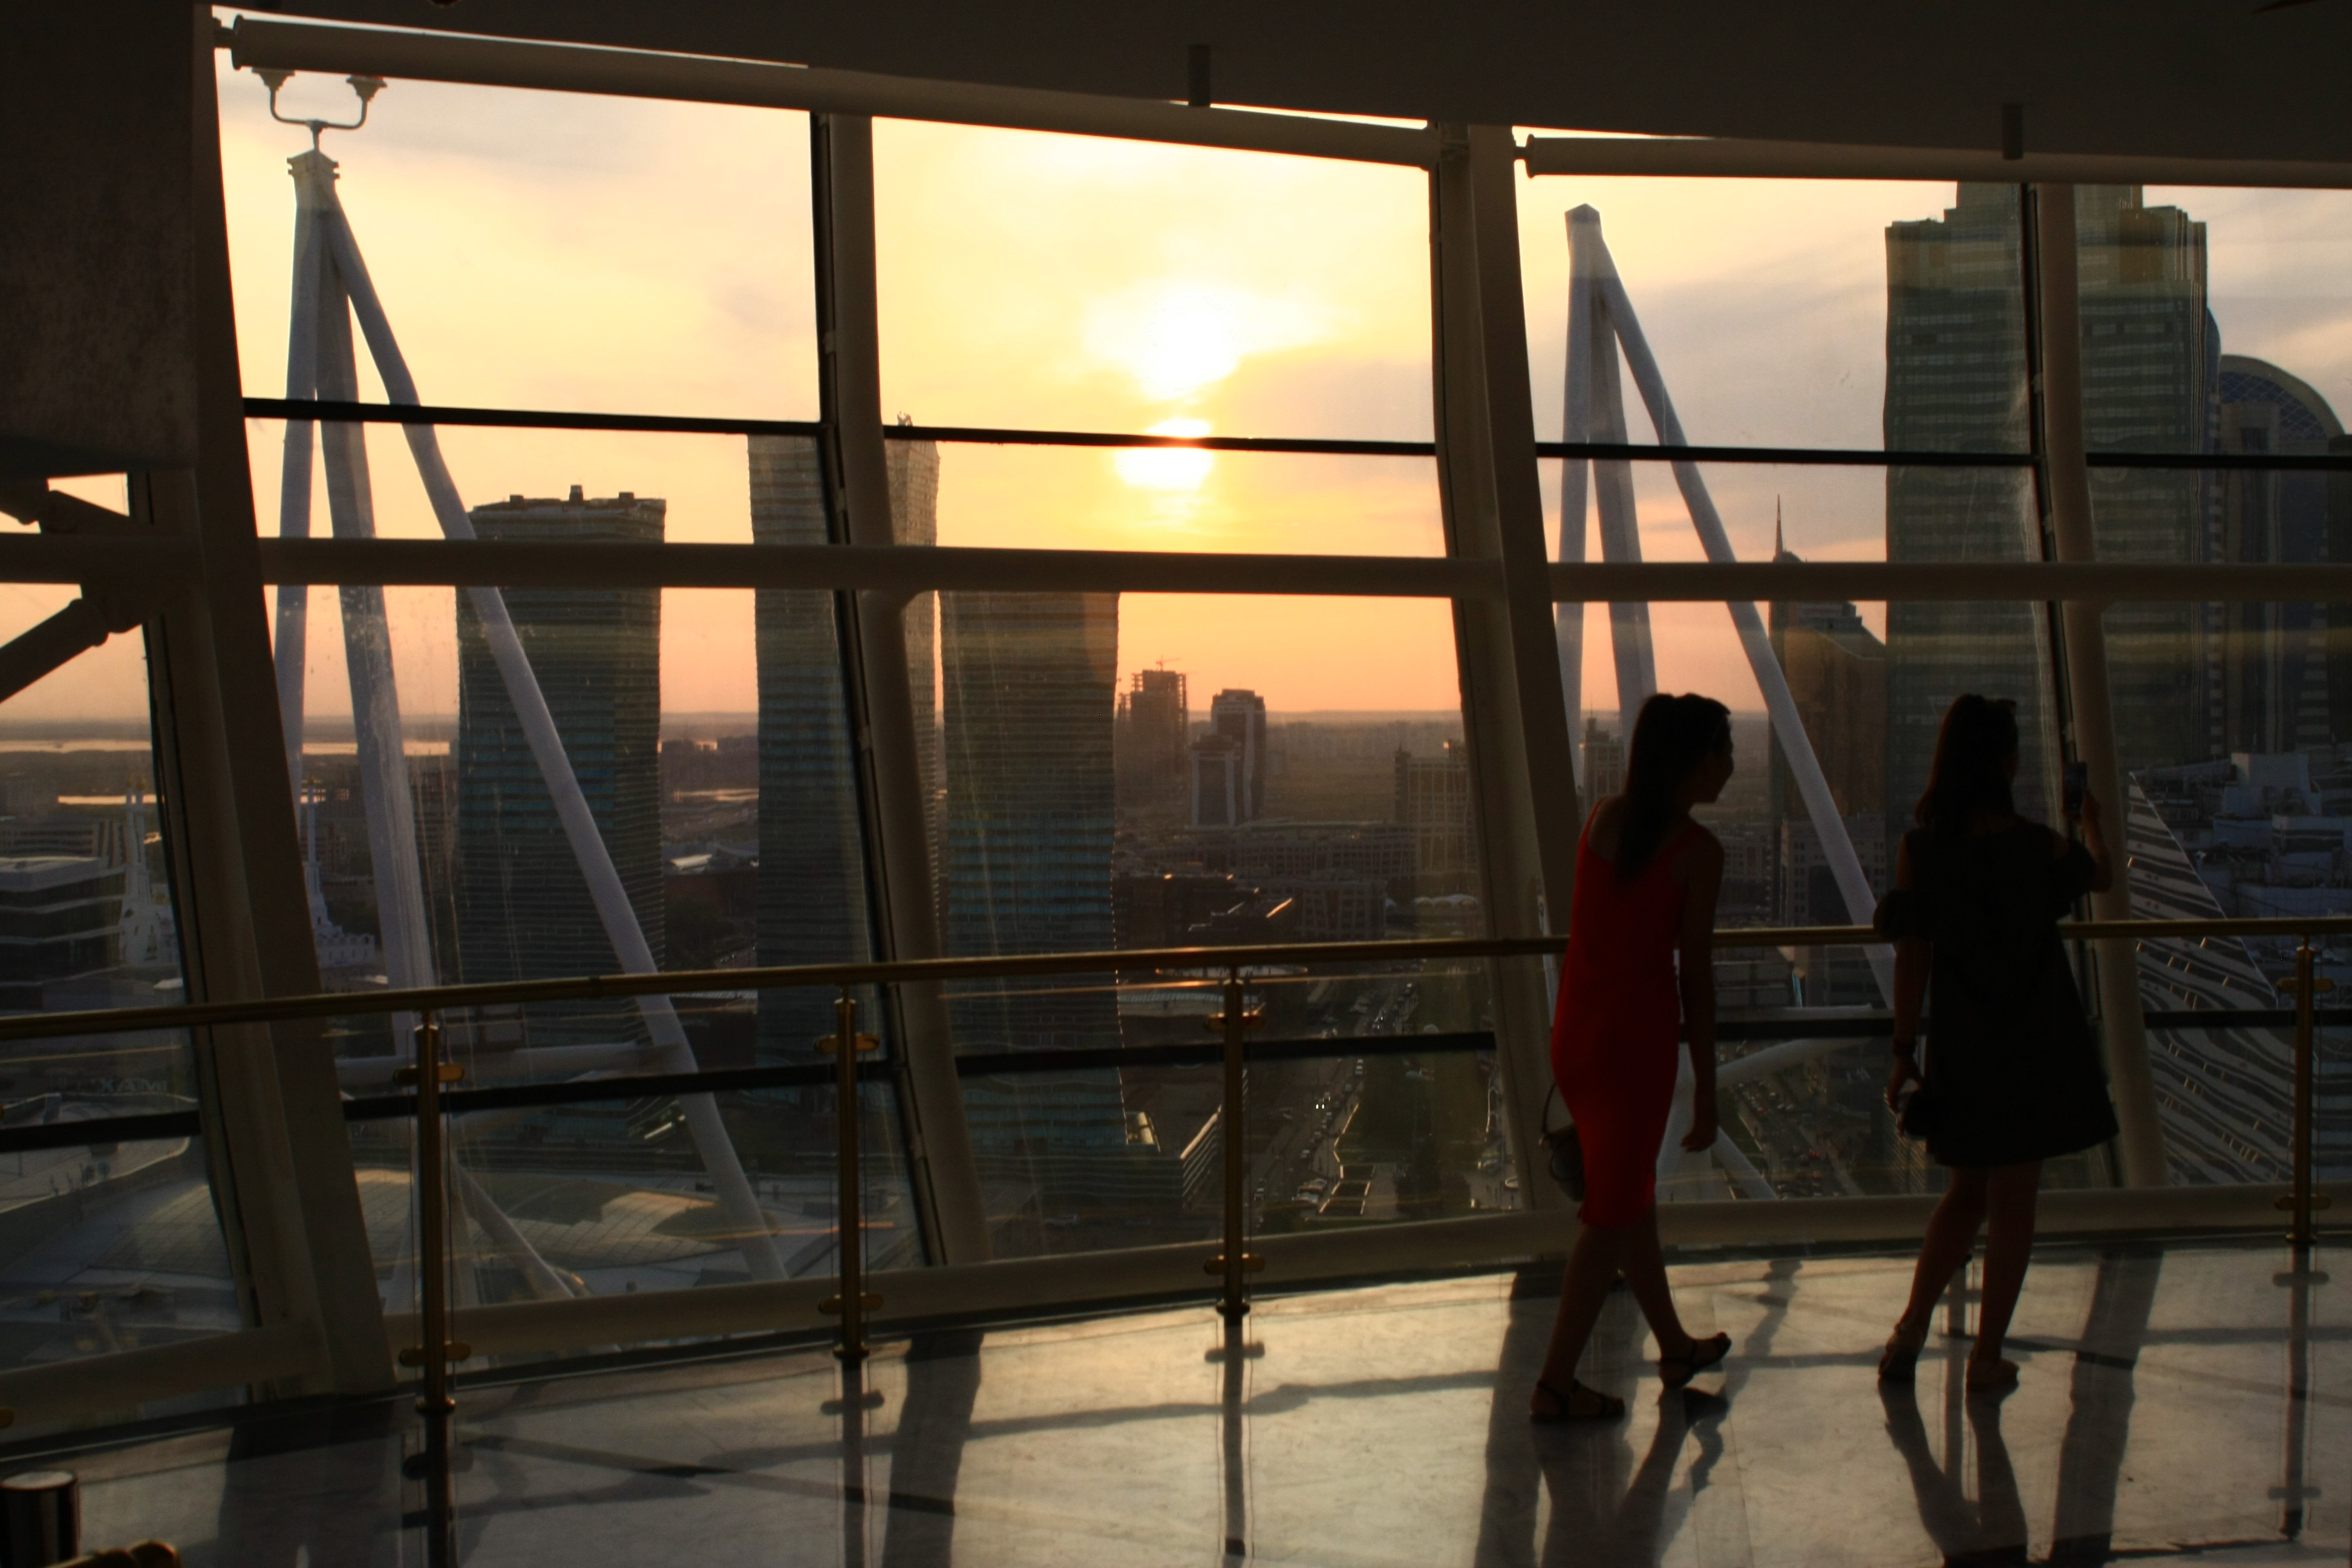
Le soir venu nous, avons profité de ce qui restait de lueur pour aller faire un tour dans la ville. Astana, capitale du Kazakhstan, était jusqu’à 1998 un simple centre régional au beau milieu de la steppe. C’est Almaty, principale ville du sud et la plus populeuse du pays, revendiquait le statut de capitale. De manière à la centraliser, à l’éloigner du sud vulnérable aux séismes et brasser la population du pays (le nord du Kazakhstan est ethniquement très Russe alors que le sud est surtout Kazakhe), le président (toujours en poste à ce jour) l’a fait déplacer à Astana. Par la suite, pour lui donner la prestance de première ville du pays, ont été engagés de nombreux architectes de renom afin de faire jaillir de la steppe la capitale Kazakhe du 21e siècle : une ville grandiose, moderne et mondiale. Audrey et moi vous avoueront que le résultat est plutôt réussi, Astana impressionne. Tout n’y est pas beau, bien des bâtiments sont d’un style douteux ou tentent maladroitement d’imiter des contreparties occidentales, elle a été construite à la va vite et n’a rien de vraiment durable dans son développement, mais à tout le moins, elle est grandiose et vaut mille fois la visite.
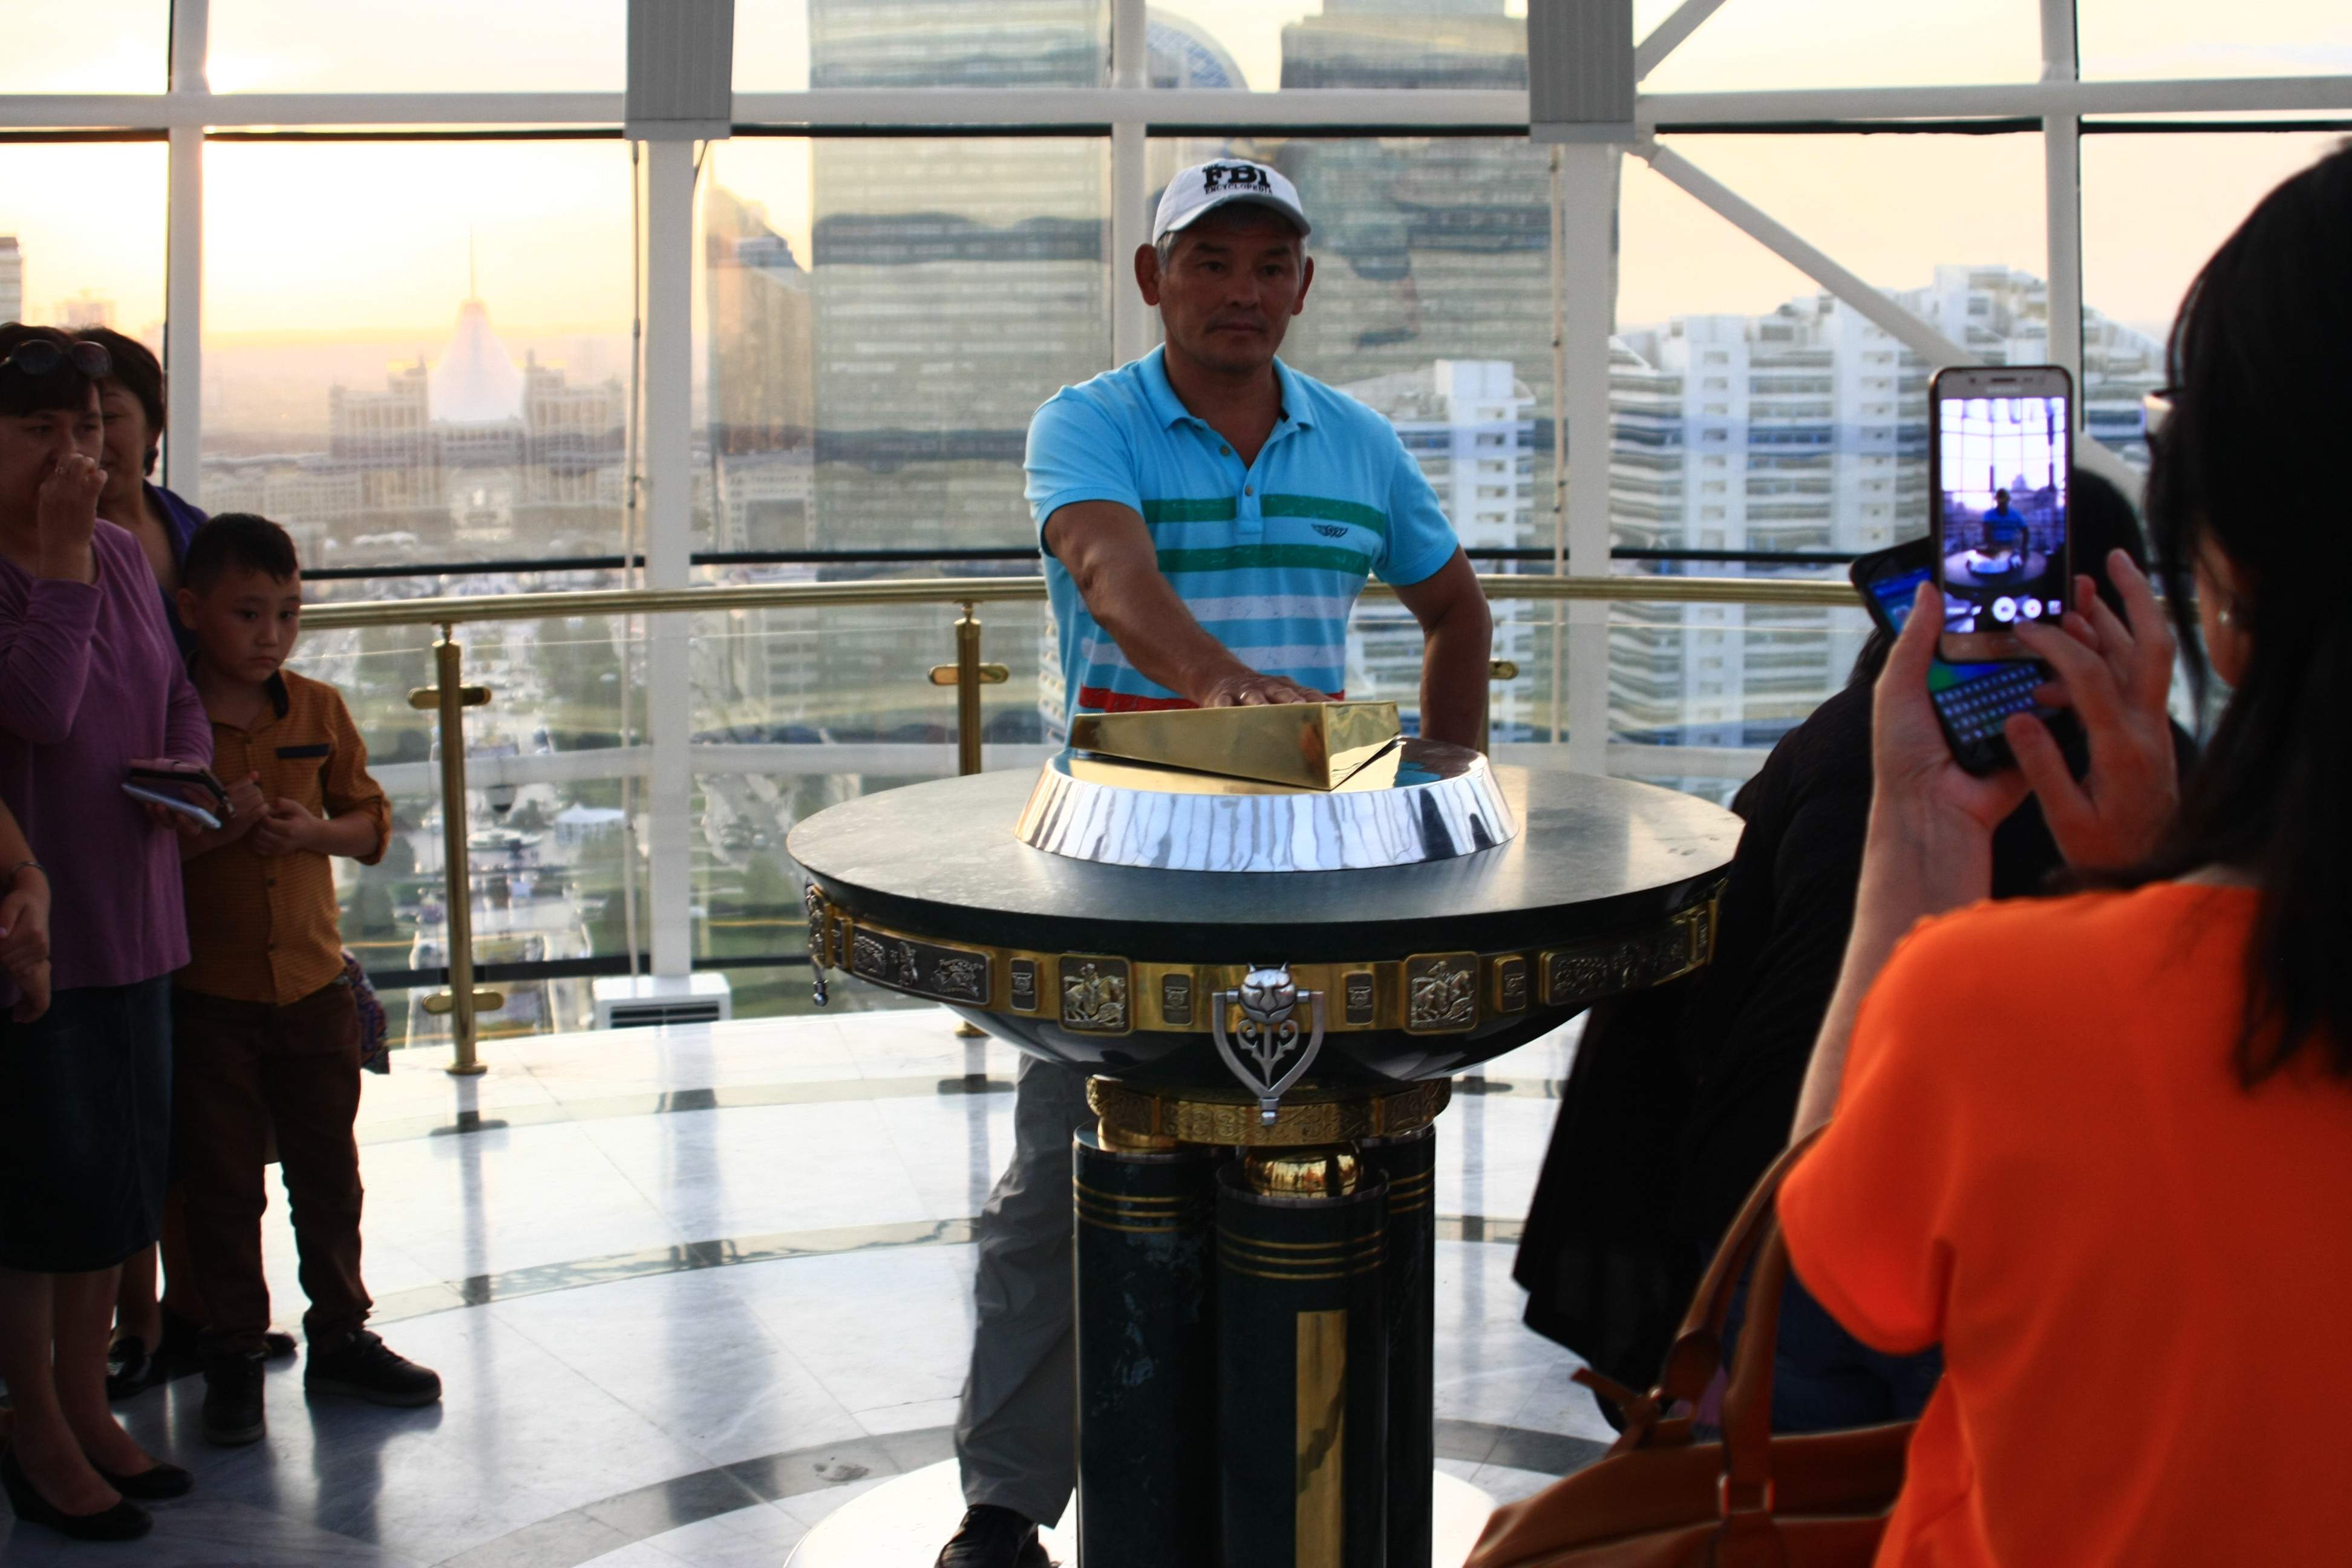
 La nouvelle Astana est construite selon un plan longitudinal où, bordant un axe central de verdure et de fontaines, on trouve le palais du président, un immense complexe gouvernemental, grattes-ciels, centres-commerciaux, parcs, mosquées et autres. La pièce centrale de cet arrangement est la tour Bayterek, un monument coiffé d’une immense sphère dorée dans laquelle ont peut monter et observer la ville de haut, mais surtout placer sa main dans l’empreinte de celle du président, le regard dirigé vers son palais. Je n’allais pas manquer l’occasion d’aller rendre hommage à un tel homme, alors Audrey et moi avons fait l’ascension de cette tour notre premier arrêt. Par la suite, nous avons parcouru le parc central jusqu’au centre commercial, s’arrêtant sans cesse pour observer le panorama urbain que nous traversions. Au milieu de ce parc se trouvait un champ de statues érigées dans le cadre de l’exposition universelle. Chacune d’entre-elles était peinte aux couleurs d’un pays participant. Le matin même autour d’un café, on nous avait confirmé que le Canada avait bel et bien son pavillon, donc quelle n’a pas été notre surprise quand nous en sommes venus à la réalisation qu’il y avait pas de statue à l’image de notre pays.
La visite s’est terminées à l’extrémité ouest du mall dans un centre d’achat qui il y paraissait valait le coup d’oeil (au dernier étage, un club avec plage artificielle, palmiers, eau, etc.) Définitivement, Astana nageait dans l’extravagance et l’opulence. Normal pour une ville construite sur des pétro-tengues (la monnaie nationale est le Tengue) et habitée principalement par de nouveau riches, mais un contraste frappant avec la campagne et ses bourgades défraîchies et poussiéreuses. De retour à l’hostel, j’en ai profité pour tenter à nouveau de réparer la porte pour échouer une nouvelle fois. C’en était de notre avant-goût d’Astana, ville très prometteuse.